
Separate the Subject From the Background
Want to move the subject without losing the scene behind it? Upload one photo and separate the person, product, animal, or object from the background so you can use both independently.
Keep the subject as a transparent image and keep the background for your next edit, layout, or creative project.
Upload an image
Separate one image into a transparent foreground, reconstructed background, and reusable subject mask.
Separate Subject & Background
Keep the subject and create a reusable background behind it.
Drag and drop your image here or browse files

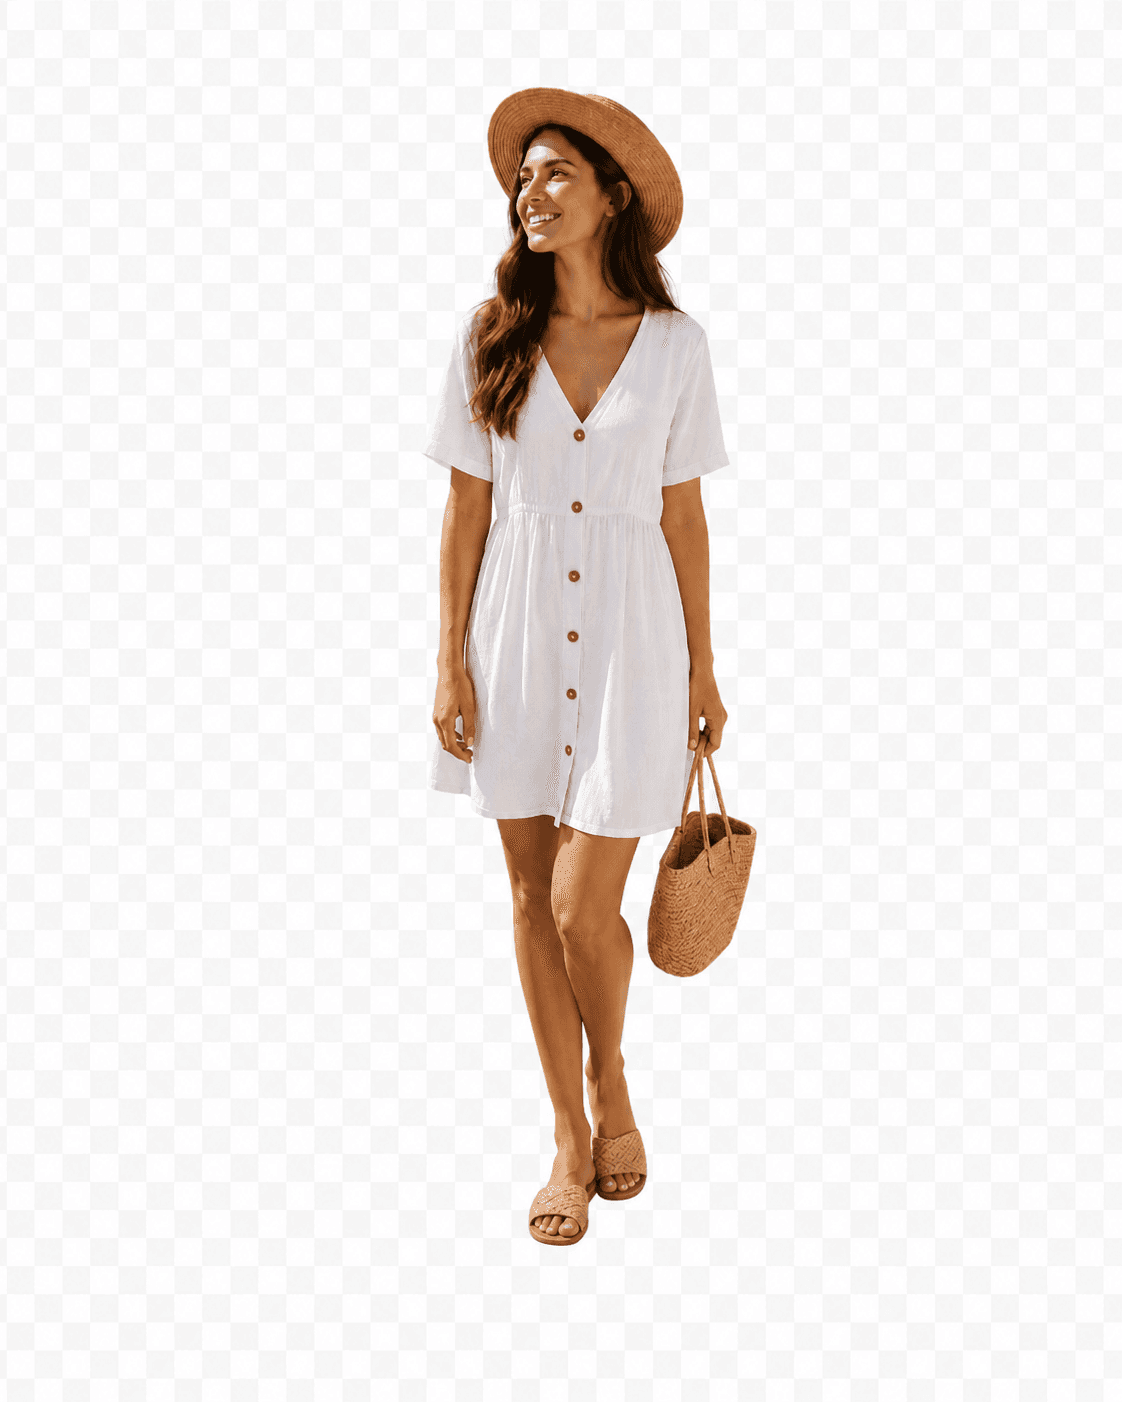

The covered background area is reconstructed with AI using the visible scene as context.
Processing time varies with image complexity. Large subjects and detailed backgrounds may require more reconstruction.
Keep both
Move the Subject Without Losing the Background
Sometimes removing the background is only half the job.
You may want to move the person into a new design, keep the product for another listing, or reuse the original room or studio scene later.
Separating the subject and background gives you both pieces instead of forcing you to throw one away.
One Photo, More Ways to Use It
Move the subject
Put the person, product, animal, or object into another background, banner, thumbnail, presentation, or social post.
Keep the original scene
Reuse the room, studio setup, landscape, table, or backdrop without the original subject locked into it.
Edit each part separately
Change one side without affecting the other. Recolor the background, resize the subject, add text between them, or continue into another editing workflow.
See the separation
See the Subject and Background as Separate Assets
Start with one finished photo and keep both the subject and the scene as reusable results.
Separate a person from the scene
Keep the person for a new layout while saving the original location as another usable image.
Separate a product from its setting
Reuse the product in new marketing graphics without losing the studio or lifestyle background.
Keep the subject without flattening everything else
Separate the main object while keeping the surrounding scene available for another use.
After separating
What Can You Do After Separating the Subject?
Create a new background
Move the subject into another scene without cutting it out again.
Make product graphics
Reuse the same product in ads, listings, comparison images, and promotional layouts.
Build social posts and thumbnails
Place text or graphics behind the subject instead of covering the important part of the image.
Reuse the location
Keep a room, studio, landscape, or backdrop for another person or product.
Create layered compositions
Put graphics, text, effects, or other objects between the subject and background.
Continue editing later
Download either result or pass it into another Image to Layers workflow without starting over from the original image.
More than a cutout
When a Background Remover Isn’t Enough
A background remover is perfect when the only result you want is a transparent subject. But if the background is useful too, separating both parts gives you much more flexibility.
| What you want | Use |
|---|---|
| I only need the transparent subject | Background Remover |
| I want the subject and background separately | Separate Subject From Background |
| I want the scene without a person | Remove Person From Photo |
| I need several objects and visual elements | Image to Layers |
Choose this workflow when the subject and background are the two parts you care about.
Separate the Subject in Three Steps
Upload your photo
Choose the image containing the subject you want to separate.
Let the image process
The subject is separated from the scene and hidden parts of the background are completed where needed.
Use either result
Download the subject, background, or mask and continue with your next edit.
For better results
Start With a Photo Where the Subject Is Easy to See
Clear boundaries help
A subject that is visually distinct from the background is usually easier to separate cleanly.
Use enough resolution
Small or blurry details around hair, fur, product edges, or accessories can be harder to preserve.
Watch heavy overlap
Hands, hair, furniture, plants, and other objects crossing in front of the subject can make separation more complex.
Transparency can be difficult
Glass, sheer fabric, reflections, smoke, and soft shadows may need extra review after processing.
About the background
What Happens to the Area Hidden Behind the Subject?
If the subject covered part of the background, those pixels were never visible in the original photo. The tool creates a plausible continuation based on the surrounding scene so the background can work as a complete image.
This is a reconstruction, not a recovery of the exact real-world content that was hidden behind the subject.
Review detailed patterns, text, architecture, reflections, and other accuracy-sensitive areas before final use.
Two parts or many?
Separate the Subject — or Break the Whole Image Into Layers
Separate Subject From Background
Choose this when you mainly need two pieces: the subject and the background.
Subject · Background · Mask
Image to Layers
Choose Image to Layers when you want several independent visual elements, such as a person, product, text, furniture, decorations, foreground objects, and background.
Layer 1 · Layer 2 · Layer 3 · Layer 4…
Frequently Asked Questions About Separating a Subject From the Background
What does it mean to separate a subject from the background?
It means turning one flat photo into separate subject and background results so you can use or edit each one independently.
Is this the same as removing the background?
Not exactly. Background removal mainly focuses on the transparent subject. This workflow keeps both the subject and the background.
What kinds of subjects can I separate?
People, products, animals, and clearly visible objects can all be suitable depending on the image.
Will the subject have a transparent background?
Yes. The subject result is designed to keep the main subject while making the surrounding area transparent.
Can I download the background separately?
Yes. The background is available as its own result.
What happens to the background behind the subject?
If the original subject covered part of the scene, the tool creates a plausible continuation using visible surrounding content. It cannot recover exact pixels that were never captured.
Will the separated subject look exactly like the original?
The goal is to preserve the visible subject while separating it from the scene. Fine hair, fur, glass, semi-transparent materials, shadows, and heavily overlapping details may require additional cleanup.
Can I separate a person from a busy background?
Yes, but complex scenes and overlapping objects can make the result harder to separate cleanly than a photo with clearer visual boundaries.
Can I use the subject in another background?
Yes. That is one of the main reasons to separate the subject — you can place the transparent result into another design or scene.
Can I use the results in Photoshop, Canva, or another editor?
Yes. Download the results and continue working with them in compatible image or design software.
Should I use Separate Subject From Background or Background Remover?
Use Background Remover when you only need a transparent subject. Use Separate Subject From Background when you want to keep both the subject and the scene.
Should I use this or Image to Layers?
Use this workflow when you mainly need subject and background. Use Image to Layers when you need several separate objects or visual elements from the same image.
What Do You Want to Do Next?
Keep only the subject
Background Remover
Create a transparent cutout when you don’t need the original background.
Remove BackgroundRemove a person and keep the scene
Remove Person From Photo
Use the clean background as the main result.
Remove a PersonSeparate more parts
Image to Layers
Break a composition into several independently editable visual elements.
Separate Into LayersKeep the Subject. Keep the Scene.
Separate one finished photo into two useful results and decide what to do with each one next.
Separate Subject & Background