Turn Finished Character Art Into a Reusable Layered Asset
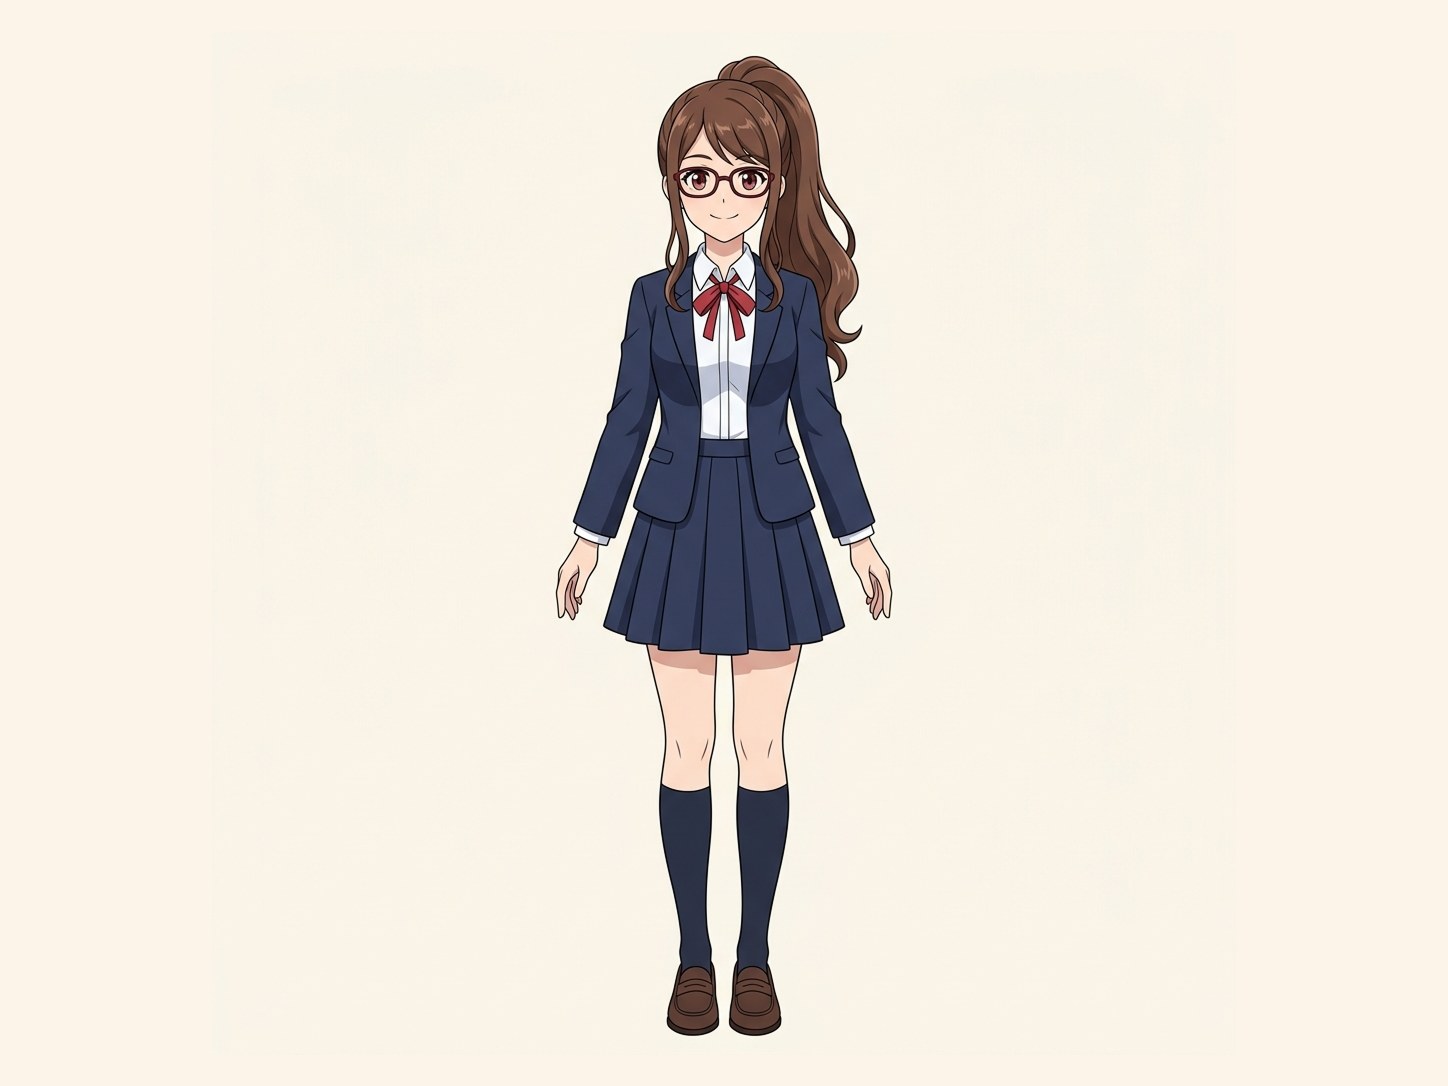
A finished character often arrives as one flattened PNG: the source PSD is missing, an AI-generated character needs a revision, or the same character needs to be reused in another scene. Learn how to turn that flat artwork into editable parts for further editing and animation preparation. Available parts depend on the character design, visibility, and selected processing mode.
Start with the problem: a missing source PSD, a flat AI-generated character, or artwork that needs to be reused in a new production context. The Character to Layers hub handles the actual separation workflow.
Use Character to LayersCharacter Parts You Can Separate
Layer availability varies by pose, occlusion, image quality, and character design.
Face & Features
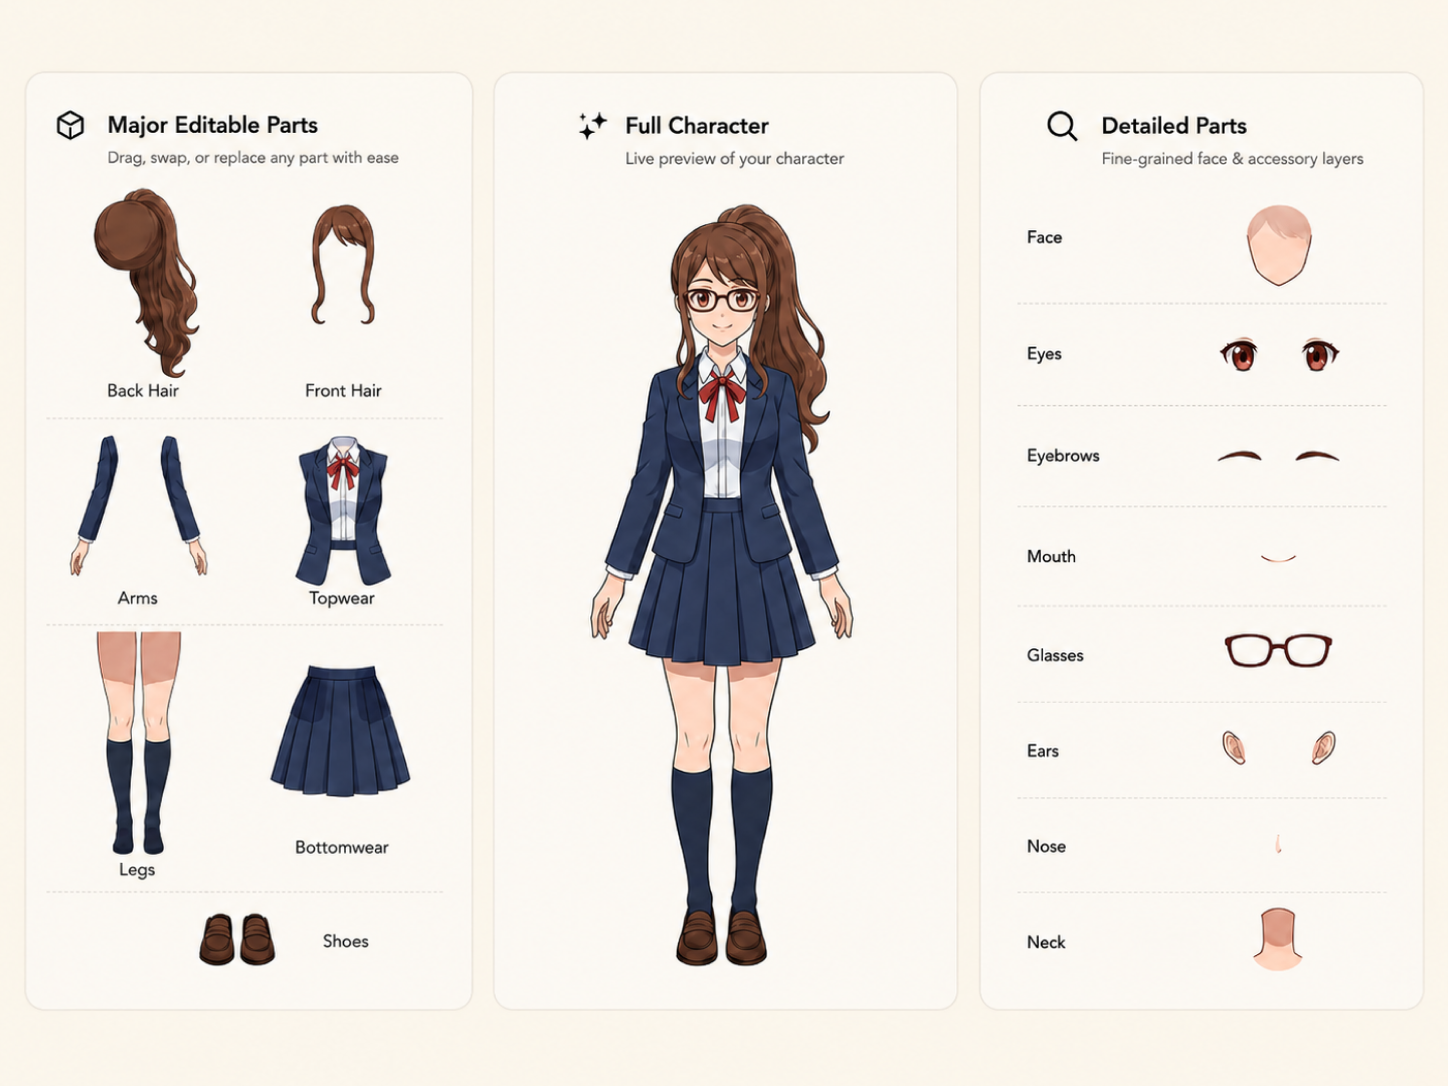
Face, eyes, eyebrows, mouth, ears, and other visible facial elements.
Hair
Front hair, back hair, side sections, and visible strands where supported by the artwork.
Body
Head, torso, arms, hands, legs, and other visible body regions.
Clothing & Accessories
Garments, hats, glasses, weapons, jewelry, and other character accessories.
Background
The character can be isolated from the scene while hidden areas are reconstructed with AI.
Why Flattened Character Art Becomes a Production Problem
Reduce Manual Cutting
Save time separating character parts with masks and selections.
Separate Detailed Parts
Extract visible hair, facial features, body regions, clothing, and accessories into editable layers.
Reconstruct Occluded Areas
Use AI to rebuild portions hidden behind overlapping character elements where possible.
Export Editable Assets
Download transparent PNG layers or a structured PSD for further animation preparation.
How to Separate a Character into Layers
Upload Your Character Artwork
Upload a clear JPG, PNG, or WebP image. Front-facing or three-quarter characters with defined edges generally produce the most usable layers.
Analyze the Character
The AI identifies visible facial features, hair sections, body regions, clothing, and accessories based on the artwork.
Review the Character Parts
Preview the detected layers and inspect detailed areas such as eyes, mouth, hair, hands, clothing edges, and accessories.
Export PNG or PSD Layers
Download transparent PNG layers in a ZIP package or export an editable PSD file for further preparation in your animation software.
What “Animation Preparation” Means
ImageToLayers creates separated visual assets for animation preparation. It does not add meshes, bones, deformers, parameters, keyframes, or physics automatically.
Character Animation Workflows
Live2D Preparation
Separate facial features, hair sections, body regions, clothing, and accessories as a starting point for Live2D model preparation.
Spine Animation
Prepare visible body parts and accessories as independent visual assets before creating bones, meshes, and animation controls.
Game Character Assets
Reuse clothing, props, accessories, and character parts across game interfaces, dialogue scenes, and animation states.
Character Design Editing
Edit colors, clothing, accessories, and other character elements independently without repainting the entire illustration.
Need a Different Character Workflow?
This page explains the problem of turning flattened character art into reusable parts. For the actual product workflow, use Character to Layers. If you need foreground, character, midground, and reconstructed background layers for parallax or camera movement, use Animator Prep.