Separate an Image into Editable Layers with AI
Separate subjects, objects, and backgrounds into independent visual layers. Continue editing individual layers with AI, adjust the composition, and export the result as PSD or transparent PNG assets.
Click or drag image to upload
Click or drag image to upload
JPG, PNG, or WebP · Maximum 10 MB
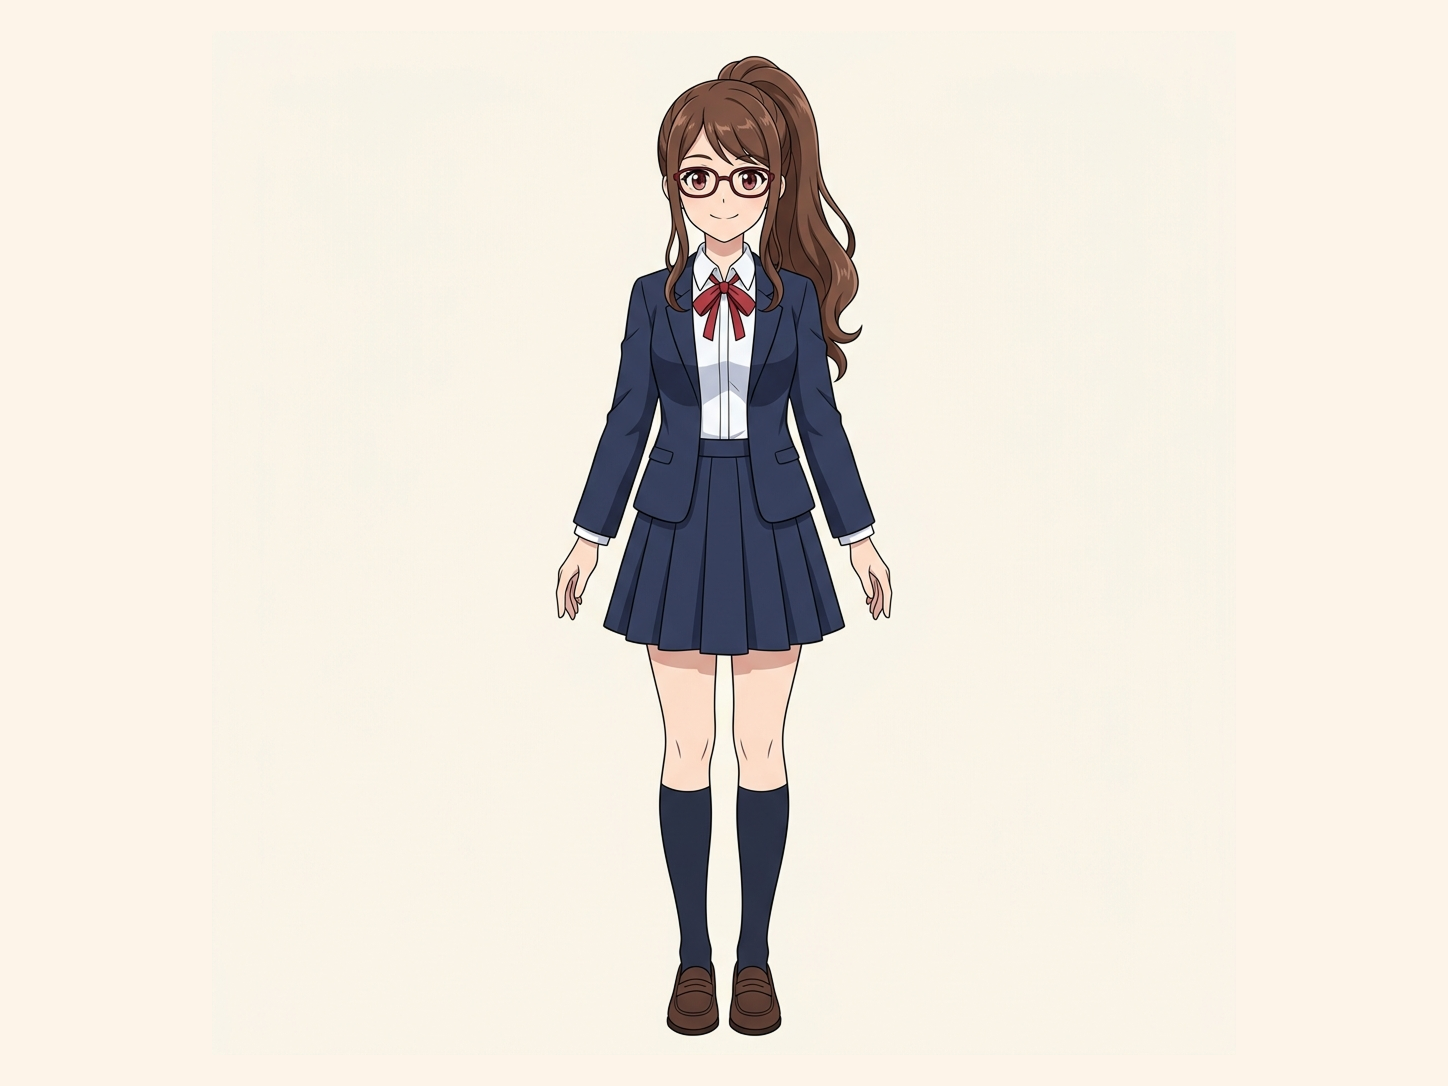
Need hair, face, eyes, mouth, clothing, or body-part layers?
Settings
Leave this blank to let Detailed Layers identify the main editable elements automatically. Or name the parts you want separated.
Want more control over your layers?
Learn how to guide Detailed Layers with simple prompts, choose useful elements, and get cleaner layer structures from different types of images.
Upload an Image to Continue
Private File Handling
Uploaded files are associated with your account and delivered through signed URLs. You can delete completed jobs manually.
Transparent PNG Output
Detailed Layers returns each detected element as its own layer on a transparent background.
Continue Editing in Agent Workspace
Multi-Agent SuiteOpen the layered result in Agent Workspace to clean up elements, create visual variations, or continue working from the same project.
See How Image Separation Works
Separate visual elements into individual layers while reconstructing the background hidden behind them.

 01ITL
01ITLPump bottle
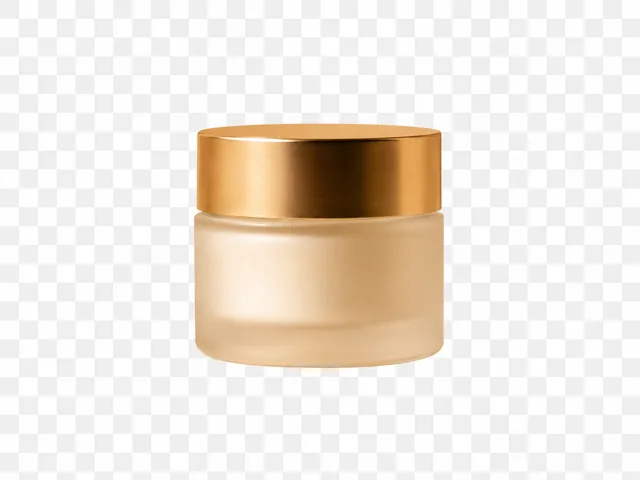 02ITL
02ITLCream jar
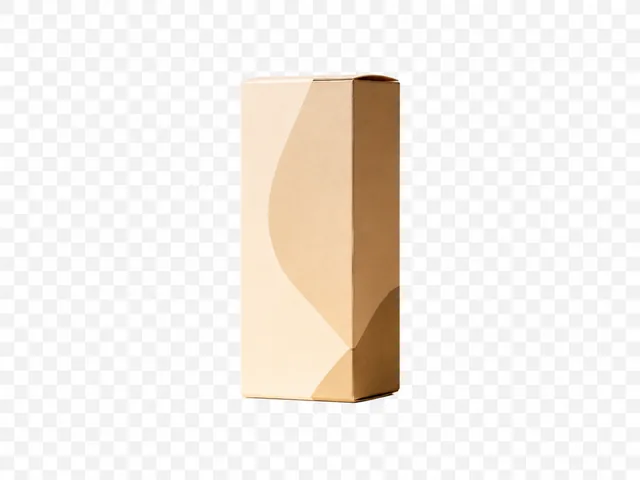 03ITL
03ITLProduct box
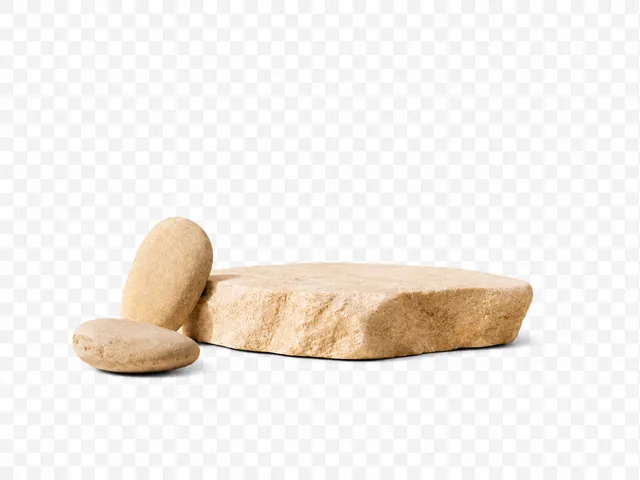 04ITL
04ITLStone props
 05ITL
05ITLBackground
01ITLPump bottle
02ITLCream jar
03ITLProduct box
04ITLStone props
05ITLBackground

 01ITL
01ITLLayer_01: Subject
 02ITL
02ITLLayer_02: Background
01ITLLayer_01: Subject
02ITLLayer_02: Background
Final Layers
More Than Background Removal
Background removers create a transparent cutout. ImageToLayers also reconstructs the area hidden behind the subject, giving you complete assets for editing and composition.
Most images are processed in 60–120 seconds.
Separate, edit, and export your image layers
Upload a flat image, separate it into editable visual layers, refine individual elements, and export the result for further creative work.
- Step 1
Upload Your Image
Upload a JPG, PNG, or WebP image up to 10 MB. Images with clearly separated subjects and objects usually produce easier-to-edit layers.
- Step 2
Separate the visual layers
Select the processing mode and choose how many independently editable visual groups the AI should attempt to create.
- Step 3
Edit the individual elements
Inspect each layer, split mixed elements, edit a layer, or continue in Agent Workspace when you want new variations or further changes.
- Step 4
Export the Result
Download transparent PNG layers in a ZIP file or export the composition as a layered PSD. Available export formats may depend on your plan.
Example Layering Workflows
See how automatic layer separation speeds up professional tasks.
Product Photo Editing
Problem: Products captured with complex real-world backgrounds.
Solution: Separate the product, supporting elements, shadows, and background so each part can be reviewed or adjusted independently.
Benefit: Achieve precise color correction or composite new elements easily.
Character Preparation
Problem: Characters need to be extracted from their environments for animation or posing.
Solution: Create initial character and background layers before refining body parts in a dedicated character workflow.
Benefit: Jumpstart animation prep by separating the main subject from the background.
Marketing Compositions
Problem: Flat promotional images need to be adapted to new dimensions.
Solution: Separate major visual elements before adapting a flat image into new layouts or presentation formats.
Benefit: Repurpose flat assets into dynamic multi-layer marketing materials.
Parallax Prototypes
Problem: Creating depth from 2D art requires tedious manual masking.
Solution: Create approximate foreground, middle-ground, and background layers for early motion and depth experiments.
Benefit: Quickly test parallax effects with AI-estimated hidden background content.
Explore Image Layering Workflows
Choose a workflow based on the type of image you want to separate or the editable output you need.
Convert and Export
Separate Specific Images
Learn How It Works
Frequently Asked Questions About Image Layer Separation
Answers about layer separation, choosing a layer count, Standard versus Pro, PSD export, and refining your results after generation.
What does Core Layers actually separate?
How many layers should I choose?
What is the difference between Standard and Pro?
What if two objects are combined into the same layer?
Can Image to Layers recover parts hidden behind an object?
Are these the original Photoshop or design-file layers?
Can I export the result as a PSD?
Can I download the layers individually?
What kinds of images work best?
Should I use Core Layers or Detailed Layers?
What if the first result is not detailed enough?
What happens if layer generation fails?
Only need two layers?
Just the subject and the background? Try Background Splitter
When a photo only has one subject in front of a background, Background Splitter gives you a transparent foreground and a reconstructed background in one step, without setting up a full multi-object layer split.

Original photo
The source image with a single subject and background.

Transparent foreground
The subject isolated as a clean transparent PNG.

Reconstructed background
The scene behind the subject, rebuilt and reusable on its own.
Need more than two layers, multiple objects, props, or text? Use the workspace above instead.