Graphic design to layers
Turn a flat design into editable visual layers
Separate posters, social graphics, campaign visuals, presentation artwork, and other flattened designs into reusable image, graphic, foreground, and background layers — so you can keep editing without rebuilding everything from scratch.
Choose a cleaner layer structure for quick edits or separate more individual elements when you need finer control.
Click or drag image to upload
Click or drag image to upload
JPG, PNG, or WebP · Maximum 10 MB
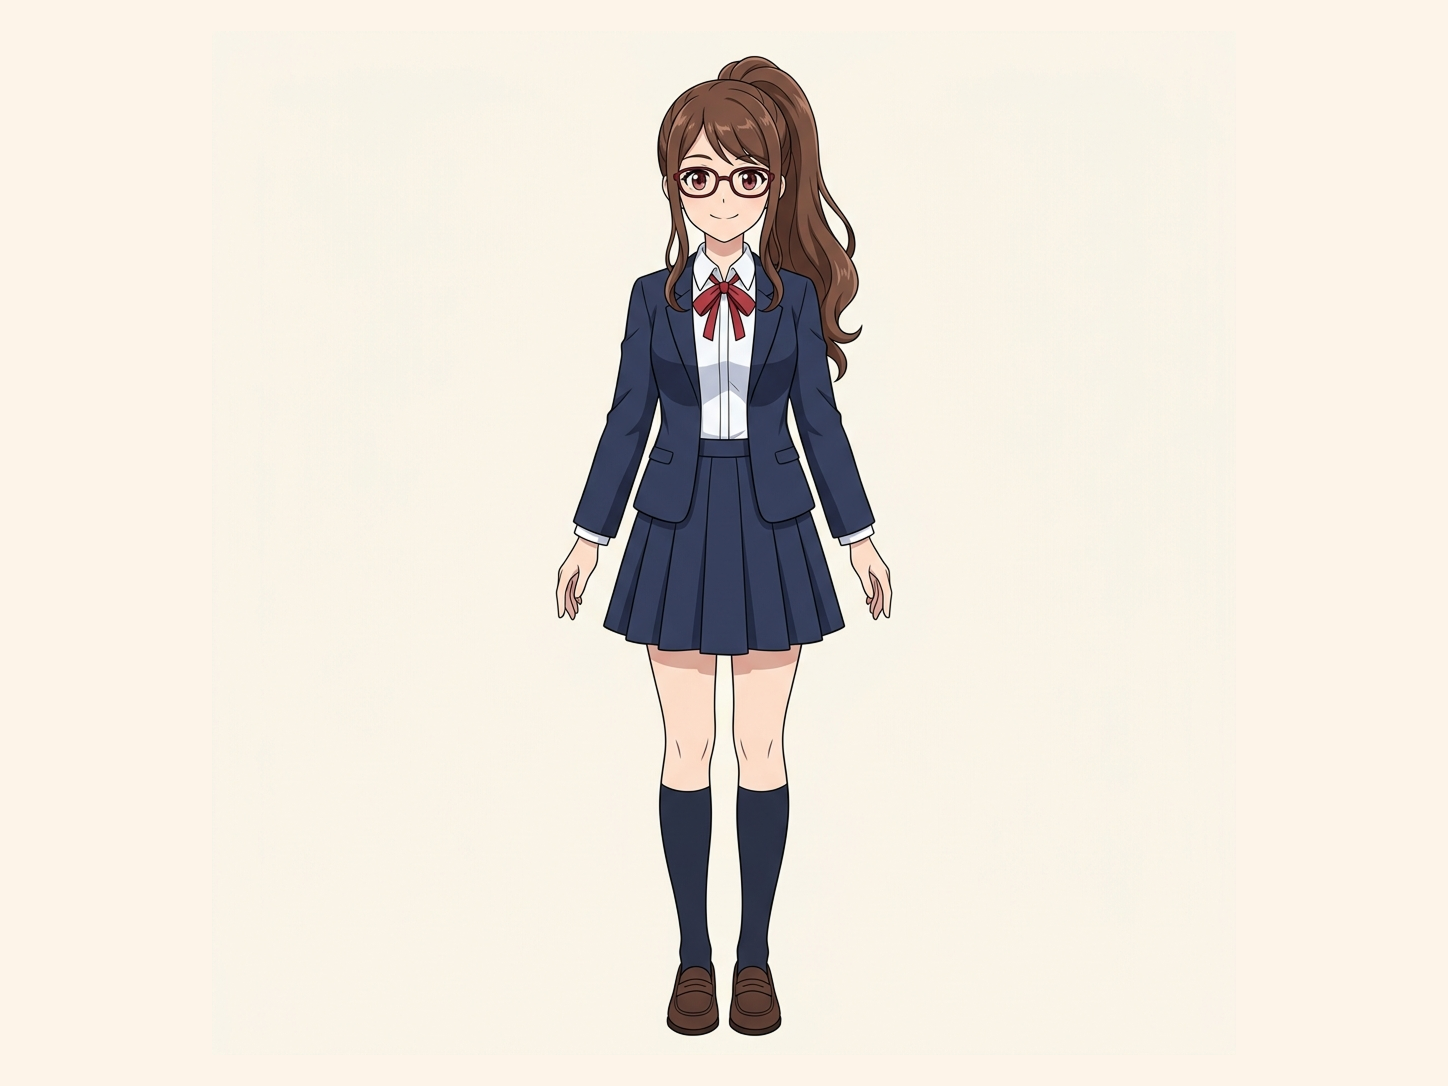
Need hair, face, eyes, mouth, clothing, or body-part layers?
Settings
Leave this blank to let Detailed Layers identify the main editable elements automatically. Or name the parts you want separated.
Want more control over your layers?
Learn how to guide Detailed Layers with simple prompts, choose useful elements, and get cleaner layer structures from different types of images.
Upload an Image to Continue
Private File Handling
Uploaded files are associated with your account and delivered through signed URLs. You can delete completed jobs manually.
Transparent PNG Output
Detailed Layers returns each detected element as its own layer on a transparent background.
When the design is flat but the work isn't finished
Keep editing the design you already have
A finished poster or social graphic may look complete, but once the product, imagery, decorations, and background are flattened into one JPG or PNG, even a small change can become frustrating. The product cannot simply be moved. A decorative graphic cannot be hidden. A background cannot be replaced without recreating selections.
The goal is not to recover the lost source file. It is to make the design useful again.
See what was flattened together
One design becomes reusable visual parts

Original design
The exact layer structure depends on the source design.
Separate what you may need again
What can become a graphic design layer?
Main subject or product
Keep the hero product, person, illustration, or central visual independent from the surrounding composition.
Supporting imagery
Separate secondary photos, objects, mockups, or visual elements when they can be identified clearly.
Graphic elements
Recover badges, frames, shapes, stickers, illustrations, and other design elements as reusable visual layers.
Foreground decoration
Keep flowers, ornaments, particles, texture elements, and framing graphics independent when useful.
Background
Separate the underlying scene, texture, color field, or visual background from foreground content.
Visible lettering
Some lettering may be isolated as a visual image element, depending on the design and selected workflow.
Need editable text, logos, and ad-specific design reconstruction? Use Ad to Layers instead.
Open Ad to LayersChoose how far to break it apart
A cleaner stack or finer control?
Core Layers
Best for: general editing and reuse
- Separates the main parts of the design
- Main subject, imagery, graphics, background
- A cleaner, more manageable layer stack
Detailed Layers
Best for: finer element-level editing
- Separates more individual design elements
- Smaller objects, decorations, graphic elements
- Layer count varies with the design, up to 17
Want a clean, manageable working file? Choose Core Layers. Want smaller elements independently editable? Choose Detailed Layers.
More layers are not automatically more useful. If you only need the product, supporting imagery, major graphics, and background separated, Core Layers may give you a cleaner working file. Choose Detailed Layers when you expect to move, replace, hide, or reuse smaller elements independently.
Separation is the starting point
What becomes easier once the design has layers?
Move the main product
Reposition the hero element without rebuilding the entire composition.
Hide or replace a decoration
Remove one visual element while keeping the rest of the design intact.
Change the background
Continue from a separated structure instead of remasking the complete composition.
Create another layout
Reuse the same product, imagery, and design elements in a different aspect ratio or creative direction.
Build an asset library
Save useful transparent graphics, illustrations, products, and decorations for future designs.
Hand off a more usable file
Give the next designer a layer stack or separated assets instead of one flattened image.
Layer separation does not recreate the original design system, but it gives you independent visual assets to continue working with.
Reuse the design instead of starting over
Useful when the next version is already due
Update an old campaign
Start from an approved flattened visual and recover useful parts before creating the next version.
Create social variants
Reposition products, imagery, and decorations when adapting a design for another placement or aspect ratio.
Reuse visual assets
Pull useful components out of an older design so they can be used in new creative work.
Build a new composite
Combine selected elements with a new background, layout, or campaign direction.
Use the workflow that matches the design
Graphic Design to Layers or Ad to Layers?
Graphic Design to Layers
Best for: general flattened designs
- Goal: recover reusable visual assets
- Images, objects, and backgrounds
- Graphic elements as raster visual layers
- Text may be isolated visually, not the main workflow
Ad to Layers
Best for: ads, banners, and promotional creatives
- Goal: reconstruct editable design structure
- Images, objects, and backgrounds
- Design-aware graphic reconstruction
- Dedicated text handling, including Editable Text and Preserve Lettering modes
Use Graphic Design to Layers when you mainly need the visual parts of a design separated. Use Ad to Layers when text, logos, promotional copy, and layout structure are important parts of what you need to keep editing.
From flat design to workable layers
How Graphic Design to Layers works
- 01
Upload the design
Start with the highest-quality version of the JPG, PNG, or WebP you have.
- 02
Choose a layering mode
Select Core Layers for the main design groups or Detailed Layers when you want more individual elements.
- 03
Let AI separate the visible structure
The system analyzes the composition and creates a new set of independent visual layers from the content it can identify.
- 04
Review the result
Hide and inspect layers. Check important edges, small graphic details, logos, overlapping objects, and other areas that matter to your design.
- 05
Export or continue editing
Download the separated assets, create a layered working file when available, or continue into another ImageToLayers workflow.
Keep using the tools you already know
Take the separated assets into your next workflow
Photoshop
Continue with a layered PSD when available, or import the transparent assets individually for further editing.
Figma
Bring separated PNG assets into a new or existing layout and use the elements you need.
Canva
Upload transparent assets and reuse them inside new social, marketing, or presentation designs.
ImageToLayers does not restore the original Photoshop, Figma, or Canva document from a flattened image.
When something was covering the background
Create a more reusable background after separation
When a product, person, or graphic is removed from a flattened composition, part of the background may have been hidden behind it. After generating your layers, use the AI Editor on the result page to paint in a plausible fill for that area.
Filled areas are AI-generated estimates, not recovered original pixels. Review them when brand accuracy matters.
General photo or designed composition?
Choose the right starting point
Graphic Design to Layers
Best when the source already looks designed:
Posters, social graphics, promotional visuals, presentation artwork, illustrated layouts
Recover useful design assets.
Separate my designImage to Layers
Best when the source is primarily a normal image or visual scene:
People, products, rooms, objects, general photography
Separate subjects and objects from a scene.
Open Image to LayersIf the image was designed, start here. If it was primarily photographed, Image to Layers is usually the better starting point.
Screen design or print workflow?
Graphic Design to Layers or Print Design Layers?
Best for digital graphics, posters, social creatives, presentation artwork, and reusable visual assets.
Better when the next step is print-oriented production such as packaging, catalogs, labels, or other print workflows.
Working on print? Open Print Design LayersA new editable reconstruction — not the lost source file
Graphic Design to Layers creates a new visual layer structure from what is visible in the flattened design. It cannot recover information that is no longer stored in the image, including the original Photoshop history, hidden layers, Figma components, Smart Objects, source font files, original masks, blend modes, or layout constraints.
Usually easier
Large products, clear subjects, distinct illustrations, clean graphic shapes, separate decorations, and visually simple backgrounds.
More challenging
Tiny typography, thin lines, glass, transparency, gradients, complex shadows, overlapping graphics, small logos, and effects that span multiple elements.
AI-generated and AI-edited results may vary. Review important visual details before using outputs in production.
Frequently asked questions
What is graphic design layer decomposition?
Graphic design layer decomposition takes a flattened design and creates a new set of separate visual layers from the content visible in the image. It can make posters, social graphics, campaign visuals, and other finished design exports easier to continue editing.
Can I turn a JPG or PNG design into layers?
Yes. You can start with a flattened JPG, PNG, or WebP and create a new layer structure from visible elements that can be identified. The result is a new reconstruction, not the original source document.
What kinds of designs work best?
Posters, social media graphics, campaign imagery, presentation artwork, promotional graphics, illustrations, and compositions with visually distinct elements are good candidates.
What is the difference between Core Layers and Detailed Layers?
Core Layers separates the main visual groups and keeps the resulting stack easier to manage. Detailed Layers attempts to separate more individual design elements when you need finer control.
How many layers can Detailed Layers create?
Detailed Layers can return up to 17 layers, including the base or background. The actual number depends on the content and complexity of the source design.
Is Detailed Layers always better?
No. A smaller number of meaningful layers is often easier to edit. Choose Detailed Layers when separating additional elements actually helps your workflow.
Can it separate text from a flattened design?
Visible lettering may sometimes be isolated as a visual layer. However, Graphic Design to Layers does not guarantee recovery of the original font or a live editable text object. If editable advertising text matters, use Ad to Layers.
Can it recover the exact original font?
No. A flattened bitmap does not normally contain the original font file or original typography settings. The original typeface, kerning, text styles, and layout metadata cannot be reliably recovered from pixels alone.
Can it restore my original Photoshop file?
No. A flattened export does not contain the original Photoshop history, Smart Objects, hidden layers, masks, effects, or source assets. The tool creates a new working layer structure from the visible design.
Can it recreate the original Figma file?
No. It cannot restore original Figma frames, Auto Layout, components, constraints, vector source objects, or design-system information from a flattened bitmap. Separated visual assets can still be useful when rebuilding or updating the design in Figma.
Can I use the result in Photoshop?
Yes, depending on the available export options. You can work with individual transparent PNG layers and, when supported, continue with a layered PSD.
Can I use the layers in Figma or Canva?
Yes. Separated transparent assets can be imported into Figma or Canva and reused independently. This does not recreate the original Figma or Canva project.
What is the difference between Graphic Design to Layers and Ad to Layers?
Graphic Design to Layers focuses on recovering reusable visual elements from general flattened designs. Ad to Layers is specifically designed for advertisements, banners, posters, and promotional creatives where text, lettering, logos, and editable design structure are more important.
What is the difference between Graphic Design to Layers and Image to Layers?
Image to Layers is the general-purpose workflow for photos, scenes, people, products, and objects. Graphic Design to Layers is focused on flattened designed compositions and the way designers typically reuse visual assets.
Can AI rebuild a background hidden behind another element?
When background reconstruction is available, AI may estimate areas that were hidden behind foreground content. Those regions are generated approximations, not recovered original pixels.
Will every separated layer have perfect edges?
No. Fine typography, transparency, shadows, gradients, thin lines, overlapping graphics, and very small elements can make separation more difficult. Review important edges and brand-critical details before production use.
Does separating a design change its copyright or license?
No. Layer separation does not change the rights attached to the source content. Only upload and reuse content that you own or have permission to use.
Should I use Core Layers or Detailed Layers for a simple poster?
If you mainly need the hero subject, major imagery, graphics, and background separated, start with Core Layers. Use Detailed Layers when smaller decorations or individual visual elements need to remain independent.
Turn the flat file into something you can edit again
Upload a poster, social graphic, campaign visual, or other flattened design. Separate the useful visual parts, review the layer stack, and continue from a more flexible starting point.
Core Layers for a cleaner structure · Detailed Layers for finer separation