Character to Layers
Separate supported character images into editable visual layers you can review, export, and refine.
Separate character artwork into editable PSD & PNG layers (hair, face, clothing, body).
Upload a Character
Supports JPG, PNG, and WebP
or drag and drop
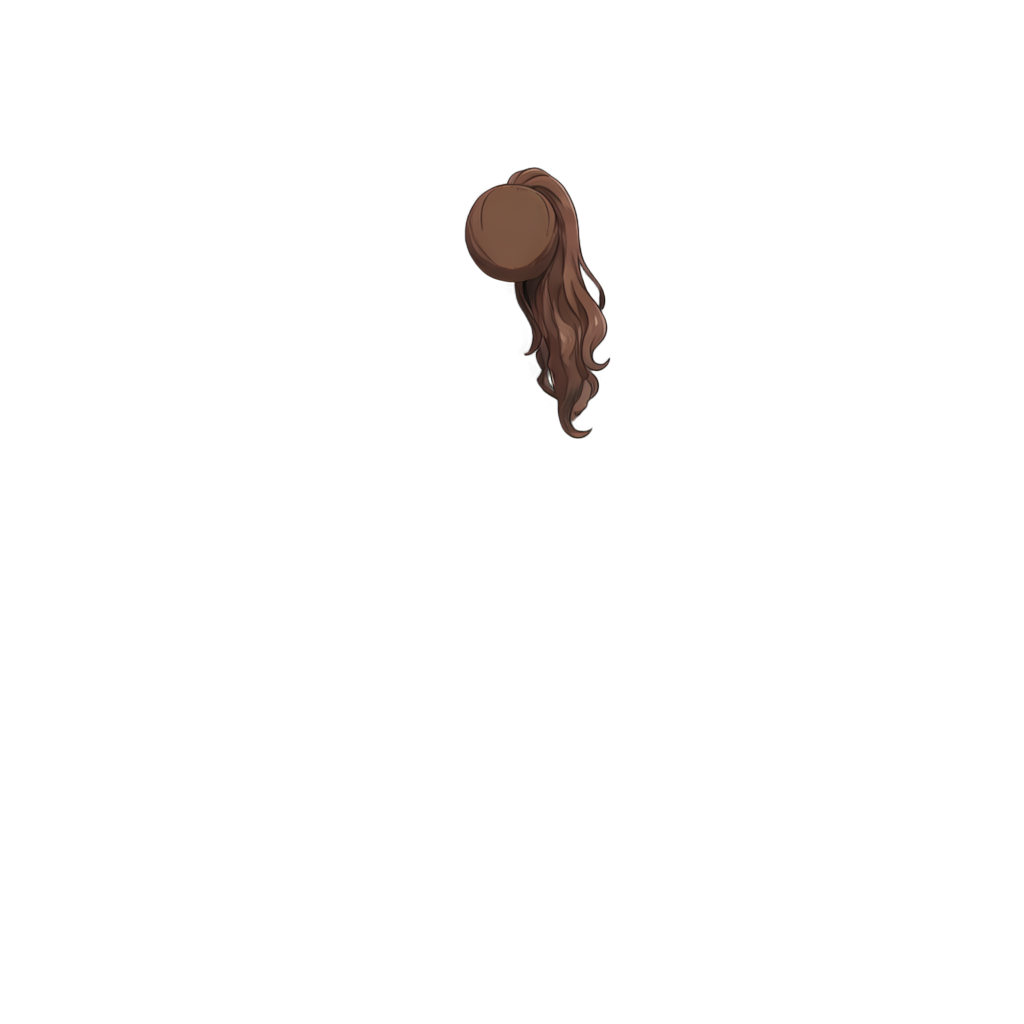
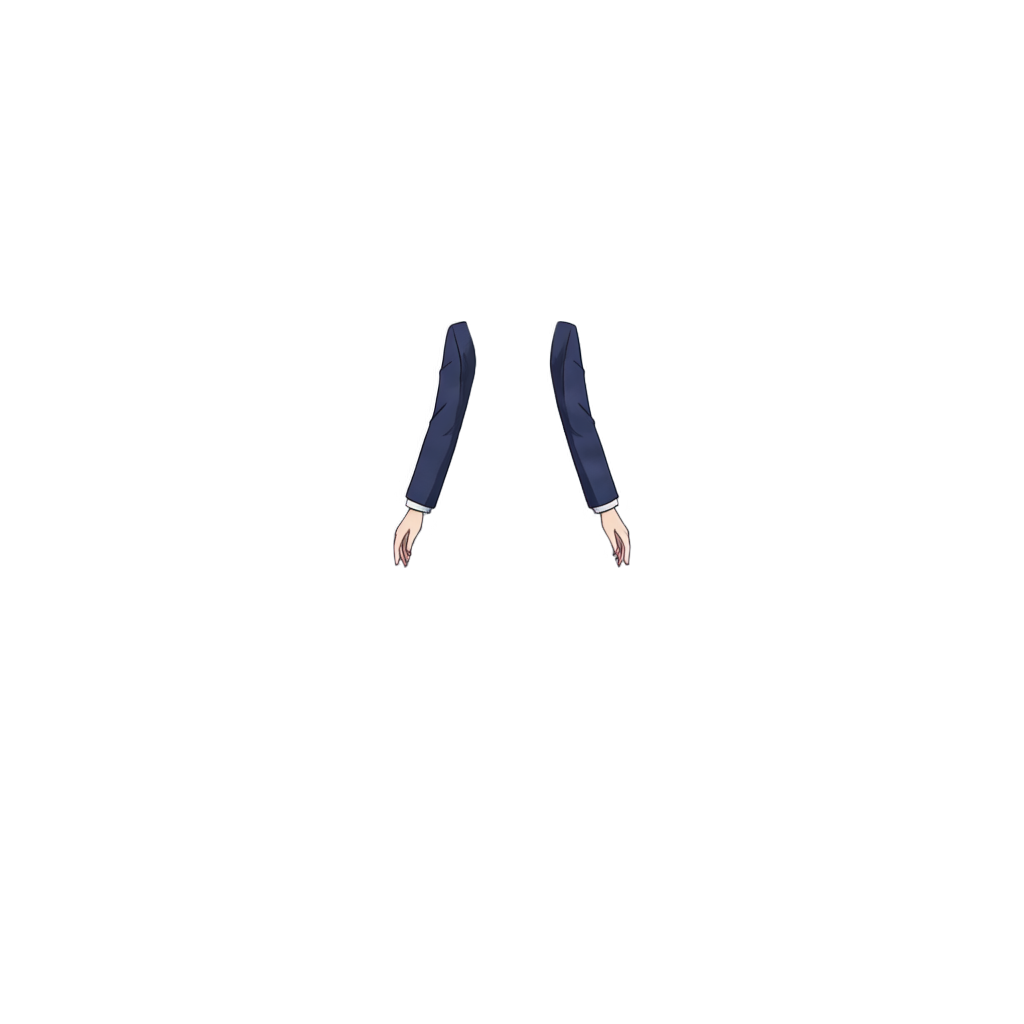
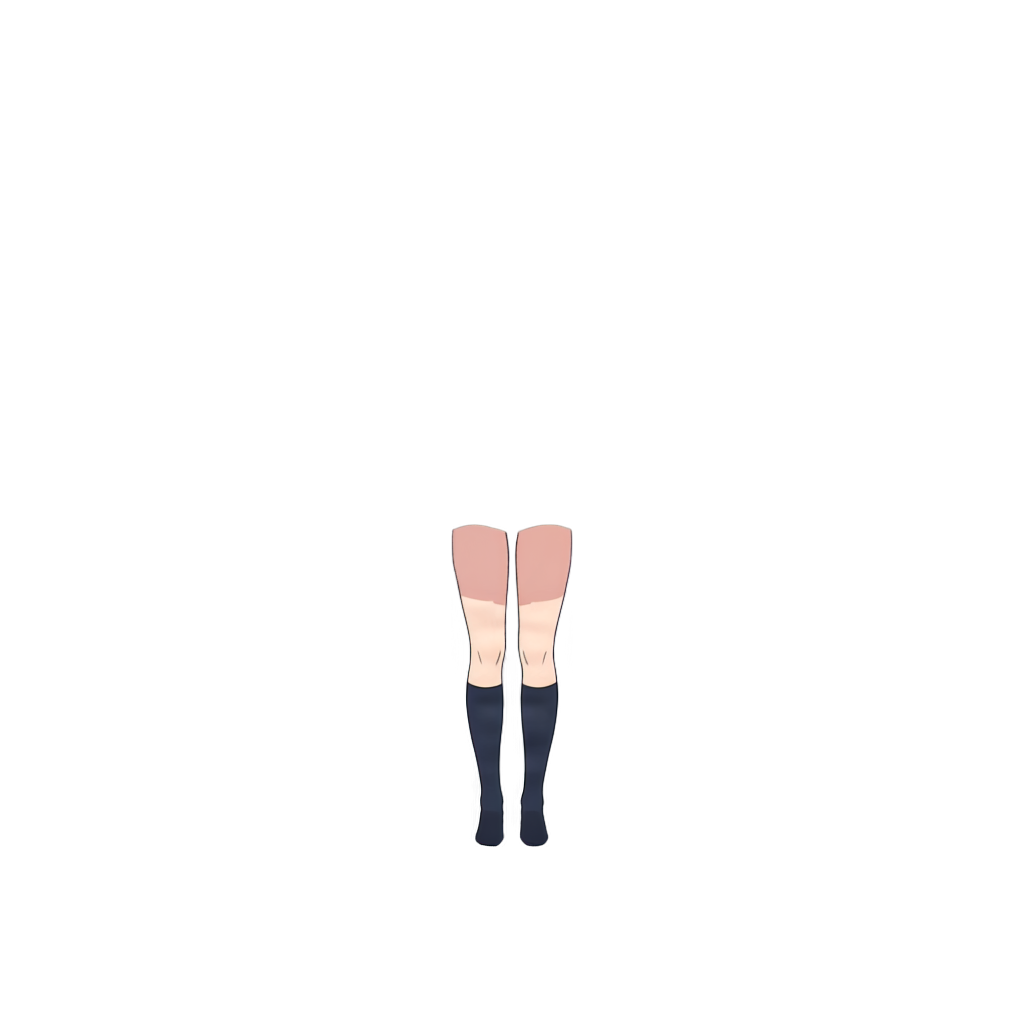
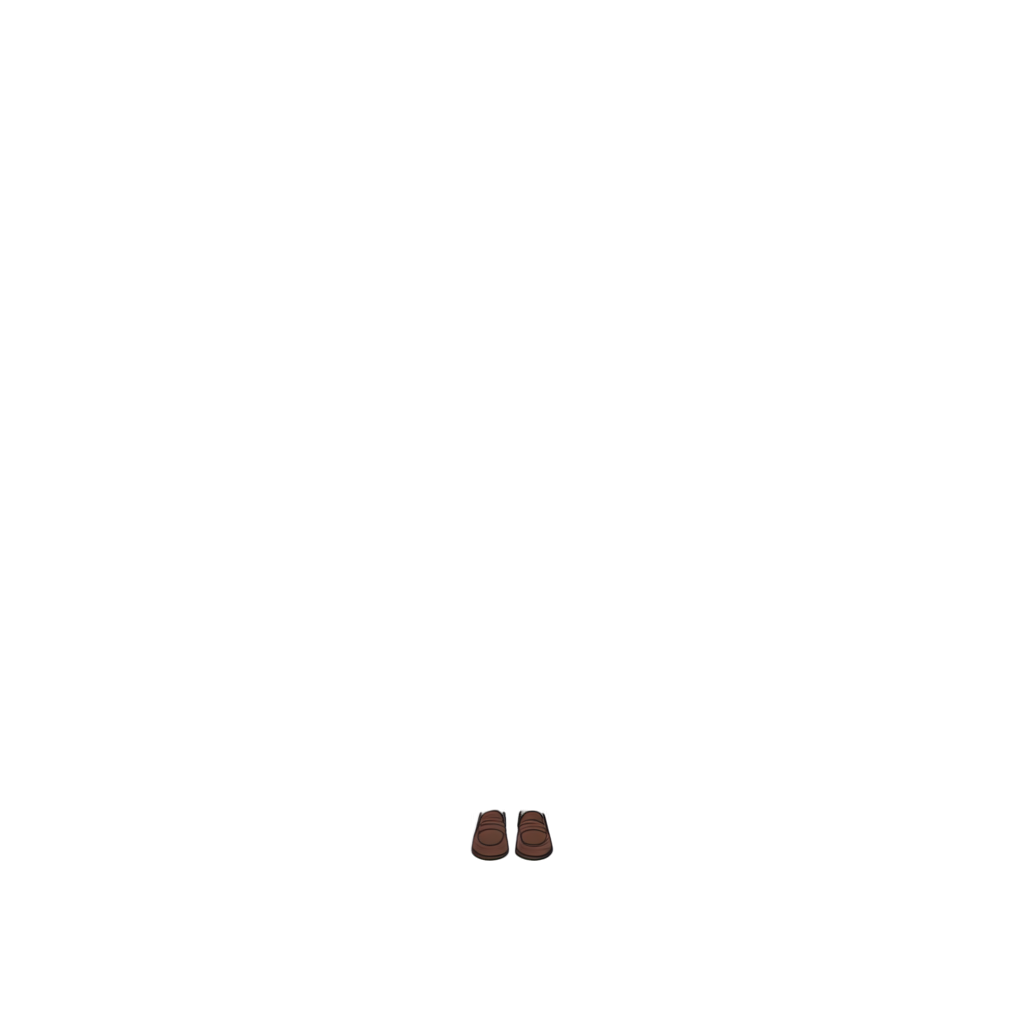
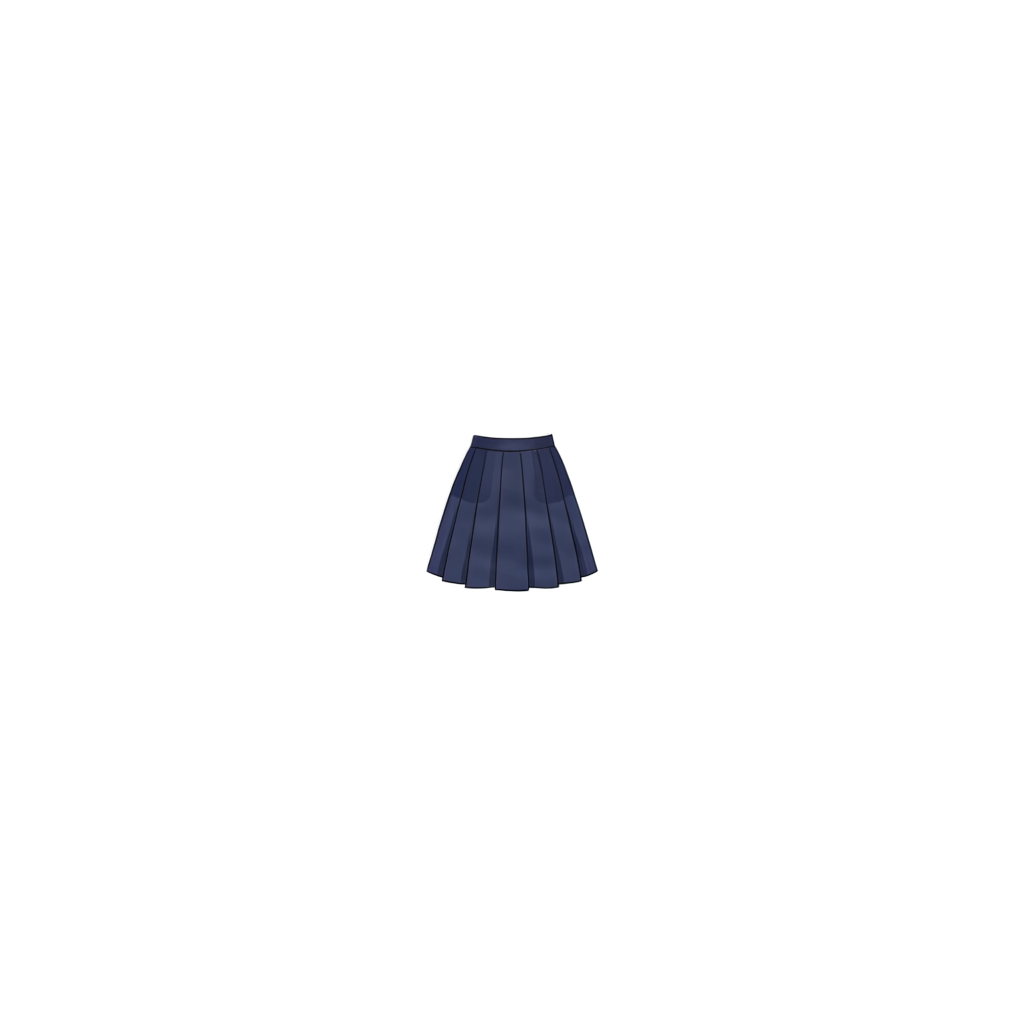
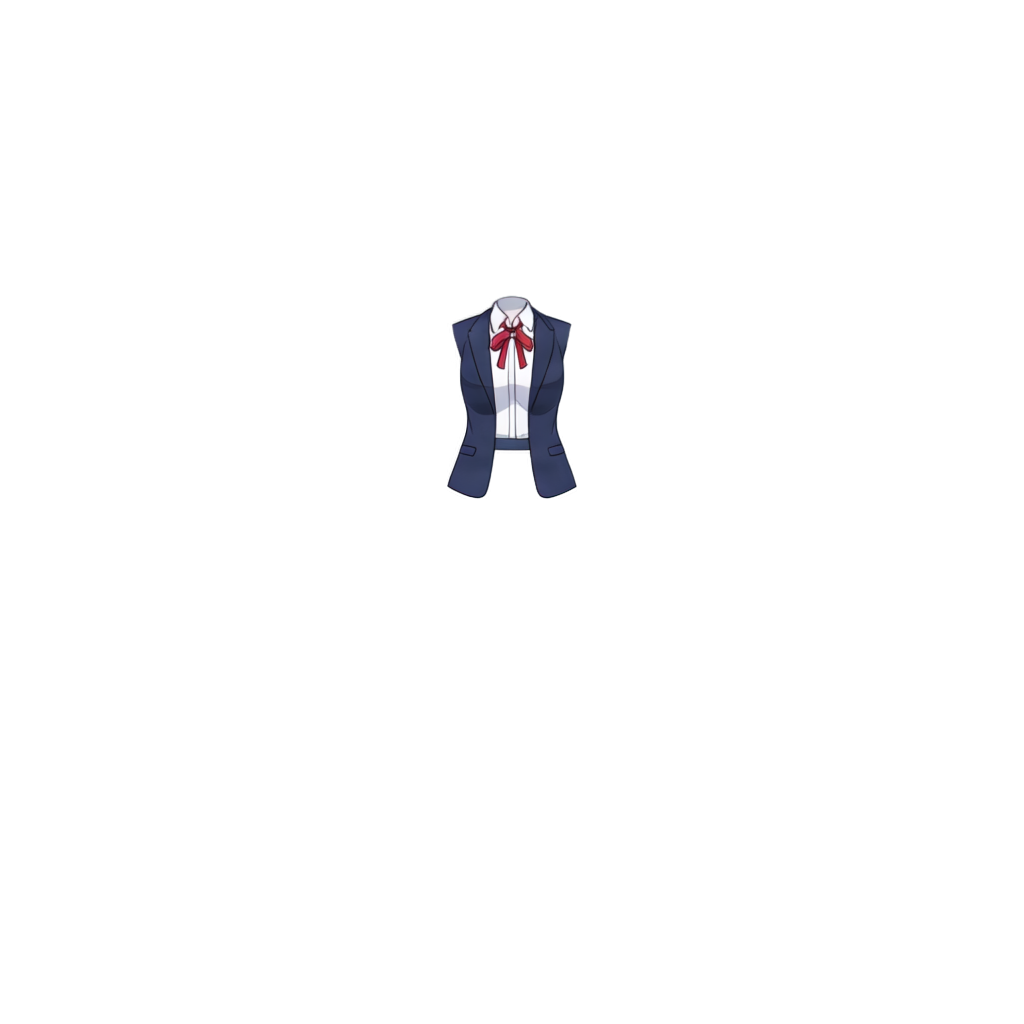
Ready to test with your own or this sample character
Upload one complete character with a visible face and body. Isolated hair, clothing, or accessory layers may return only partial results.
Your source image stays private
Uses 30 credits per image
Processing time varies with image complexity. Detailed characters and complex poses may take longer.
Best results: one full-body character, a clear silhouette, visible arms and legs, a simple pose, and a clean background. Avoid heavy occlusion, complex poses, and multiple characters.
Real output preview
A real character separation example
This example uses the current Character to Layers workflow. Results depend on the input image, and generated layers should be reviewed and refined before animation or rigging.
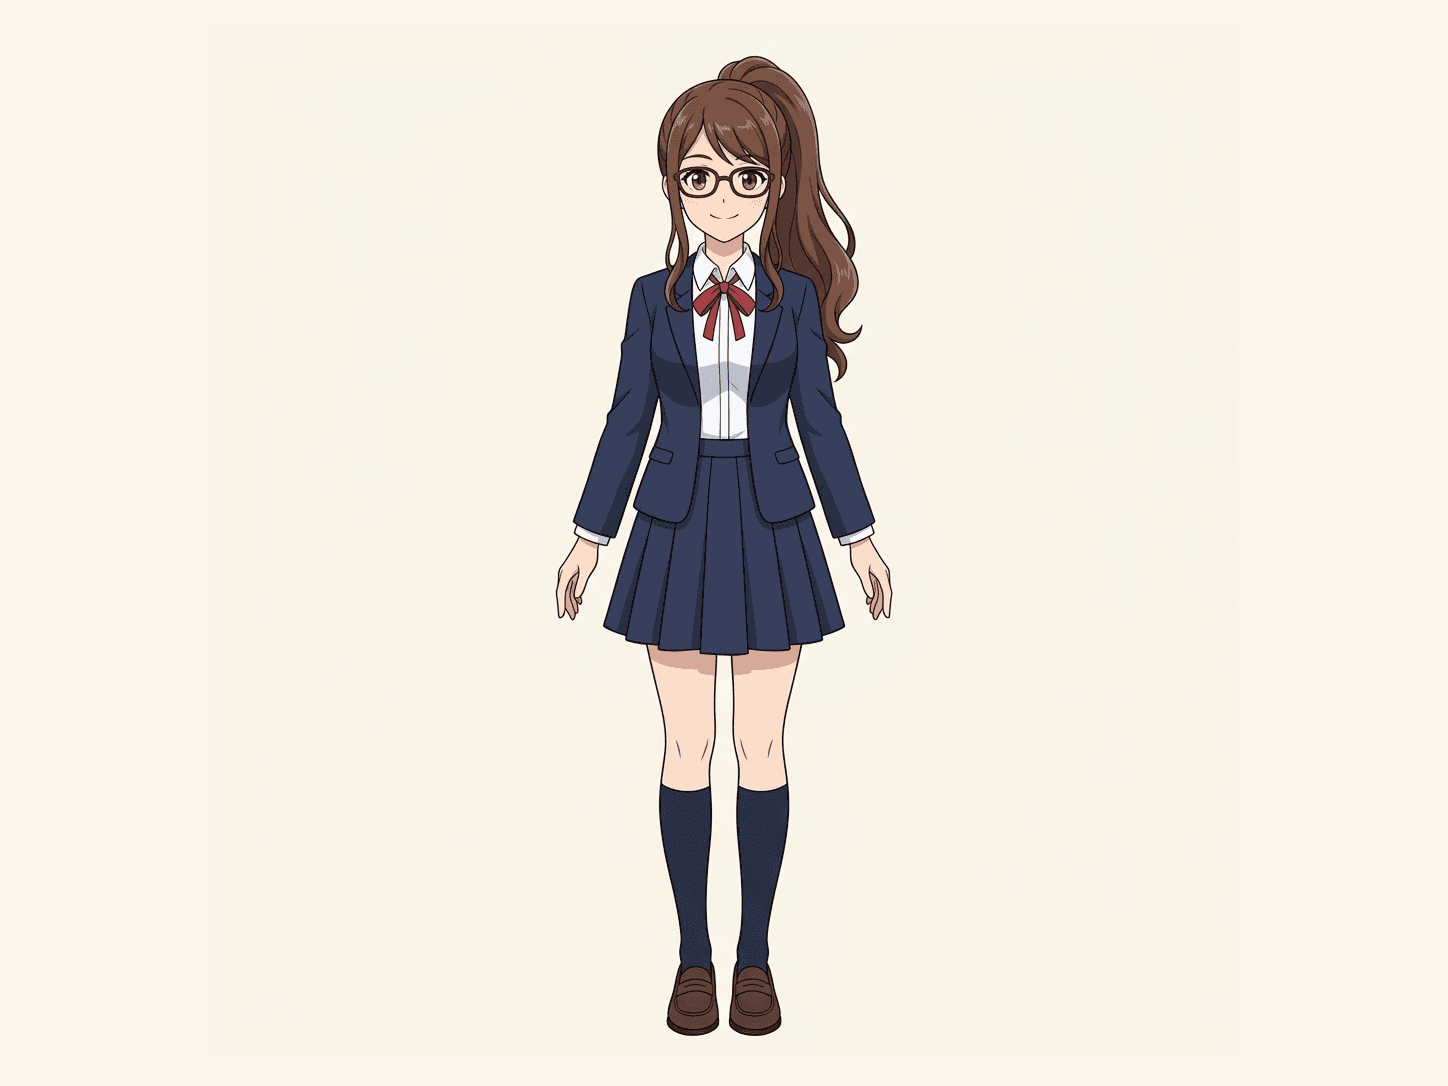
Original character and generated layer stack
Original character
Layer stack
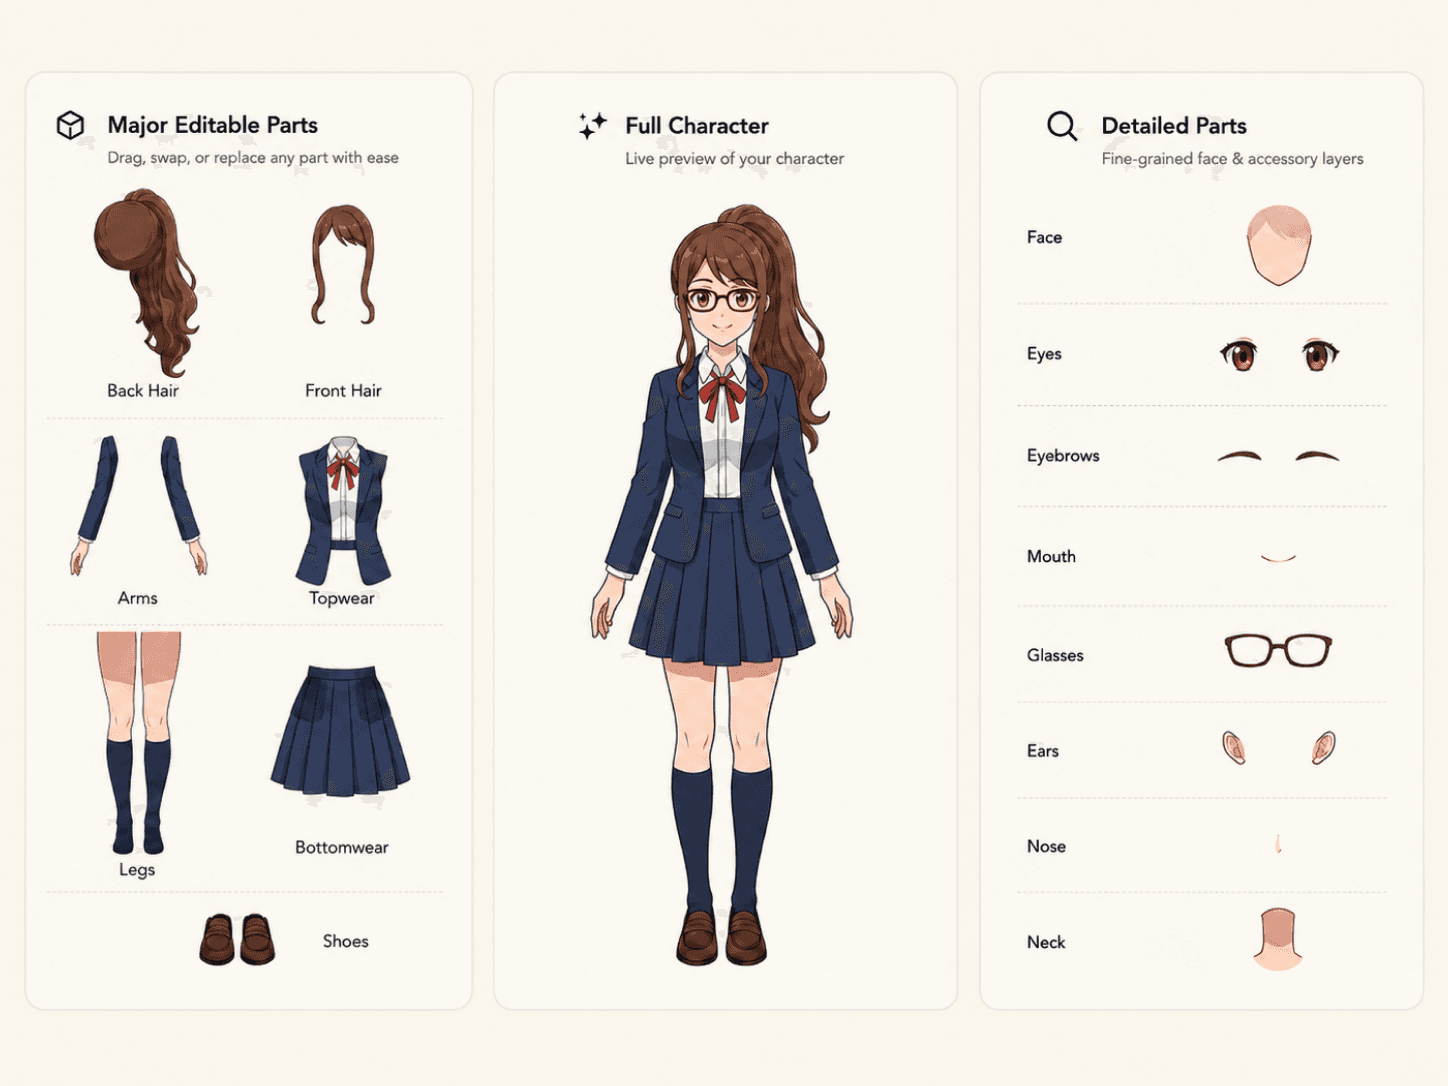
Separate visible character elements
Complex poses, occluded details, and overlapping accessories may still need manual cleanup before final animation or rigging work.
Prepare character images for editing and animation workflows
Character artwork often arrives as one flat image. Separating visible hair, face, clothing, body parts, props, and background groups makes revisions easier.
Use the generated layers as an editable starting point, then review edges, occluded areas, and part boundaries before final production.
What you can prepare
Separate generated characters into editable parts for further editing.
Prepare character images before importing them into your design workflow.
Create separated layers for testing poses, expressions, and motion concepts.
Choose your character workflow
Start with the workflow that matches your goal
Use this hub for the general upload flow, or move into a focused character workflow when you already know what you need.
Character Layer Separator
Separate a character image into visible hair, face, body, clothing, accessory, and prop regions.
Open separatorAnime Art Into Layers
Separate flat anime-style artwork into editable character and visual regions.
Separate anime artCharacter Parts Extractor
Extract visible hair, clothing, weapons, and accessories when focused part editing is the main goal.
Extract character parts2D Character Rigging Prep
Prepare separated character artwork as a starting point before manual cleanup and rigging.
Prepare for riggingGame Character Layer Separator
Create editable character regions for game asset review, iteration, and production preparation.
Prepare game assetsComic & Manga Into Layers
Separate comic and manga artwork into editable visual regions for revisions and compositing.
Separate comic artLive2D
Create a layered starting point for Live2D preparation, cleanup, and animation work.
Open Live2D workflowSpine
Prepare character artwork for a Spine-focused layered asset workflow.
Open Spine workflowVTuber
Separate visible character regions as a starting point for VTuber asset preparation.
Open VTuber workflowHow character separation works
1. Upload the character image
2. Separate the main parts
3. Review the layers
4. Export or keep editing
What can you prepare?
AI characters
Game assets
Animation experiments
Character revisions
A practical starting point
Character to Layers FAQ
Can I turn a character image into editable layers?
Supported character images can be separated into visual parts you can review, export, and refine. Results vary with pose, visibility, overlap, and image complexity.
Is this only for Live2D or Spine rigging?
No. The generated raster layers can also be a starting point for game asset preparation, avatar work, character revisions, and general design cleanup.
Why are layers useful for game asset prep?
Layers can make individual parts easier to review and revise before the next production stage. Manual cleanup or additional separation may still be required.
Where do I review the result?
After processing, the result opens in the shared Image to Layers result workspace for preview and export.
Can I use it for avatar or creator systems?
It can help prepare avatar artwork, expression assets, profile characters, and reusable visual parts when the input has clear, visible character elements.
Is it useful before final rigging cleanup?
It provides a starting set of raster parts for review before mesh setup, rigging, animation, or detailed art cleanup. It does not create a finished rig or guarantee animation-ready layers.
Can I continue editing after separation?
Yes. You can review the generated parts, export them, or continue working from the shared result workspace.
What types of character images work best?
Use one full-body character with a clear silhouette, visible arms and legs, a simple pose, and a clean background. Heavy occlusion, overlapping accessories, complex poses, cropped limbs, and multiple characters are more likely to require manual cleanup.
How long does Character to Layers take?
Processing time depends on image complexity. Simple character illustrations usually finish faster, while detailed hairstyles, accessories, overlapping parts, or complex poses may require several minutes. The AI analyzes the character structure before creating the editable layers.