
For RPG Characters & Game Artists
Separate Character Armor Into Editable Layers
Your character is already drawn. Now you need to move the cape, change the helmet, or prepare the arms for animation—but everything is flattened into one image. Turn recognizable armor, equipment, and body parts into separate layers, without cutting every piece out by hand.
Upload one character image. No original PSD or manual tracing required to get started.
Separate armor, limbs, capes, weapons, and other equipment into individual transparent layers.
Separates the pieces the AI can clearly see; the number of layers depends on your artwork. Covered areas may be reconstructed.
Separate Body Parts & Equipment
Supports JPG, PNG, and WebP
or drag and drop
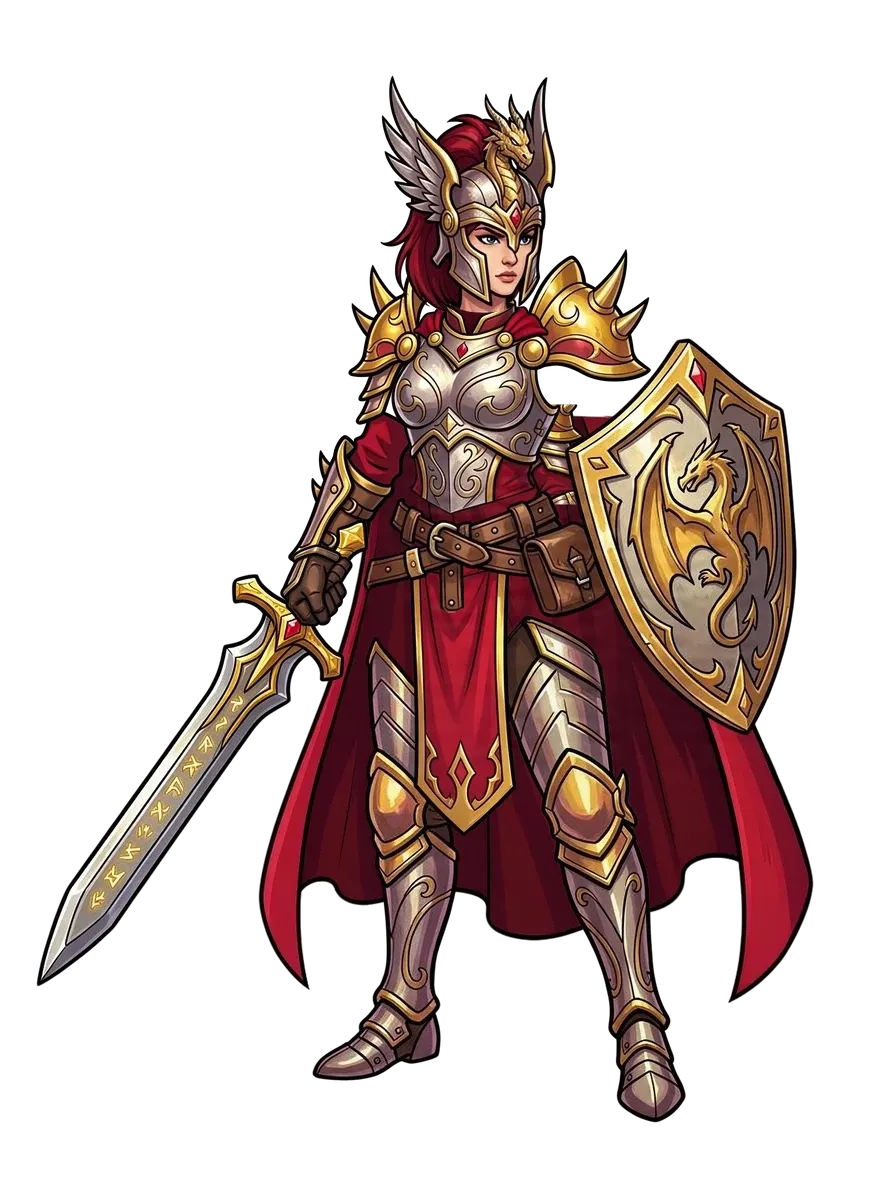
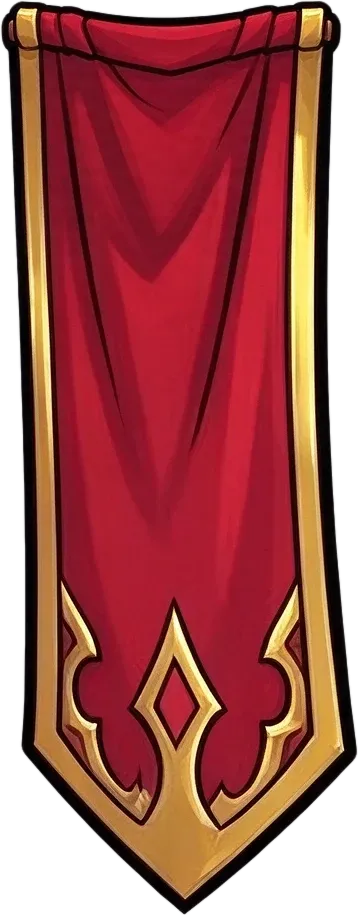
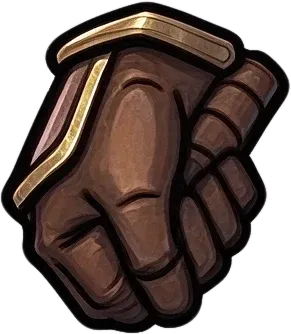
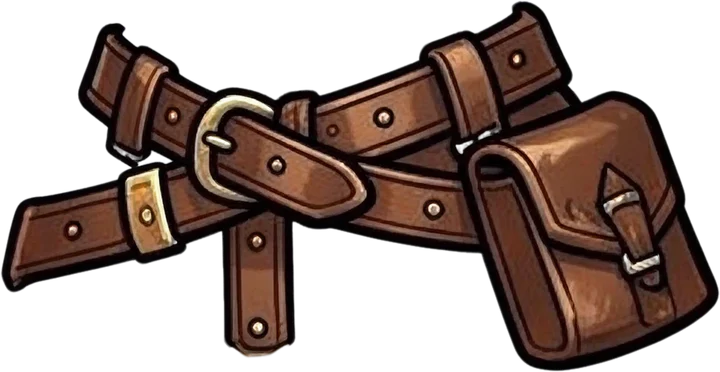
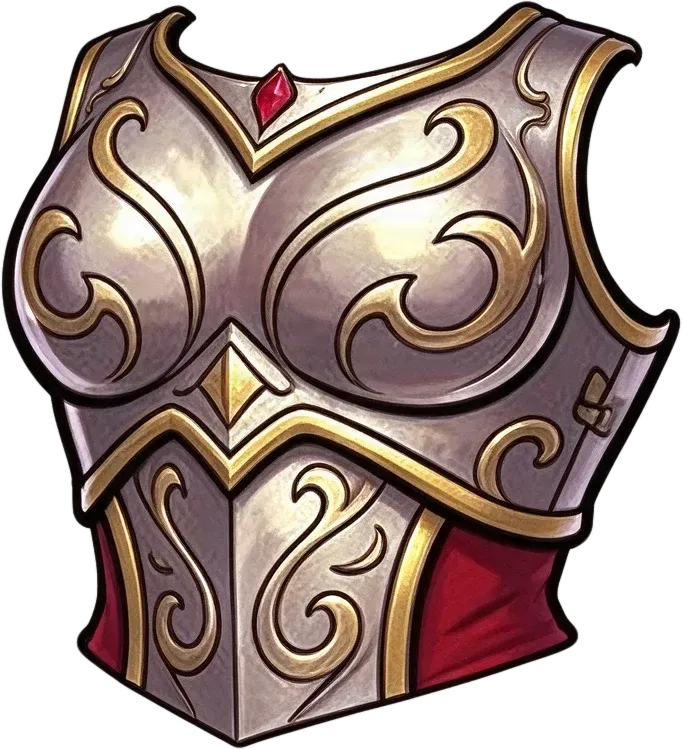
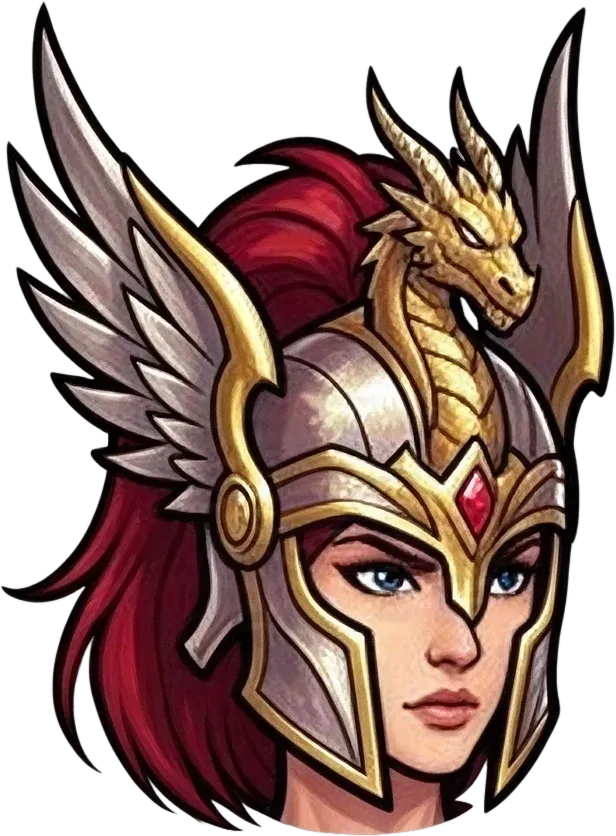
Ready to test with your own or this sample character
Clear character structure works best
Covered areas may be reconstructed
Uses 60 credits per character
Processing time varies with artwork complexity. Detailed armor, overlapping limbs, and large capes may take longer.
60 credits per image · Generated parts depend on your artwork
See a Real Separation Result
One Warrior. Separate Pieces You Can Work With.
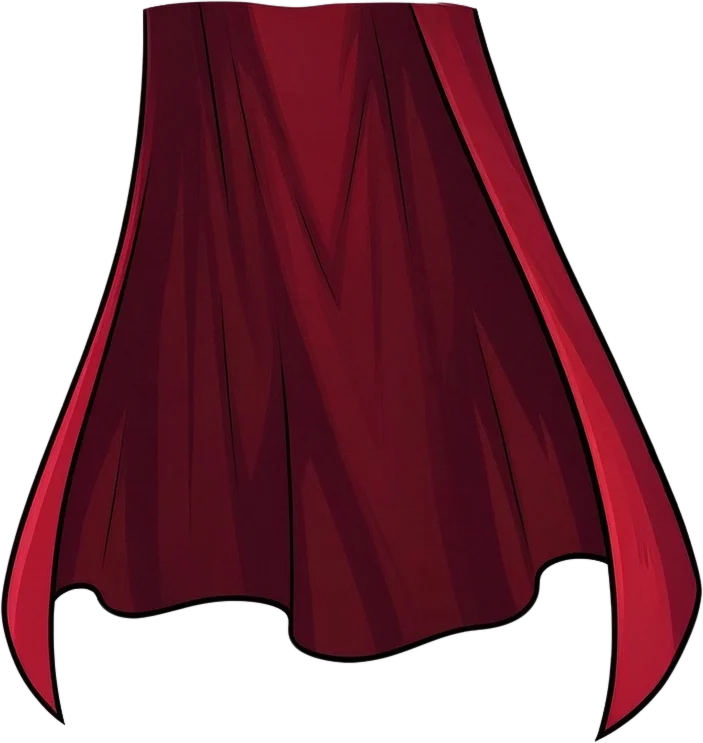
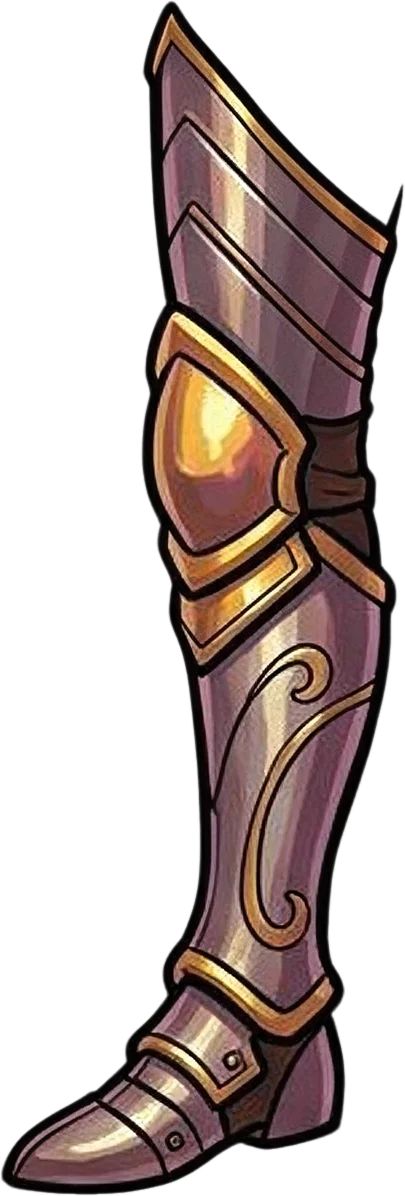
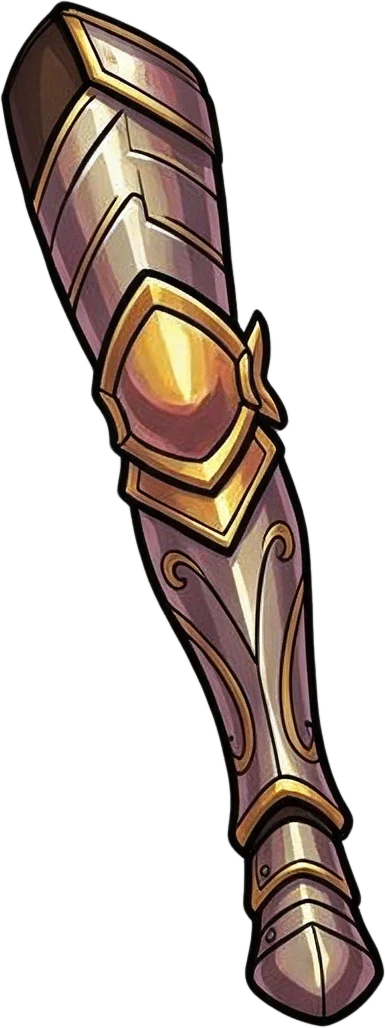
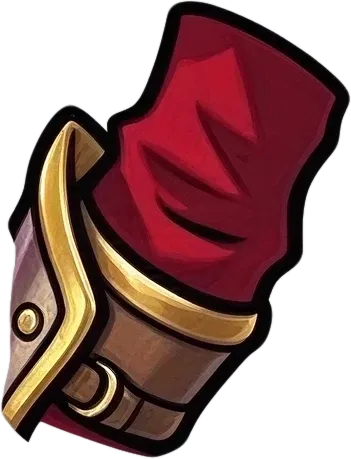
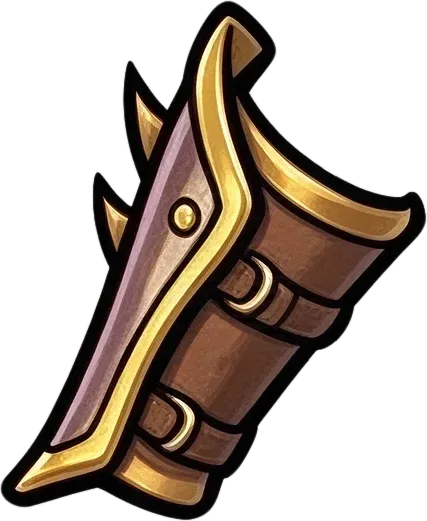
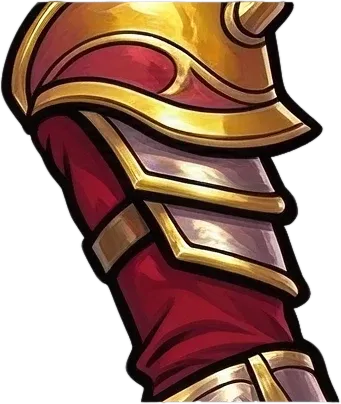
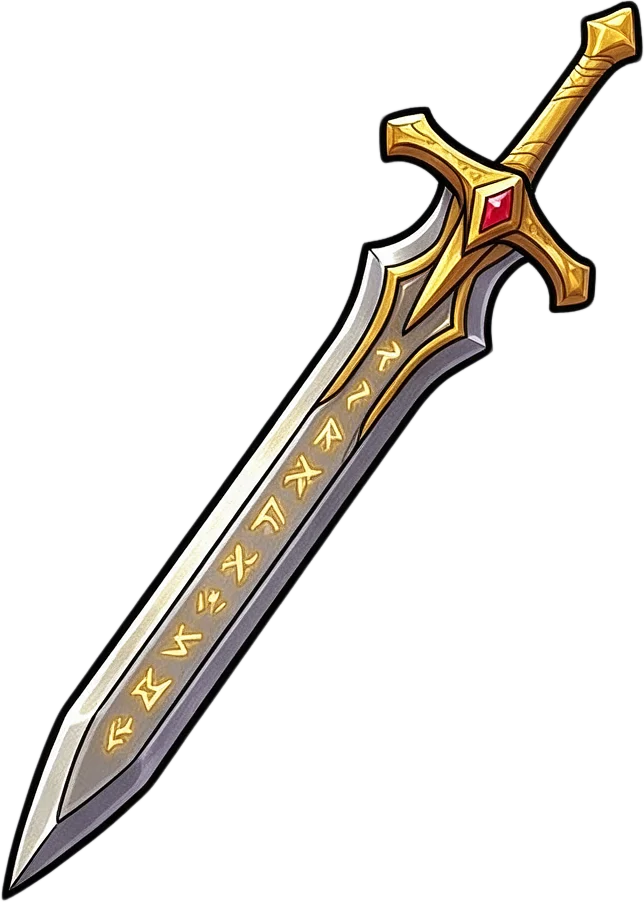
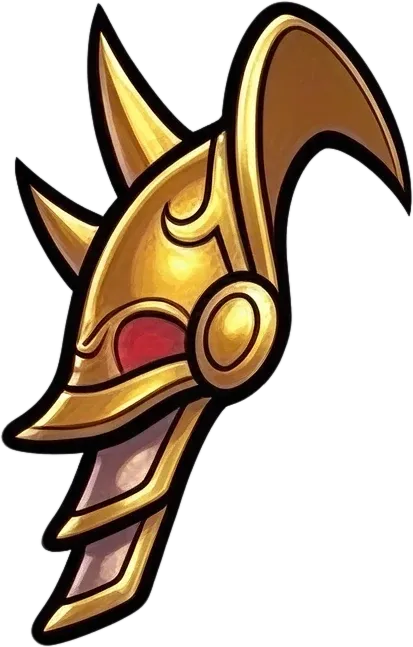
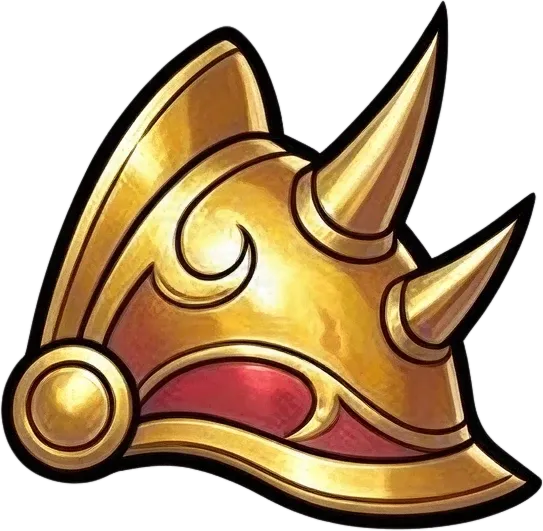
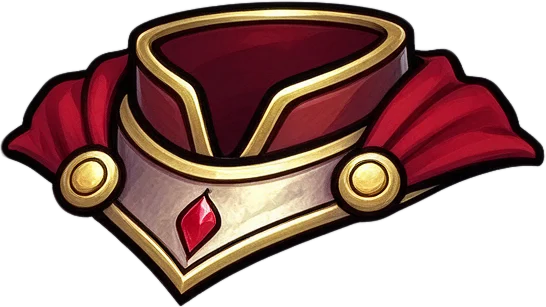
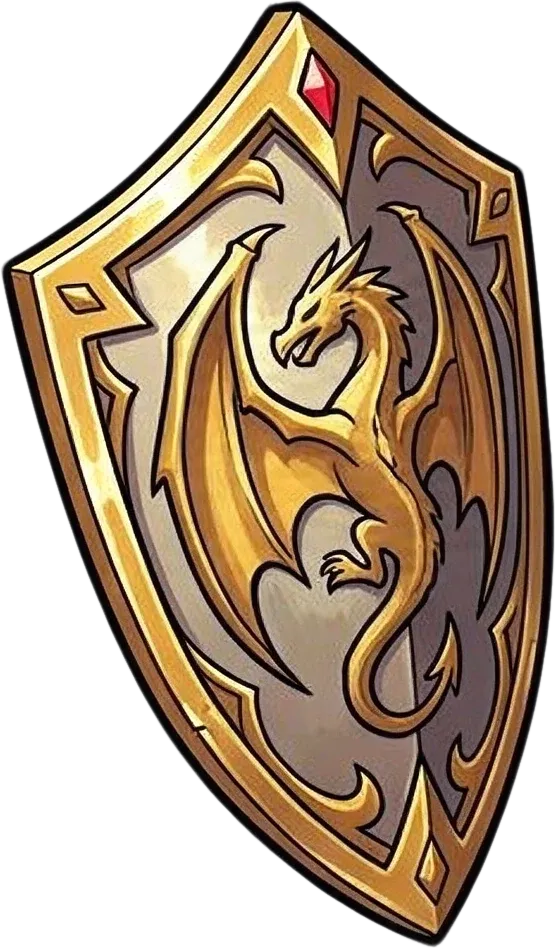
Instead of editing the whole character at once, work with individual pieces. This real example separates a winged helmet with the face and hair, shoulder pauldrons, chest armor, belt, cape, arm sections, and boots—plus the held sword and shield—from one flattened illustration.
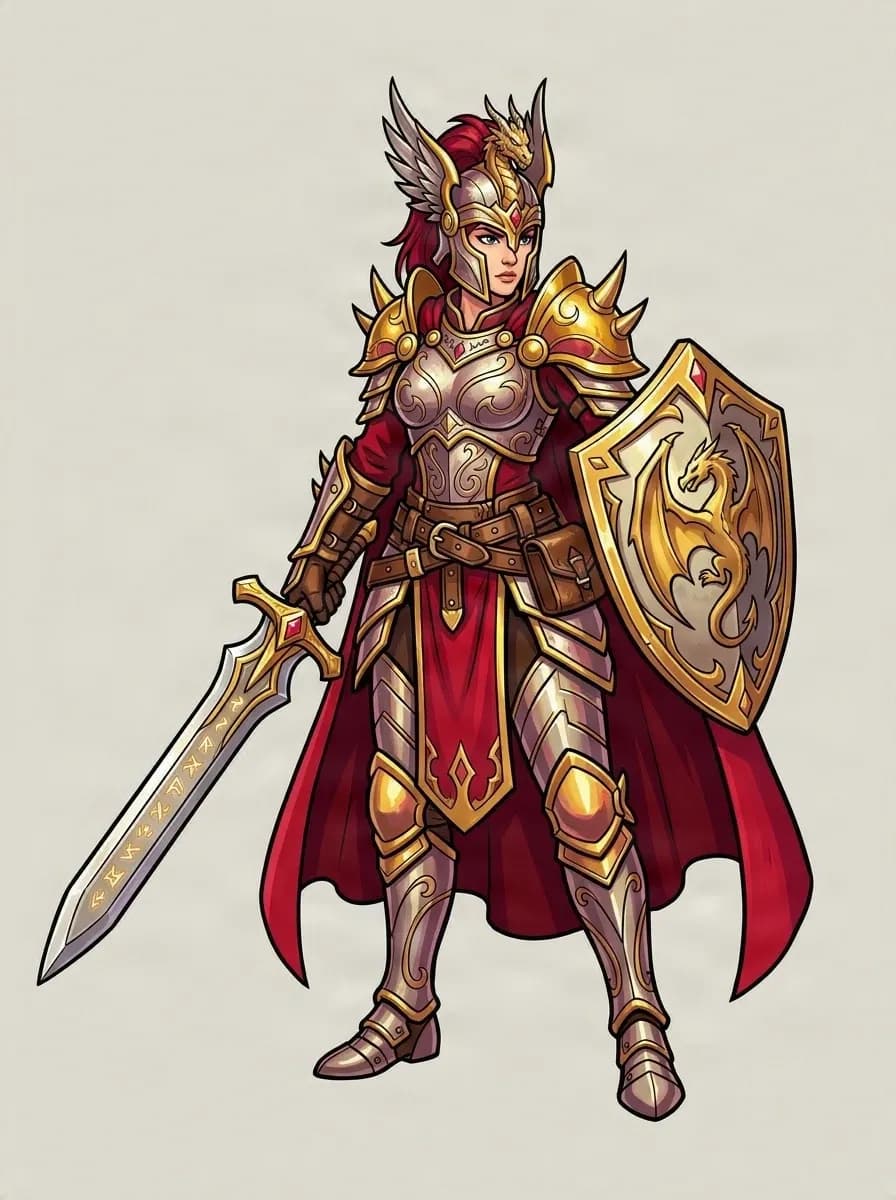
Original Warrior Artwork
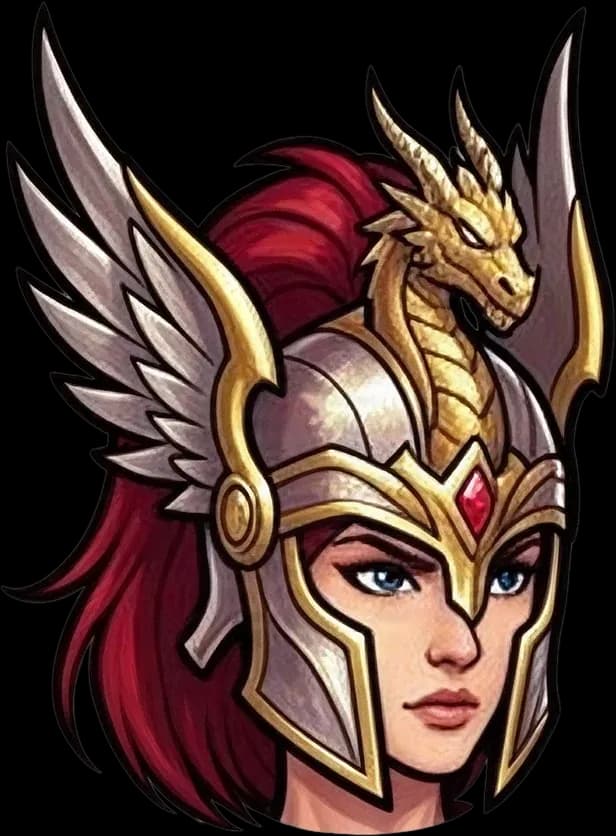
Helmet
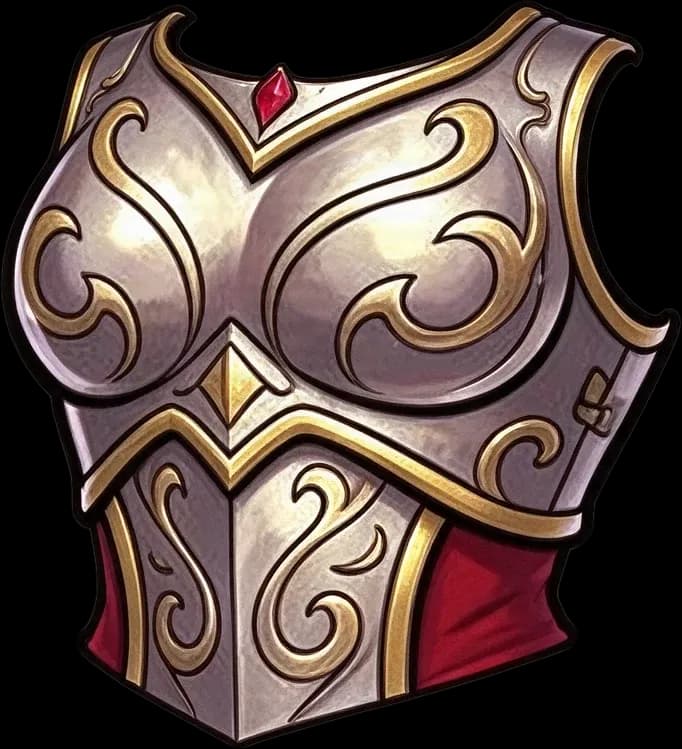
Chest armor
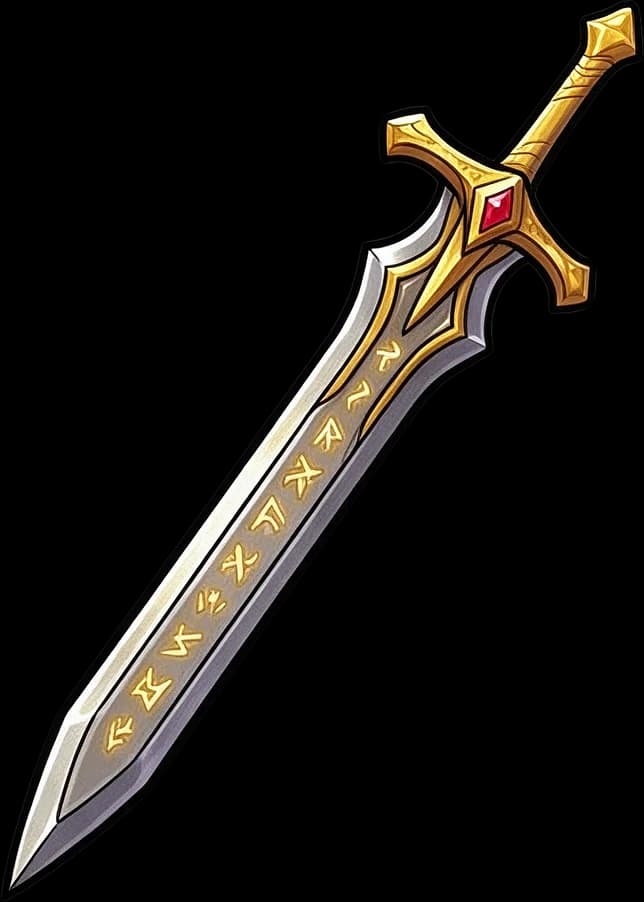
Sword
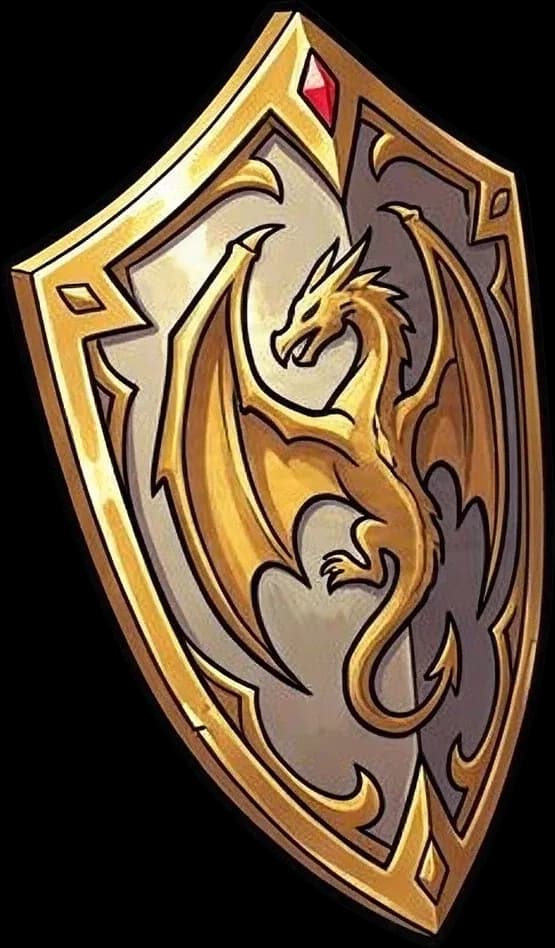
Shield
Real example: 17 layers including the background. The sword, shield, pauldrons, and arm sections are separate pieces; the face and hair stay with the helmet layer. Your layer count and cutout quality will depend on your image.
Less Cutting. More Control.
Change the Armor Without Redrawing the Character
Whether you're revising a design or preparing art for movement, separating visible pieces gives you more room to work. Here are the details you can ask the AI to look for.
Helmets & Headgear
Try a new helmet design or adjust the headgear without repainting the whole character.
Shoulder Plates & Arms
Work with shoulder armor and arm regions as separate pieces when their boundaries are visible.
Gauntlets & Gloves
Inspect and revise hand protection or other small gear without affecting every other part of the illustration.
Chest Armor & Clothing
Adjust the look of a breastplate, tunic, or torso piece while keeping the rest of the character accessible.
Capes, Belts & Hip Armor
Pull capes and hanging equipment away from the main body for easier cleanup and compositing.
Leg Armor & Boots
Get a starting cutout for the legs and footwear, then refine any sections that need to move independently.
How It Works
From One Flat Character to Parts You Can Edit
Start with the art you already have. The Body Parts & Equipment workflow is selected for you on this page.
- 1
Upload Your Character
Choose a knight, warrior, or other RPG character image. A clear silhouette and visible armor boundaries give the AI a better starting point.
- 2
Separate the Equipment
Start Body Parts & Equipment. The AI looks for distinguishable armor, clothing, limbs, and accessories in your illustration.
- 3
Check the Pieces
Review which parts were separated, which stayed grouped, and where edges or covered areas need attention.
- 4
Edit and Export
Refine the layers in the results workspace and download supported PNG or PSD assets for your next production step.
This prepares image parts; it does not create bones, meshes, or animation automatically.
Made for Your Production Workflow
Spend Less Time Cutting. More Time Building Your Game.
Use separated character parts as a practical starting point for common art and animation tasks—not as a finished game rig.
RPG Character Revisions
Change a knight's armor or costume details without starting every revision from a single flattened image.
Spine 2D Preparation
Prepare visible character pieces before adding bones, slots, and attachments in Spine.
Unity & Godot Art Assets
Organize individual image parts for further cleanup and setup in your preferred game engine.
Equipment Design Iterations
Compare helmet, cape, chest plate, or belt ideas with more flexibility than a single bitmap allows.
Cutout Animation Planning
Inspect which pieces can move separately and see where additional splitting will be needed before animation.
Fantasy Character Asset Cleanup
Review overlapping armor and fabric, then refine the parts you plan to reuse or composite.
Pick the Right Kind of Layers
Need Facial Details or Separate Armor Pieces?
Choose by what you want to edit. You don't need to know which AI model is behind the tool.
Character Layers
For characters where face, hair, and clothing details matter most—especially anime, Live2D, and VTuber artwork.
30 credits per image
Use Character LayersBody Parts & Equipment
For full-body characters where helmets, armor, limbs, capes, and other equipment need their own editable pieces.
60 credits per image
Separate My ArmorKnow What to Expect Before You Generate
AI gives you a faster first separation pass, not a guarantee that every armor piece will be ready for animation. Review the output before committing it to your project.
Some Pieces May Stay Together
An arm, leg, boot, or gauntlet may remain grouped with nearby parts. You can refine the output if you need a more precise cut.
Covered Details May Be Recreated
Where armor hides part of the body, AI may estimate the missing artwork. Check these areas for consistency with your design.
Every Character Separates Differently
The visible parts, pose, and amount of overlap determine how many useful layers you get. The knight demo is an example, not a fixed template.
Rigging Still Happens in Your Software
Spine bones, pivot points, meshes, weights, engine setup, and animation are separate steps after image separation.
Character Armor to Layers FAQ
Can I separate my character's armor without cutting every piece out manually?+
Yes. Upload a flattened character image and use Body Parts & Equipment to generate an initial set of editable visual layers. Review and refine the results rather than tracing everything from the beginning.
Can I edit the helmet, cape, and chest armor separately?+
Often, yes—if the pieces have recognizable boundaries. The showcase example separates its helmet, cape, and chest armor into individual layers. Other characters may produce different groupings.
Will it split arms and legs at every joint?+
Not always. The AI may extract distinct arm and leg parts, but elbows, knees, boots, and gloves can remain grouped. Additional splitting or manual cleanup may be needed for animation.
Can I use these layers to prepare a character for Spine 2D?+
Yes, as a starting point for your Spine asset preparation. You'll still need to decide where parts pivot and set up bones, slots, attachments, and animation inside Spine.
Can I use the separated images in Unity or Godot?+
You can download supported raster assets and bring them into your game project's art workflow. Engine-specific rigging, pivots, animation, and prefab setup are not created by this tool.
What happens to the body hidden behind armor or a cape?+
The AI may fill in plausible hidden areas so separated pieces are easier to work with. Those details are generated estimates, so check them before using the result in production.
Will the separated armor still match my original character?+
The workflow uses your uploaded art as its source, but fine edges, textures, colors, and reconstructed details can change. Compare the output with the original before exporting.
How many layers will I get?+
There isn't a fixed number. The real showcase on this page separates one character into more than a dozen layers plus the background; your character may produce more or fewer depending on the artwork.
How much does Character Armor to Layers cost?+
Each image uses credits. The cost for Body Parts & Equipment is shown on this page and in the uploader before you start, so you can review it before generating.
What if two armor pieces are merged into one layer?+
You can review the result and use the available layer editing or additional splitting workflows where appropriate. Some parts may still need manual adjustments.
Can I separate a sword, shield, or other weapon?+
Often, yes. In the showcase on this page, the held sword and shield each came out as their own layer, along with the gripping hand. Results depend on your artwork: objects that are heavily overlapped or visually connected may not be isolated as separate layers.
Is this only for realistic or medieval-style characters?+
No. You can use it with anime, cartoon, fantasy, and other character art styles. The important question is whether the body parts and equipment are visually distinguishable.
How is this different from Character Layers?+
Character Layers is oriented toward recognizable facial, hair, and clothing regions. Body Parts & Equipment aims at armor, limbs, capes, and other distinct objects in more complex full-body artwork.
Can I build an RPG equipment or paper-doll system from these layers?+
They can be a starting point for preparing equipment assets. They do not automatically produce interchangeable sets, matching character poses, or a working customization system.
What images give the best results?+
Start with one complete character, clear lighting, a readable silhouette, and visible equipment boundaries. Complex overlap, cropped limbs, and cluttered backgrounds can make separation harder.
Can I use this with pixel art?+
You can try, but generative separation may soften or change pixel edges. Review the results carefully if your project depends on a precise pixel grid.
Can I download individual PNGs or a PSD?+
The results workflow supports layer review and available PNG or PSD export options. What you can download depends on your account's applicable permissions and the export feature.
Can I use the layers in a commercial game?+
Commercial use depends on your plan, the applicable model terms, and your rights to the source artwork. Make sure you have permission to use any third-party characters or protected assets.
Your Character Is Finished. Make Its Armor Editable.
Upload your RPG character and stop treating the helmet, cape, and armor as one inseparable image. Get a layered starting point you can refine for your next game-art task.
Separate My Character60 credits per image · Review your layers before production
Explore More Character Editing Workflows
Character to Layers
Separate faces, hair, clothing, and familiar character parts.
Game Character Layer Separator
Prepare flattened game characters for further editing.
Live2D Layer Preparation
Prepare face- and hair-focused character art for Live2D workflows.
Image to Layers
Separate objects, people, and background elements in other images.