
2D RPG Equipment & Character Customization
Prepare RPG Character Layers for Equipment Swapping
Separate armor, limbs, capes, weapons, and other equipment into individual transparent layers.
Editable image layers—not an automatically generated equipment system.
Separate Body Parts & Equipment
Supports JPG, PNG, and WebP
or drag and drop
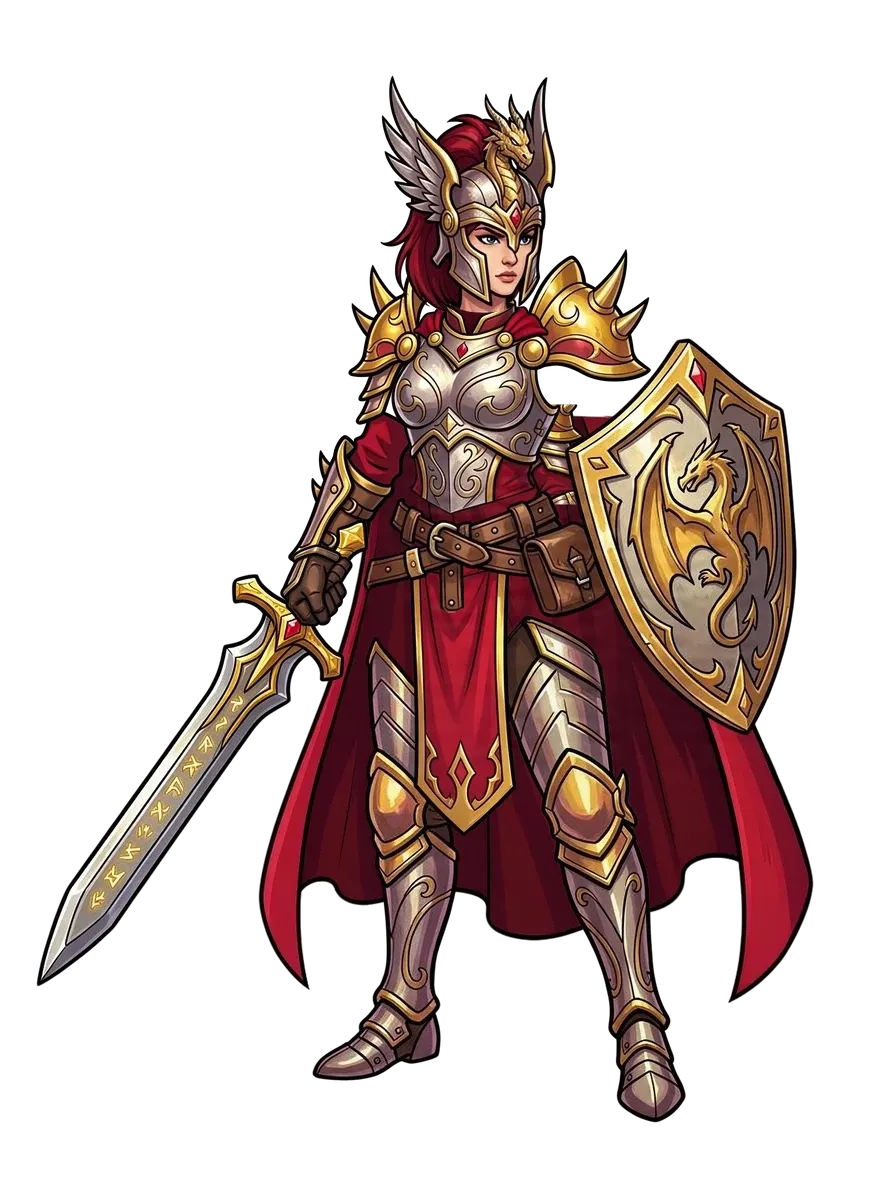
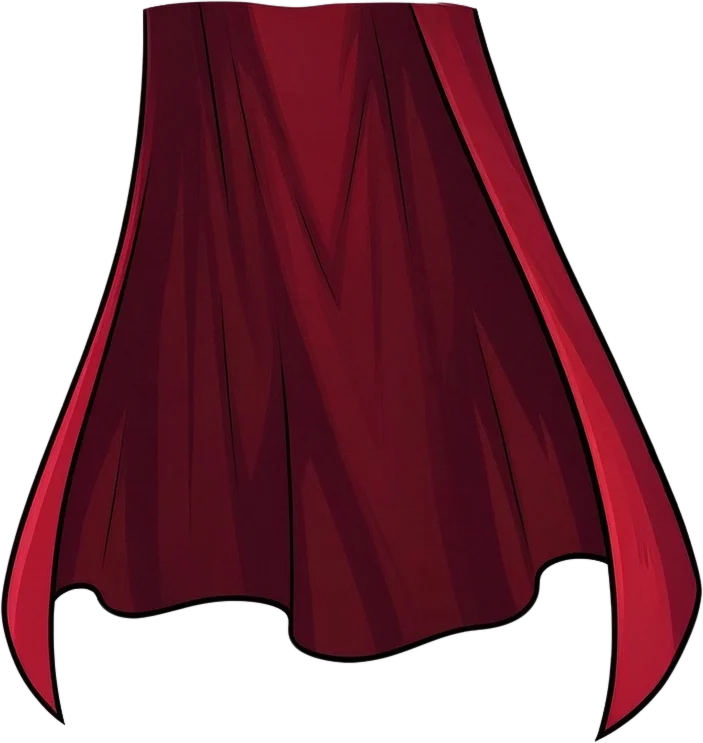
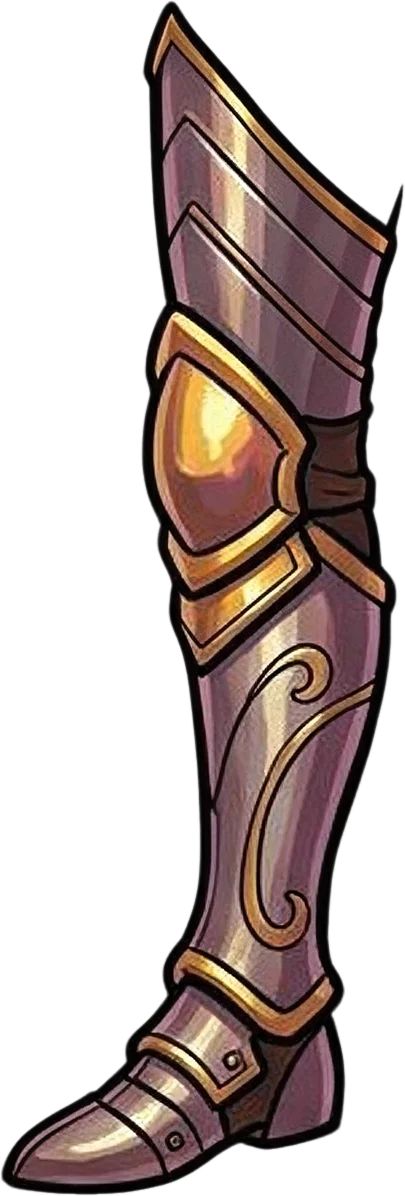
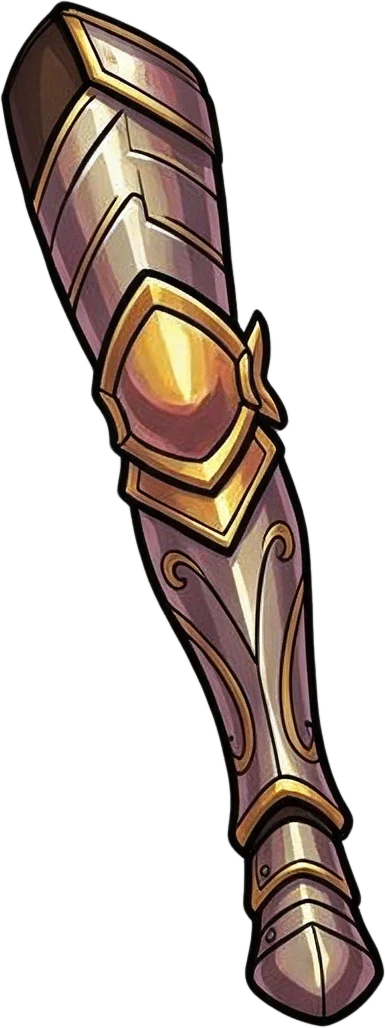
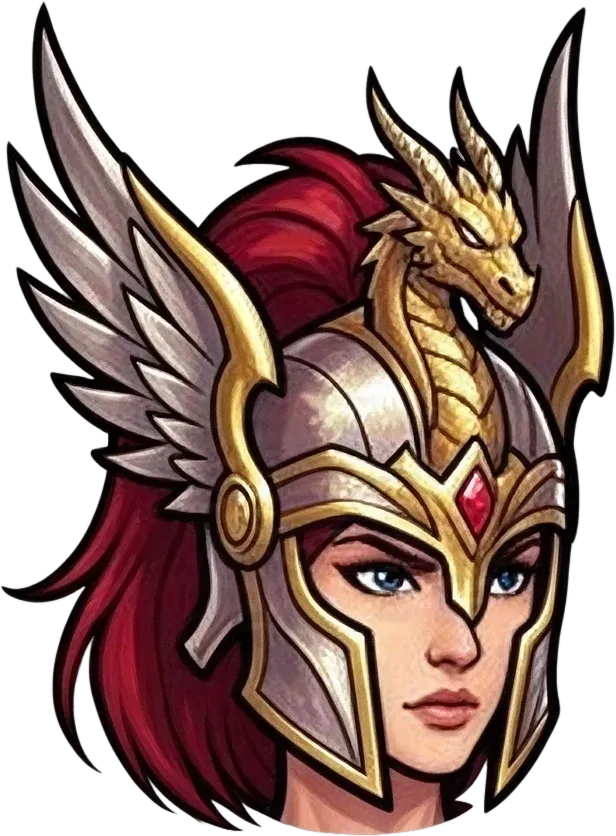
Ready to test with your own or this sample character
Clear character structure works best
Covered areas may be reconstructed
Uses 60 credits per character
Processing time varies with artwork complexity. Detailed armor, overlapping limbs, and large capes may take longer.
Body Parts & Equipment: 60 credits per image. Layer count and separation quality vary by artwork.
Character Equipment Layer Preparation
Turn Your Character Artwork Into Separate Parts
But the helmet, armor, cape, and body are all merged into one image.
You've designed your RPG character. Now you need to change what they're wearing.
Upload your RPG character and prepare editable armor, clothing, and body-part layers.
Whether you're building a character equipment screen, creating outfit variations, or preparing a modular character, start by separating the artwork you already have.
For better results, use one full-body character with a clear silhouette and visible equipment boundaries. Keep overlapping armor and hidden body regions in mind.
Separate recognizable equipment and character parts into editable layers, so you can start organizing assets for your own 2D RPG equipment and character customization system. Spend less time manually cutting up character artwork—and more time building the game.
Start with the character art you already have. No original layered PSD required.
Review the generated pieces before assigning them to equipment slots in your own project. Some parts may require cleanup or further splitting.
Editable image layers—not an automatically generated equipment system.
See the Parts Behind the Character
One RPG Character. Multiple Pieces to Work With.
Your character may look like one finished illustration, but preparing a paper doll system starts with being able to work on its parts separately.
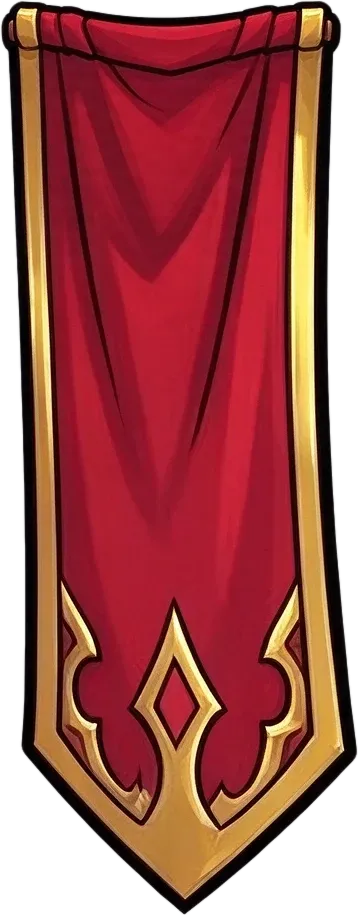
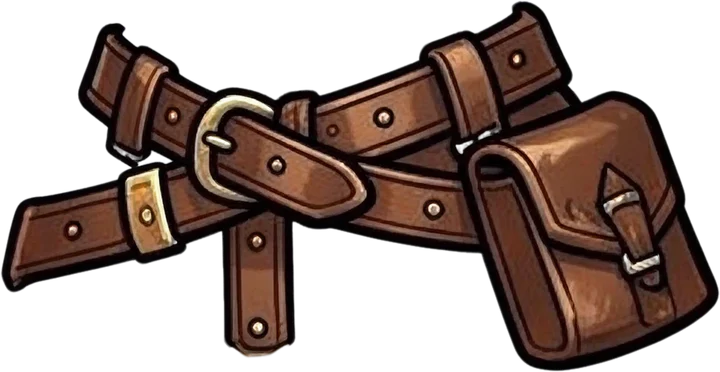
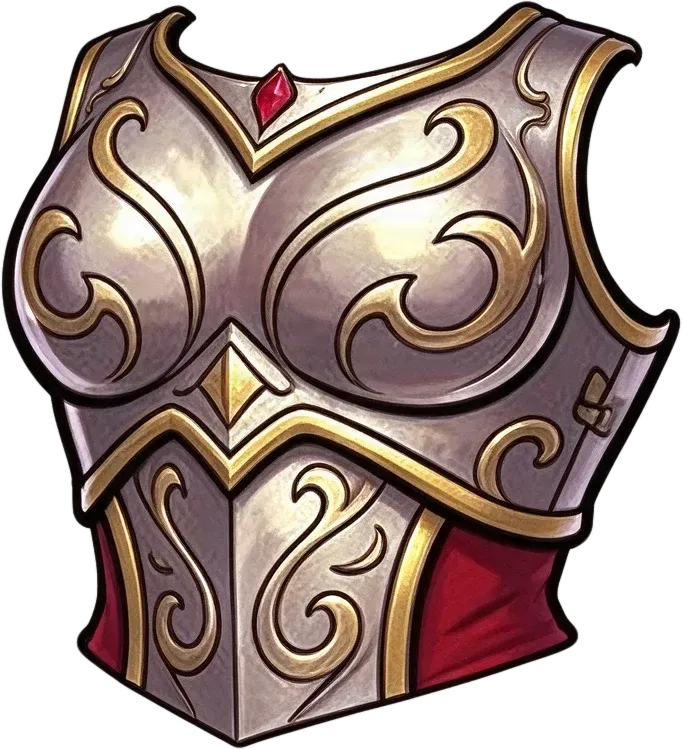
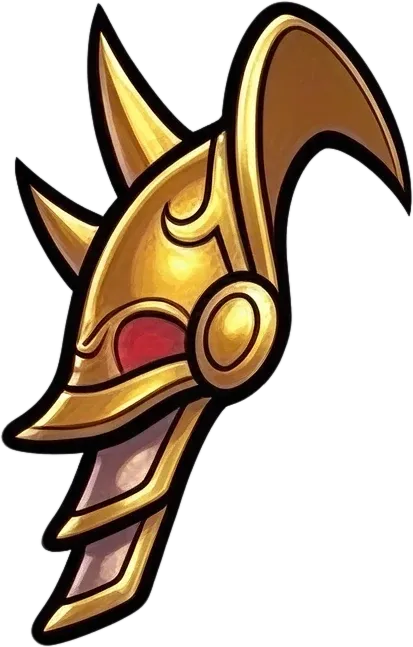
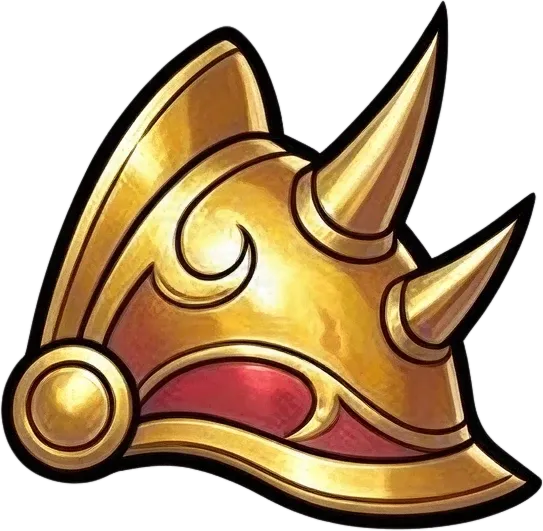
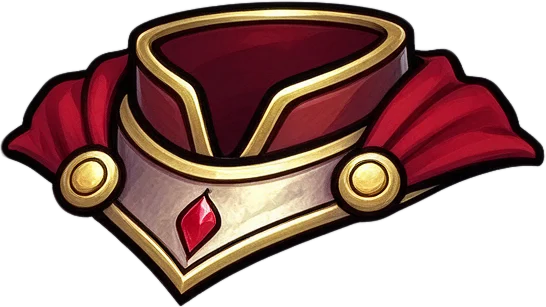
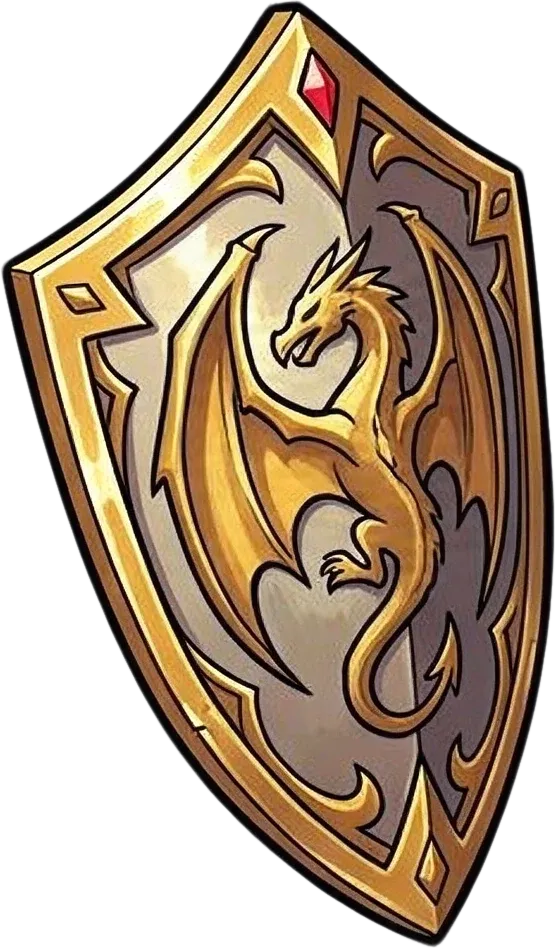
In this real example, a fantasy knight has been separated into visual layers that include a helmet, plume, chest armor, belt, cape, hip plates, and limb assemblies.
These pieces can become starting assets for equipment organization, character editing, and further game development.
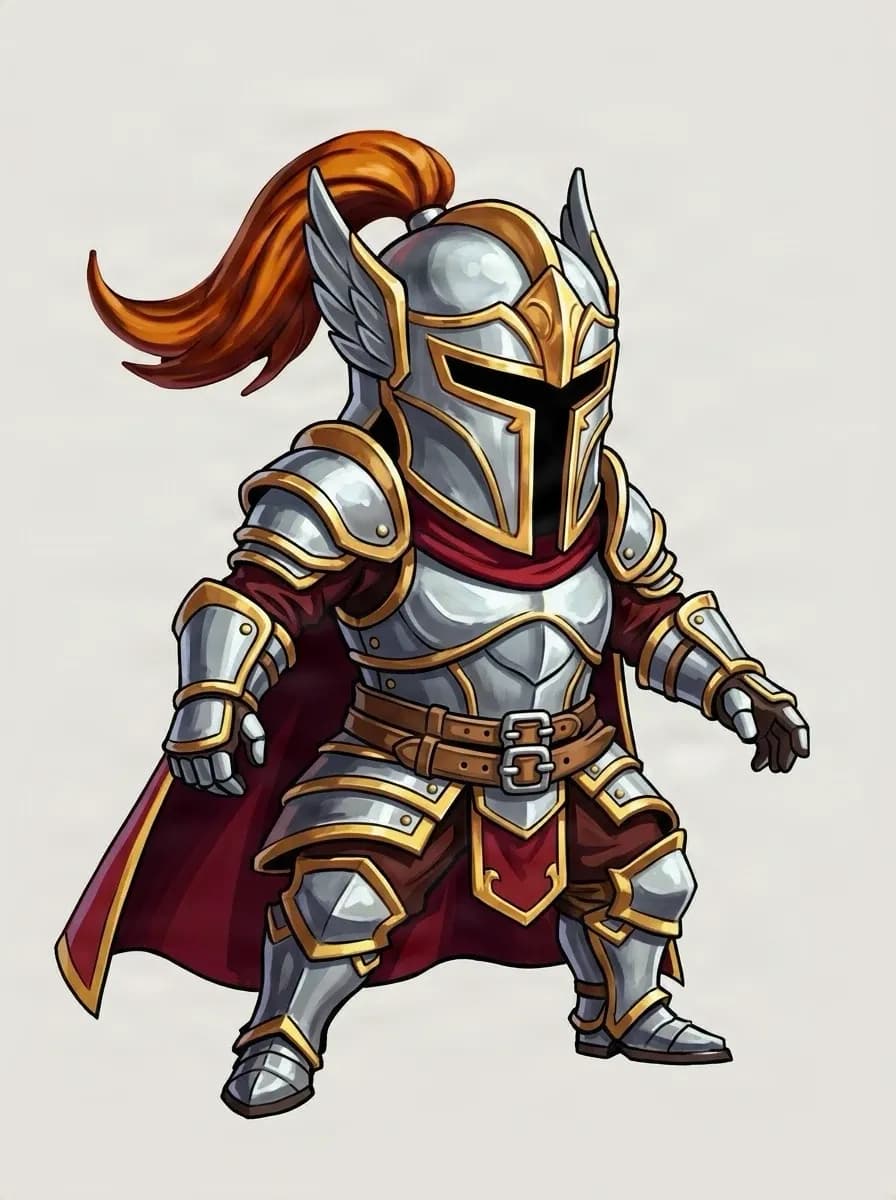
Original RPG Character
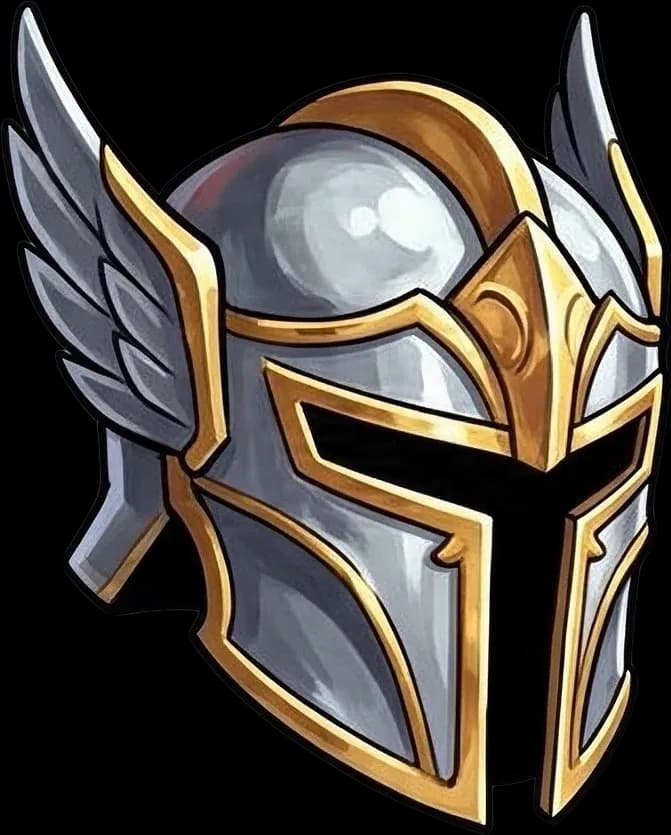
Helmet
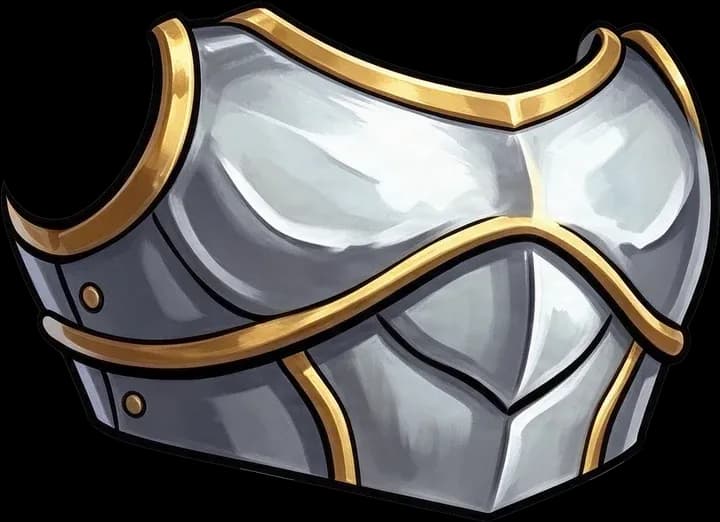
Chest Armor
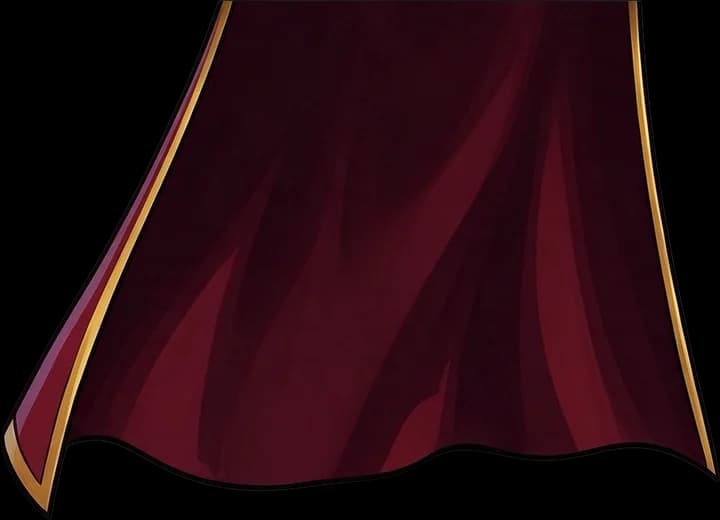
Cape
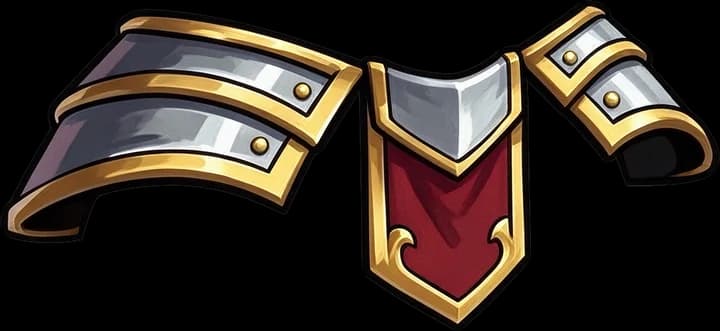
Belt & Hip Plates
Separated Character Parts
This example contains 12 layers including the background. Arm and leg assemblies remain grouped. The result is a starting set of image assets, not a completed paper doll system.
Build With Parts, Not Flat Images
Stop Redrawing Your Character for Every Equipment Change
You already have the character design. The last thing you want is to redraw the same character every time you need a different helmet, chest plate, or cape.
When all the artwork is flattened, even a small equipment change can create extra work. Separating the character into layers gives you a practical starting point for organizing the art into individual pieces.
Keep Equipment Separate From the Character
Work with recognizable armor and clothing pieces instead of editing a single merged image.
Prepare Parts for Equipment Slots
Use separated images as starting assets for the helmet, chest, cape, belt, and other equipment slots you define in your game.
Make Character Art Easier to Revise
Need to adjust the cape, repaint the chest plate, or change the helmet design? Edit the relevant visual piece without treating the entire character as one image.
Build Toward Outfit Variations
Prepare your existing character artwork before creating or importing additional outfit designs. Each replacement still needs to be aligned and checked against the character.
Reduce Repetitive Manual Cutouts
Let AI perform an initial separation pass, then focus your manual work on the pieces and edges that actually need refinement.
Keep Control of Your Asset Workflow
Review the layers, make corrections, and export assets for the game engine or art pipeline you already use.
Prepare Your Character's Equipment
Start Organizing the Pieces Your RPG Needs
A customizable character usually needs equipment and body artwork organized into separate categories. Use AI separation to prepare recognizable pieces, then decide how those assets should fit into your game's equipment slots.
Helmet & Headgear
Prepare visible helmets, masks, hats, and headgear as separate artwork for editing or later equipment-slot setup.
Chest Armor & Outfits
Work with chest plates, jackets, tunics, and torso clothing as individual visual assets where the original illustration allows it.
Shoulder Armor & Arm Equipment
Prepare shoulder plates and arm regions for further editing, cleanup, or subdivision.
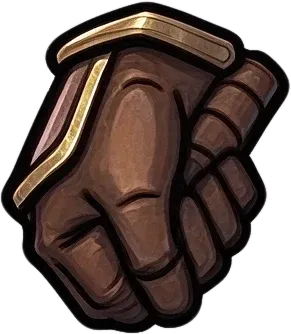
Gloves & Gauntlets
Separate identifiable hand equipment where possible, then refine the result for your character's pose and equipment system.
Belts, Capes & Accessories
Work with capes, belts, hip plates, and recognizable accessories without keeping everything merged into the original illustration.
Leg Armor & Boots
Prepare leg and footwear regions for further separation, alignment, or game asset editing.
Equipment categories are suggested ways to organize your assets. The AI does not guarantee one output layer for every equipment slot.
From Character Art to Equipment Assets
Prepare Your Paper Doll Character in Four Steps
- 1
Upload Your RPG Character
Choose the character image you've already drawn or generated. A full-body illustration with clear equipment and body-part boundaries provides a better starting point.
- 2
Separate the Character Parts
Use the Body Parts & Equipment workflow to create editable image layers from recognizable armor, clothing, limbs, and accessories. You don't need to manually outline every piece before starting.
- 3
Review the Equipment Layers
Inspect the output to see which parts are independent and which remain combined. Clean up the parts you plan to use, especially around armor edges, joints, and areas previously hidden by clothing.
- 4
Export and Organize Your Assets
Export supported PNG or PSD assets. You can then organize the image pieces into the equipment slots and rendering structure used by your own RPG or character customization project.
The tool prepares editable image parts. It does not automatically create equipment-slot logic, aligned alternate outfits, or a working customization interface.
Built for 2D RPG Creators
Prepare Character Art for the System You're Building
RPG Equipment Swapping
Working on a game where players can change helmets, armor, or capes? Prepare the visible equipment artwork as separate starting assets instead of leaving it locked inside the original character image.
Paper Doll Character Systems
Organize character images into pieces that you can later assign to your own paper doll rendering and equipment logic.
Character Customization Screens
Get a cleaner starting point for characters that will appear in inventory screens, wardrobe interfaces, or equipment previews.
Modular Character Art Preparation
Prepare character and armor pieces before building a library of interchangeable visual assets. Additional equipment designs will still need consistent positioning and alignment.
2D RPG Character Variations
Explore different equipment appearances without repeatedly editing the entire flattened character illustration.
Game Engine Asset Preparation
Export individual image assets for continued setup in Unity, Godot, or another game engine. Animation, sorting, equipment attachment, and swap logic remain part of your game implementation.
Choose the Workflow for Your Goal
Editing Armor or Building an Equipment System?
Both workflows use the same Body Parts & Equipment separation technology. The difference is what you want to do with the results.
Character Armor to Layers
For artists who need to edit individual armor pieces. Separate armor, helmets, capes, and body parts so you can revise or refine an existing character illustration.
Best for
- Armor design changes
- Individual equipment editing
- Character art revisions
- Cutout preparation
Paper Doll Character Layers
For developers preparing character art for equipment customization. Separate recognizable character and equipment pieces as a starting point for building equipment slots, outfit variations, and modular RPG art pipelines.
Best for
- 2D RPG equipment systems
- Paper doll character preparation
- Wardrobe and equipment screens
- Modular character assets
Both workflows currently cost 60 credits per image when using Body Parts & Equipment. They do not automatically generate a completed equipment swapping system.
Before You Start
What You Can—and Can't—Expect From the Layers
You Get Editable Visual Parts
The model attempts to separate recognizable armor, clothing, body parts, and other visual elements from your character image.
Some Equipment May Stay Grouped
A glove may remain attached to an arm, or a boot may remain part of a leg assembly. You may need to refine these pieces before using them independently.
Hidden Body Details May Need Cleanup
Removing armor can reveal missing body or clothing artwork. AI may estimate some covered regions, but those details may not be accurate or complete.
Alternate Equipment Needs Alignment
A new helmet or chest plate won't automatically fit every character pose. Your game or art workflow will need to handle placement, scaling, layering, and consistency.
Equipment Logic Is Not Generated
You'll still need to create your inventory system, equipment slots, attachment rules, animations, and rendering logic.
The goal is to save time preparing your source artwork—not replace your entire character customization development workflow.
Frequently Asked Questions
Paper Doll Character Layers FAQ
What is a 2D paper doll character system?+
A 2D paper doll system displays a character using separate visual pieces rather than one fixed image. Game developers can use those pieces to show different outfits, armor, or accessories. The actual swapping and rendering behavior is implemented in the game or character editor.
Can I turn an existing RPG character image into paper doll layers?+
Yes. You can upload a flattened character illustration and use Body Parts & Equipment to separate recognizable character and equipment regions. The generated layers are a starting point for further asset preparation.
Do I need the original PSD file?+
No. You can start with a flattened PNG, JPG, or WebP image. An original layered project isn't required for the initial separation.
Can I separate the helmet, armor, cape, and boots?+
The AI can attempt to separate identifiable equipment regions. Helmets, chest armor, belts, and capes are visible as separate parts in the existing knight example. Boots and smaller parts may remain grouped with nearby regions.
Will it automatically create RPG equipment slots?+
No. It creates image layers, not equipment-slot definitions or game logic. You can organize the generated image files into helmet, chest, cape, or other slots in your own project.
Can I automatically swap different helmets and armor sets?+
Not with this separation workflow alone. It can help prepare the original artwork, but replacement equipment must be provided or created separately, then positioned and aligned to match the character.
Can I use these layers for a modular RPG character?+
Yes, as starting image assets. A modular character system will also need consistent layer positioning, equipment variants, correct drawing order, and any necessary body artwork behind removable equipment.
What happens when I remove a helmet or chest plate?+
The artwork underneath may be missing because it was hidden in the original image. AI may reconstruct some covered areas, but you should inspect and refine them before using the character without that equipment.
Can I create several outfits from one character image?+
You can use the separated image parts as a base for further outfit work. The tool does not automatically generate multiple matching outfits or guarantee that separately generated equipment will align.
Will every equipment piece become its own layer?+
Not necessarily. The model identifies visually distinguishable pieces, and some equipment may remain merged with arms, legs, clothing, or adjacent armor.
Can I use these layers in Unity?+
Yes. You can export supported raster assets and import them into your Unity project. You'll still need to implement equipment rendering, positioning, sorting, animation, and swapping behavior yourself.
Can I use the results in Godot?+
Yes. The exported image assets can be used in a Godot project. Your project must handle the equipment slots, texture changes, node structure, draw order, and any animation requirements.
Does it work with Spine 2D?+
The layers can be a starting point for Spine asset preparation. You'll still need to prepare attachments, bones, skins, meshes, and animations inside Spine. The tool does not create a ready-to-use Spine project.
Can I create a paper doll system for pixel-art RPGs?+
You can experiment with pixel-art characters, but generative image separation may change pixel edges and fine details. If your game requires strict pixel alignment, inspect and correct the output before using it.
What character artwork produces the best results?+
Start with one character in a readable pose, with clear equipment boundaries and minimal heavy overlap. Characters with visible arms, legs, helmets, and clothing regions tend to give the model more information to work with.
How many equipment layers will I receive?+
The layer count varies by image. The current knight showcase contains 12 total layers including the background, but that is an example rather than a guaranteed output structure.
Can I export the results as individual images or PSD files?+
The existing results workspace supports layer review and available PNG or PSD export workflows. Check the export options available to your account and job.
How much does the Paper Doll Character Layers workflow cost?+
Each image uses credits, and the amount for the selected Body Parts & Equipment mode is shown on this page and in the uploader before you start generation.
Can I use AI-generated RPG characters?+
You can upload supported AI-generated character artwork, provided you have the necessary rights to use it. Separation results still depend on the visibility and complexity of the equipment and body parts.
Can I use the exported layers in a commercial game?+
Commercial use depends on your account plan, applicable model and service terms, and your rights to the source artwork. Make sure you have permission to use third-party character designs or protected content.
You've Built the Character. Now Prepare the Equipment.
Your RPG character doesn't have to remain one flat image.
Separate recognizable armor, clothing, and body parts into editable layers, and start preparing the art for your own equipment and customization workflow.
Prepare My RPG Character60 credits per image · Editable PNG & PSD workflow · Results vary by artwork
More Ways to Prepare Your Game Characters
Character Armor to Layers
Separate helmets, chest armor, capes, and other equipment pieces for individual editing.
Game Character Layer Separator
Turn flattened character artwork into editable visual parts for game asset production.
Spine Character Preparation
Get started with separated character artwork before rigging and animation setup.
Character to Layers
Prepare general character artwork, including face, hair, clothing, and body regions.