
Adobe Project Hands On: AI Image Editing by Dragging
Adobe MAX 2026 introduced a different way to work with AI images: instead of explaining every adjustment in words, you can manipulate parts of an image directly on the canvas.
On this page
Project Hands On is an experimental Adobe Labs research preview, not a generally released Photoshop feature. This article explains Adobe's published demonstration and how creators can explore the preview. It is not an independent benchmark of the tool.
Quick Answer: What Is Adobe Project Hands On?
Adobe Project Hands On is an experimental AI image-editing technology introduced at Adobe MAX 2026.
It analyzes an image, understands recognizable objects and visual properties, and creates interactive controls directly on the canvas.
Instead of repeatedly telling an AI model to make a shape taller, wider, rounder, or slightly different, you can adjust the relevant visual detail by dragging a control.
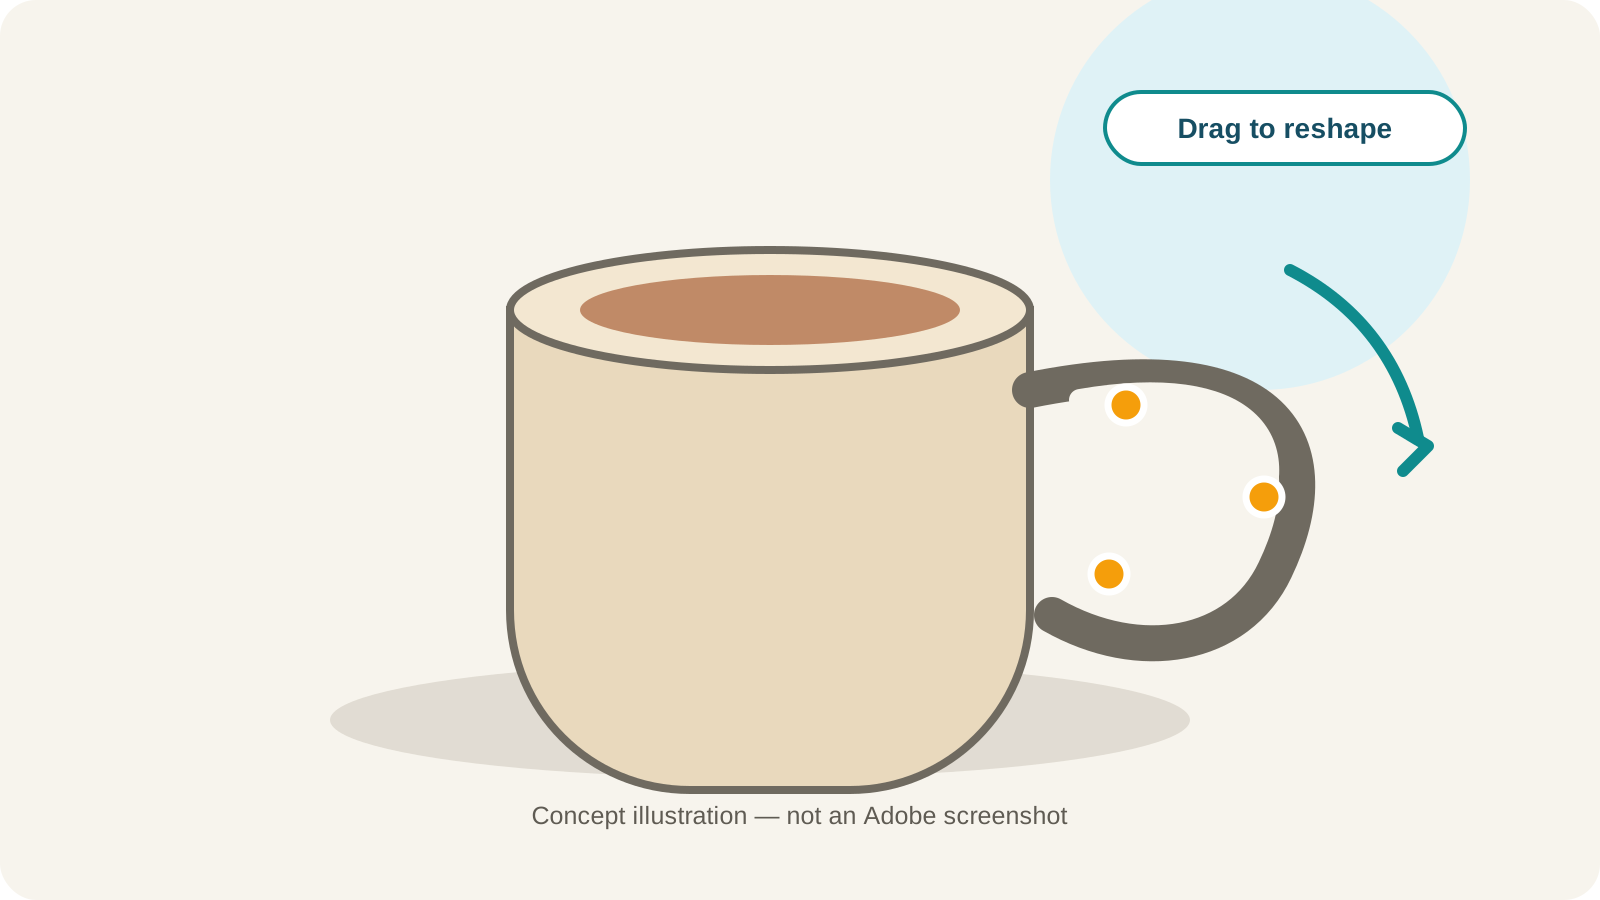
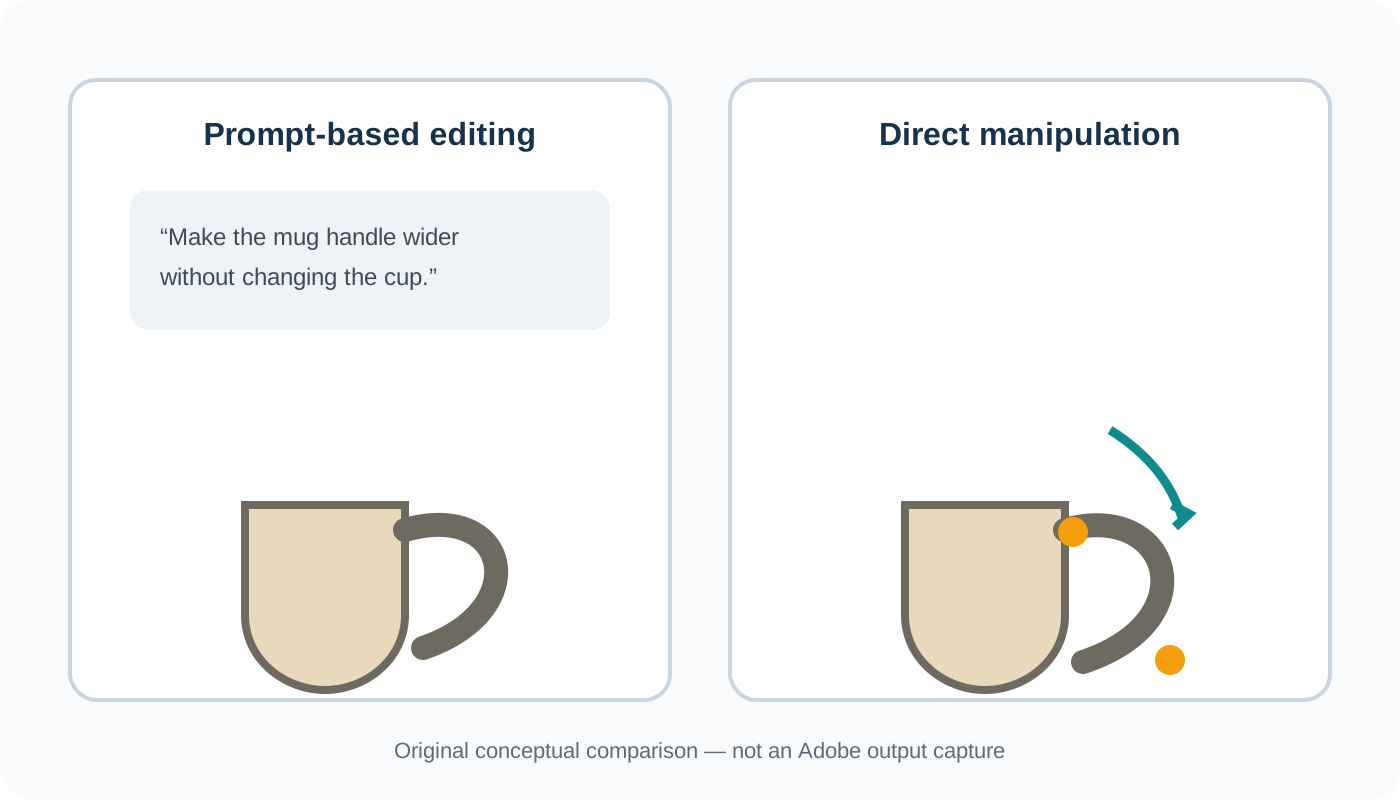
Think of a ceramic mug with a handle that looks too narrow. With traditional prompt-based image editing, you might write: “Make the mug handle wider while keeping the cup, material, lighting, and background unchanged.” If the result is not right, you rewrite the instruction and try again.
Project Hands On explores another approach: use AI to identify an editable part of the image and let you reshape it directly. It is a shift from describing what you want toward showing the software what you mean.
Explore the official previewFigure 1 · Concept illustration
Why Is Adobe Exploring Drag-Based AI Image Editing?
AI image editing has become remarkably flexible. You can describe an object, ask for a visual adjustment, and generate a new result. But precise edits remain frustrating.
Imagine you created a product illustration. Almost everything is right: the color, shape, lighting, composition, and background. One thing bothers you: the handle is slightly too short.
You ask your image editor to extend the handle. The result may look better, but perhaps the handle becomes too thick, the cup changes shape, or the image picks up a detail that was not in the original. You try a second prompt, then a third.
The problem is not always the image model's ability to make the change. Sometimes it is the interface between your intention and the edit.
Words are powerful for explaining an idea, but they are not always the easiest way to describe geometry. A drag gesture can communicate something more immediate: move this curve outward, make this section taller, pull this edge left, and adjust this part while paying attention to the surrounding image.
Project Hands On investigates whether AI can translate those direct gestures into useful image edits. For creators, the interesting possibility is greater control over small revisions—not simply generating more images.
- Move this curve outward.
- Make this section a little taller.
- Pull this edge toward the left.
- Adjust this part while paying attention to the surrounding image.
How Does Adobe Project Hands On Work?
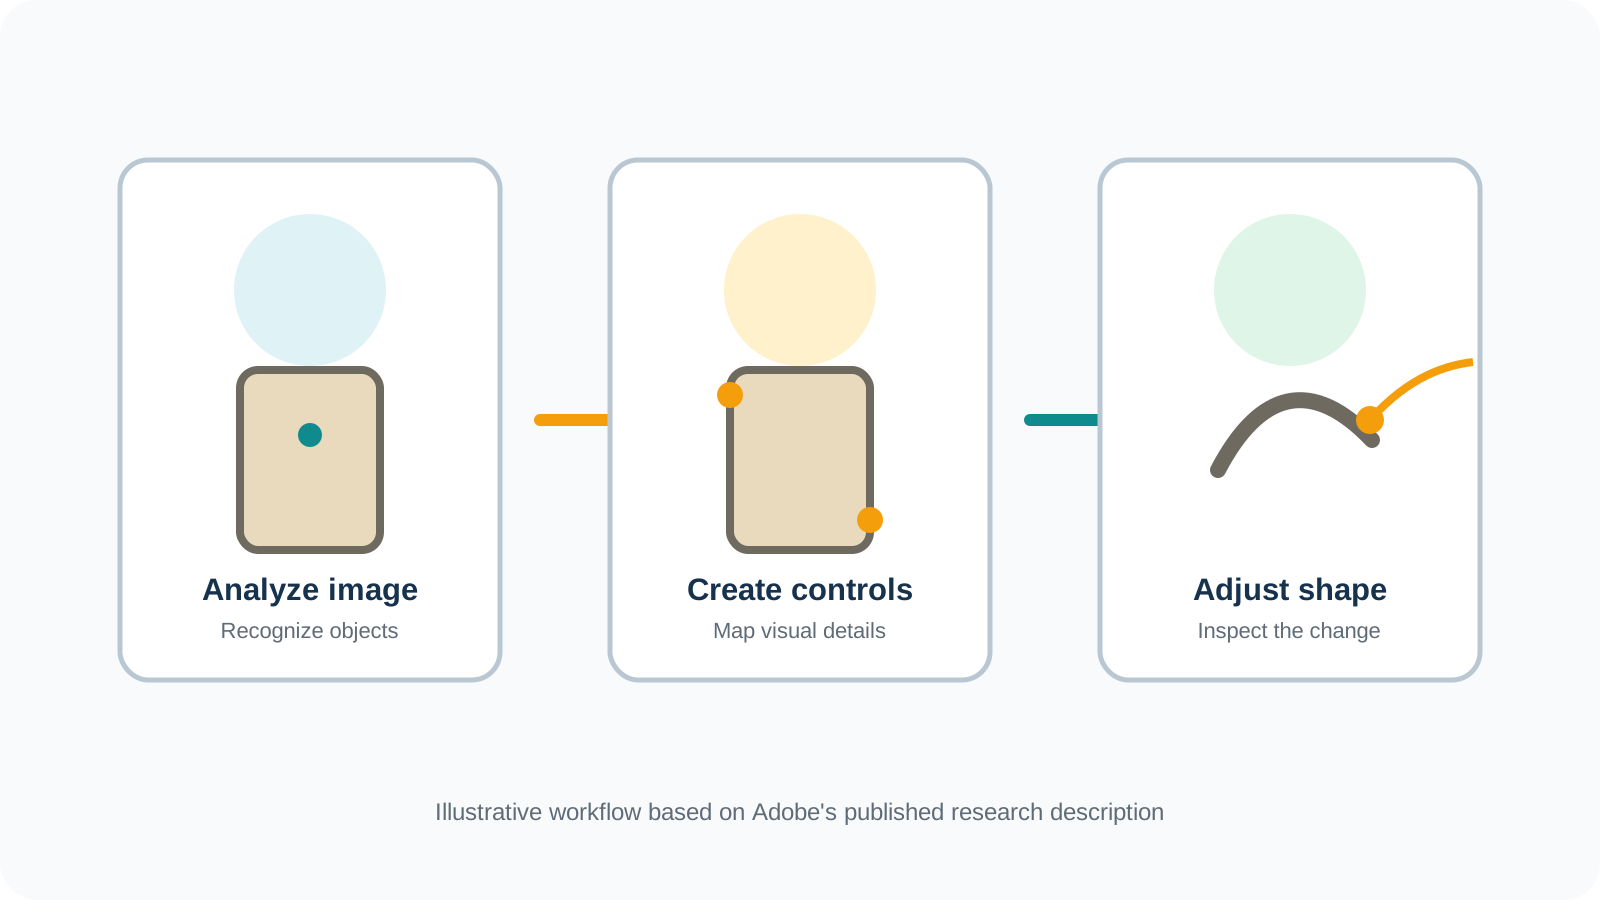
Adobe describes a workflow that combines image understanding with interactive controls. At a high level, it follows three ideas.
1. AI analyzes the image
The system examines visual content to identify recognizable objects and aspects of their structure. Adobe says the research uses object segmentation and vision-language models to help understand what is present. A picture is no longer treated only as a flat collection of colored pixels; the system attempts to recognize meaningful parts that could be adjusted. This understanding is an estimate, and an image does not reveal every hidden surface or the original geometry of an object.
2. The system creates controls on the canvas
Instead of asking you to describe an edit entirely through text, the system generates controls that correspond to parts of the image. Adobe's official example includes control points associated with the handle of a mug. These controls let the creator manipulate the appearance of that part of the object.
3. The creator makes a direct adjustment
You interact with the controls and inspect the resulting image. The goal is to make a small, meaningful change while retaining the broader creative direction—for example, making a mug handle wider without redesigning the entire product. Project Hands On explores how to make that process feel closer to direct visual editing and less like a conversation of repeated prompts.
This is an experimental approach. The preview does not establish that every image, object, or adjustment will behave perfectly.
Figure 2 · How the concept works
How to Try Adobe Project Hands On
Adobe provides a research preview through Adobe Labs. Because this is an experimental experience, controls, access requirements, supported inputs, and export options can change. The following workflow is a practical way to explore it, not a claim that every step uses a permanently fixed interface.
Step 1: Open the official Adobe preview
Visit the Project Hands On page on Adobe Labs. Follow the official Try Project Hands On now link to the preview. You can also visit the direct preview entry point. If Adobe asks you to sign in or accept preview terms, follow the instructions displayed by Adobe.
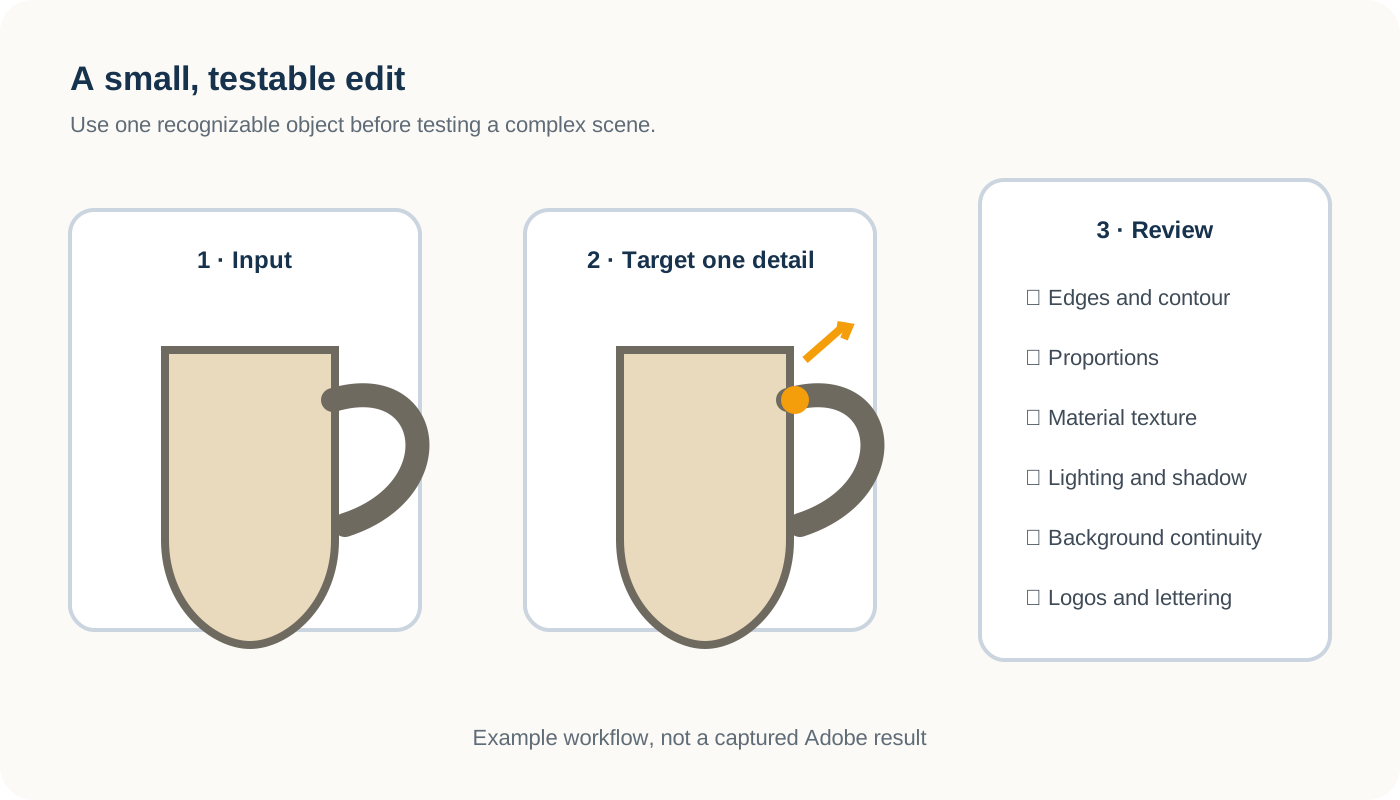
Step 2: Choose a simple image to experiment with
A good first experiment is a picture featuring one recognizable object with a clearly defined shape. Consider a ceramic mug with a visible handle, a simple chair with a distinct backrest, a stylized object illustration, or a product concept with a recognizable silhouette. Begin with an image you own or are authorized to edit. Avoid confidential client assets or sensitive personal images while evaluating an experimental service.
Step 3: Look for image-aware controls
Inspect the controls made available for the selected image. The research concept is to generate interactive handles from image content. Look for a control that corresponds to the detail you want to change, and choose one simple adjustment rather than trying to redesign the entire scene.
Step 4: Adjust one detail
If a suitable drag control is available, move it gradually. Try a modest change to a curve, outline, or proportion, then compare the adjusted result with the original. Ask whether the intended part changed without unexpectedly changing the parts you wanted to preserve.
Step 5: Review the result carefully
Look closely at object edges and contours, shape and proportions, materials and textures, lighting and shadows, background continuity, and logos, lettering, or recognizable product details. A successful result should not be judged only at thumbnail size; evaluate it against the original editing goal.
Step 6: Save or export only if the preview supports it
If Adobe provides an export or save option, follow its current instructions. Do not assume the preview supports layered PSD, transparent PNG, undo history, or any specific production format unless those options are visible and documented. Keep the original source image for comparison.
Step 7: Decide whether direct manipulation fits your task
Ask whether dragging made the edit easier to communicate, whether the adjustment was predictable, whether other parts stayed acceptable, and whether you would use the interaction for similar revisions. Those questions are more useful than treating a single experimental result as proof that the tool can replace a complete image-editing workflow.
Step 5: Review the result carefully
- ✓ Object edges and contours
- ✓ Shape and proportions
- ✓ Materials and textures
- ✓ Lighting and shadows
- ✓ Background continuity
- ✓ Logos, lettering, and recognizable product details
Figure 3 · Mug experiment
What Can You Use Project Hands On For?
Product concept exploration
Direct controls could make it easier to explore a slightly different silhouette for a lamp, speaker, chair, or kitchen accessory while keeping the existing visual direction. An AI-edited product image is not an engineering-accurate representation of a physical product.
Fine-tuning AI-generated artwork
An AI-generated image may be very close to what you want, with only a curved edge, decorative shape, or small proportion needing attention. A targeted adjustment can be more appealing than generating the entire image again.
Illustration and concept art
An illustrator may want to refine an object in a scene while preserving its overall style, such as changing the silhouette of a fantasy prop or adjusting an environmental shape.
Targeted photographic corrections
Direct controls might help photographers fine-tune certain visual details, but image manipulation needs context. Changing a fictional concept is different from altering documentary evidence or misrepresenting a product sold to consumers.
Project Hands On vs. Traditional Prompt-Based AI Editing
These two approaches are not necessarily competitors. They are different ways of expressing creative intent.
| Question | Prompt-based editing | Project Hands On |
|---|---|---|
| How do you communicate an edit? | Describe the change in words | Manipulate generated controls on the canvas |
| Best starting point | A change that is easy to describe | A detail that may be easier to adjust visually |
| How do you refine it? | Revise the instruction and review another result | Adjust an available control and inspect the result |
| Primary strength | Flexible semantic instructions | More immediate interaction with visual structure |
| Main limitation | Prompts may be ambiguous | Controls depend on the image and experimental system |
A prompt is excellent when you want to change a scene's meaning, such as turning a daytime garden into an evening scene. Dragging may be more natural when the problem is geometric, such as making a curved handle a little wider. A future creative workflow may combine both.
Figure 4 · Prompt versus drag
Project Hands On vs. Photoshop Puppet Warp
Photoshop already provides direct manipulation tools. One example is Puppet Warp, which lets users create and move pins to deform selected artwork.
The research focuses on using AI image understanding to construct controls that reflect the content of an image. That is different from manually defining a deformation with a traditional warp mesh.
Puppet Warp remains a practical established editing feature. Project Hands On is still an experimental research experience. It would be premature to say that Project Hands On replaces Puppet Warp, offers the same precision, or will become a standard Photoshop feature.
The more useful question is whether content-aware controls can reduce setup and make complex visual changes easier for creators to express.
Official reference: Adobe's Project Hands On overview ↗Project Hands On vs. Image to Layers: What's the Difference?
Project Hands On and image layer separation address different editing problems.
With Project Hands On, the interesting question is: “How can I change the shape of something that's already in my picture?” With Image to Layers, the question is: “How can I separate the different things in my picture so I can edit them independently?”
Imagine a product photo containing a mug, a small notebook, a plant, and a background. If the mug's handle needs a different shape, a direct-manipulation interface may be useful. If you want to move the mug, hide the plant, change the background, or work on multiple visual elements independently, you need a different kind of control. That's where image layers become valuable.

Original illustration




Selected transparent layers
Generated with ImageToLayers from the shown source illustration. This is a real layer-separation example, not Project Hands On output.
What Image to Layers Does
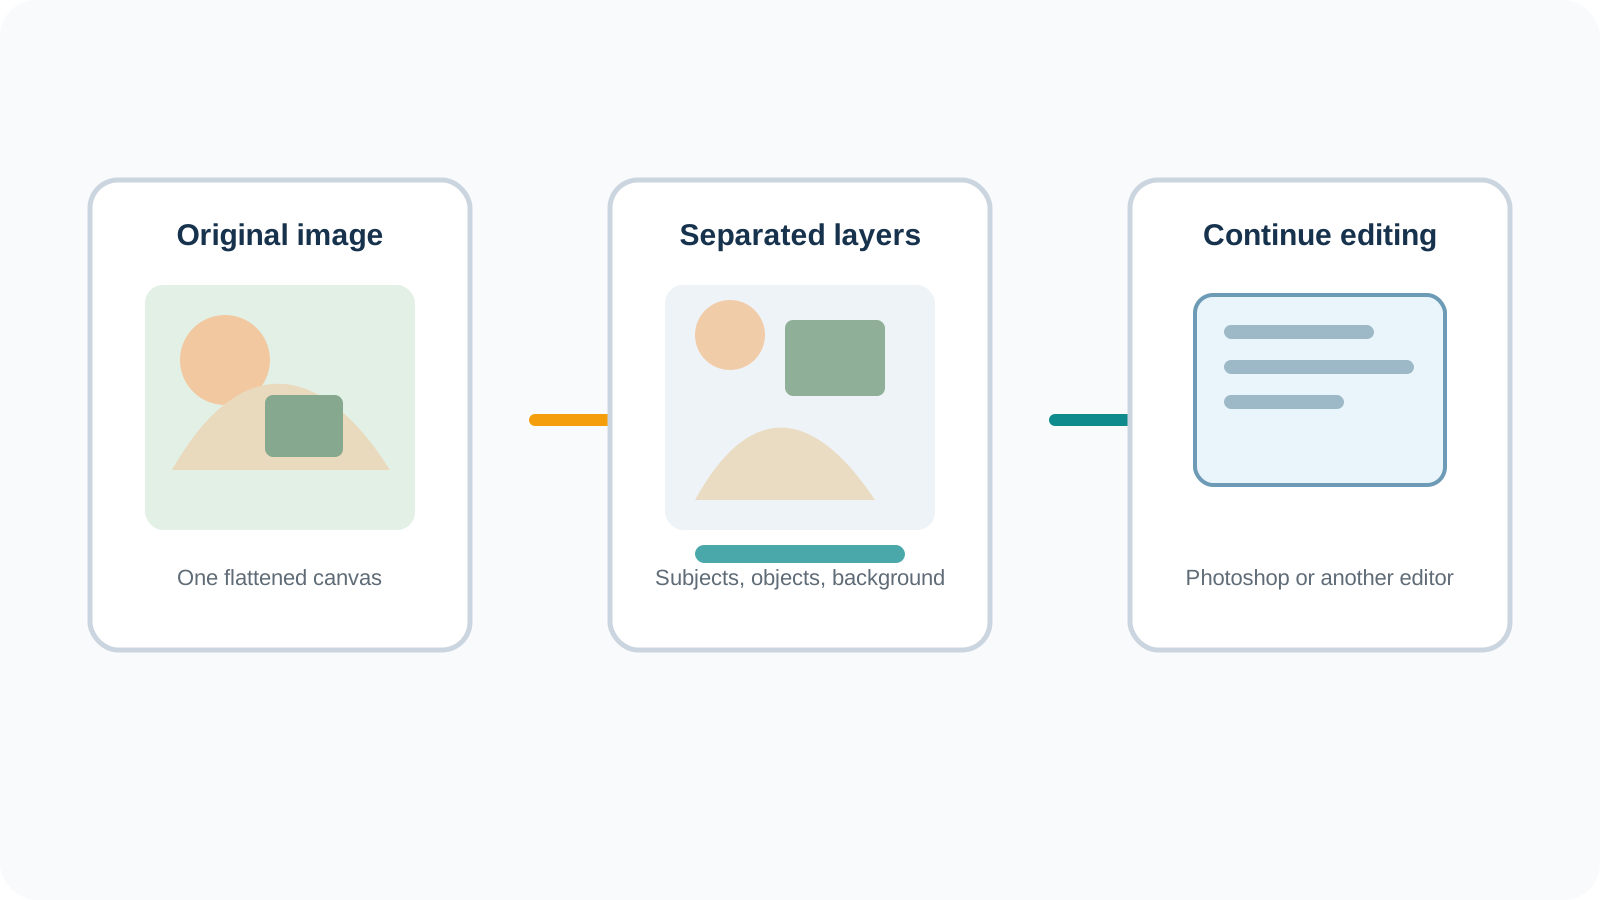
Image to Layers analyzes a flat image and generates separate raster image layers for recognizable visual elements. Depending on the original image and workflow, the result can contain subjects, objects, foreground content, and background regions. You can review the output and export supported image assets for further editing.
What Layer Separation Does Not Do
Separating objects is not the same as creating a smart shape-editing control. A separated mug layer does not automatically contain adjustable handle geometry. A layer generator cannot recover the original artist's complete Photoshop project, editable text, vector paths, or design history from a flattened picture.
When a Layered PSD Helps
If you need to continue in Photoshop, a layered PSD can give you individual raster elements to work with. The result requires review and may need cleanup. It is not a reconstruction of the original editable project.
- Hide or reposition a subject
- Change the layout of a composition
- Adjust separate visual regions
- Create alternative arrangements
- Replace a background
- Keep parts of an image available for later revisions
A Practical Workflow: From a Finished Image to More Editable Artwork
Even without a direct-manipulation system, creators can make flat images more flexible by separating the parts they intend to change.
Step 1: Start with a finished image
Use an illustration, product photo, or design you own. Make a list of the visual elements you might want to change independently.
Step 2: Generate a first set of layers
Open Image to Layers, upload a supported image, and use the existing layer-generation workflow. Aim for a useful separation rather than the largest possible number of layers.
Step 3: Inspect the separation
Review whether recognizable subjects and objects have been separated in a way that supports your editing task. Look for incomplete edges, unwanted overlaps, or unexpected changes to recognizable details. AI has estimated any hidden region that was not visible in the original.
Step 4: Export and continue editing
Download the supported output assets. If your work requires Photoshop, use a layered PSD when available, and keep the source image for comparison.
Step 5: Refine only what you need
Move, hide, replace, or otherwise adjust the separated raster elements. If an object needs its shape changed, you may still need a suitable image-editing or transformation tool. Layer separation and direct manipulation can complement each other, but they are not interchangeable.
Figure 6 · Layer workflow
Is Adobe Project Hands On Available Now?
As of November 12, 2026, Adobe lists Project Hands On as a research preview. Adobe provides an official entry point through Adobe Labs, making it possible to explore the experiment subject to the current preview interface, access conditions, and availability.
An experimental preview is not the same as a fully released commercial feature. Adobe has not established a general Photoshop release date for Project Hands On.
There is also no basis for assuming that the preview includes a permanent free tier, standard Photoshop document export, or a production-ready editing service. Treat it as research software and verify the current terms and capabilities before depending on it for important work.
Try Project Hands On on Adobe Labs ↗What Still Needs to Improve?
How predictable are the controls?
A slider or handle is only valuable if users can understand what it will change. A precise-looking interface does not automatically guarantee a precise edit.
Can it preserve identity and details?
Products, clothing, and illustrations may contain logos, material textures, labels, and small visual features. A local shape change should be inspected for unintended alterations elsewhere.
Can it handle complex scenes?
A simple mug is different from a crowded illustration with overlapping objects, reflections, transparent surfaces, and complicated lighting. Image understanding becomes harder when boundaries are ambiguous.
Can creators continue editing the result?
Output formats, edit history, reproducibility, and compatibility with existing software all matter. The research preview should not be assumed to provide particular export capabilities until they are confirmed.
Will this become a Photoshop feature?
That remains uncertain. Adobe MAX Sneaks demonstrates experimental ideas. Some research may influence future products, but a public demo does not guarantee a particular launch or integration.
The Bigger Picture: AI Editing Is Moving Beyond the Prompt Box
AI image creation began with a simple and powerful idea: describe what you want, then generate it. But creators rarely stop after the first result. They need to revise details, preserve successful decisions, compare alternatives, and continue working.
This is where interfaces become as important as underlying models. Project Hands On points toward one possible future: AI interprets the image, but the creator communicates precise intent through direct visual interaction.
Image layer separation addresses another part of the same larger challenge: making a finished picture more editable after it has already been created. Neither approach solves every editing problem, but both reflect a shift from simply producing an image to giving creators more control over what happens next.
Final Thoughts
Adobe Project Hands On is interesting because it explores a familiar creative behavior: seeing something in an image and wanting to move or reshape it directly.
Instead of turning that intention into a complicated sentence, the research aims to put useful controls where the artwork actually is.
The approach is promising, but it is still experimental. Performance, access, and production compatibility need to be evaluated on real tasks.
Choose your editing method based on the problem. If you need to change an object's shape, explore direct manipulation and suitable image-editing tools. If you need to separate objects, backgrounds, and other visual elements for independent editing, use an image layer workflow.
Want to turn a finished picture into editable parts?
When your goal is independent control over subjects, objects, and backgrounds, start with a reviewed layer workflow rather than assuming an experimental preview can rebuild a production PSD.
Sources and Further Reading
- Adobe MAX 2026 Sneaks: Previewing the Future of Creativity ↗
- Adobe Labs — Project Hands On ↗
- Project Hands On Research Preview ↗
- Adobe Labs Playground ↗
Independent editorial coverage by ImageToLayers. This article is not affiliated with or endorsed by Adobe.
Step 1
Step 1: Open the official Adobe preview
Visit the Project Hands On page on Adobe Labs. Follow the official Try Project Hands On now link to the preview. You can also visit the direct preview entry point. If Adobe asks you to sign in or accept preview terms, follow the instructions displayed by Adobe.
Step 2
Step 2: Choose a simple image to experiment with
A good first experiment is a picture featuring one recognizable object with a clearly defined shape. Consider a ceramic mug with a visible handle, a simple chair with a distinct backrest, a stylized object illustration, or a product concept with a recognizable silhouette. Begin with an image you own or are authorized to edit. Avoid confidential client assets or sensitive personal images while evaluating an experimental service.
Step 3
Step 3: Look for image-aware controls
Inspect the controls made available for the selected image. The research concept is to generate interactive handles from image content. Look for a control that corresponds to the detail you want to change, and choose one simple adjustment rather than trying to redesign the entire scene.
Step 4
Step 4: Adjust one detail
If a suitable drag control is available, move it gradually. Try a modest change to a curve, outline, or proportion, then compare the adjusted result with the original. Ask whether the intended part changed without unexpectedly changing the parts you wanted to preserve.
Step 5
Step 5: Review the result carefully
Look closely at object edges and contours, shape and proportions, materials and textures, lighting and shadows, background continuity, and logos, lettering, or recognizable product details. A successful result should not be judged only at thumbnail size; evaluate it against the original editing goal.
Step 6
Step 6: Save or export only if the preview supports it
If Adobe provides an export or save option, follow its current instructions. Do not assume the preview supports layered PSD, transparent PNG, undo history, or any specific production format unless those options are visible and documented. Keep the original source image for comparison.
Step 7
Step 7: Decide whether direct manipulation fits your task
Ask whether dragging made the edit easier to communicate, whether the adjustment was predictable, whether other parts stayed acceptable, and whether you would use the interaction for similar revisions. Those questions are more useful than treating a single experimental result as proof that the tool can replace a complete image-editing workflow.
Adobe Project Hands On FAQ
What is Adobe Project Hands On?
Project Hands On is an experimental Adobe AI image-editing system that generates interactive controls on an image canvas. It is designed to let creators adjust recognizable visual details directly instead of expressing every edit through text prompts.
When was Adobe Project Hands On announced?
Adobe introduced it during Adobe MAX 2026 Sneaks, with an official public overview dated November 11, 2026.
How does Project Hands On work?
According to Adobe, the project uses image understanding, including object segmentation and vision-language models, to create content-aware controls that users can manipulate directly on the canvas.
Can I try Adobe Project Hands On?
Adobe has provided an official research preview through Adobe Labs. Visit the official Project Hands On page and follow the preview link. Actual access and supported functionality may change.
Is Project Hands On available in Photoshop?
It should not be treated as a generally released Photoshop feature. Adobe currently identifies it as a research preview, not a standard production capability in Photoshop.
Is Project Hands On free?
Adobe's public research description does not establish a permanent free tier or standard pricing. Check the current preview's access conditions and terms rather than assuming it is free.
Can Project Hands On edit AI-generated images?
Adobe identifies refinement of AI-generated artwork as a potential use case. The quality of any specific edit depends on the input image and what the research preview can handle.
Can I reshape an object by dragging?
That is the central research idea. Adobe describes on-canvas controls, including an example involving the shape of a mug handle.
How is Project Hands On different from text-prompt editing?
Prompt-based editing communicates a change through language. Project Hands On explores communicating certain adjustments through direct interaction with image-aware controls.
How is Project Hands On different from Photoshop Puppet Warp?
Puppet Warp uses a mesh and user-placed pins for deformation. Project Hands On explores generating context-aware controls from its analysis of the image.
Does Project Hands On create editable PSD layers?
Adobe's Project Hands On description focuses on direct image manipulation. It does not establish layered PSD export as a supported capability. Do not assume that the preview creates independent Photoshop layers.
What's the difference between Project Hands On and Image to Layers?
Project Hands On explores changing specific shapes and visual details through direct manipulation. Image to Layers creates separate raster image layers from a flat picture so recognizable elements can be edited independently.
Can Project Hands On preserve product logos and exact dimensions?
That should not be assumed. AI edits can alter recognizable details, and an experimental visual editing system does not guarantee dimensional or product-identity accuracy. Review any result before using it in a commercial or technical context.
Will Adobe Project Hands On become a permanent Photoshop feature?
Adobe has not announced a guaranteed release date or permanent Photoshop integration. It remains a research project, and its future may depend on further development and feedback.
Next step
Turn a finished picture into editable parts
When your goal is independent control over subjects, objects, and backgrounds, start with a reviewed layer workflow rather than assuming an experimental preview can rebuild a production PSD.
Ask AI about this page
Continue exploring this page with your preferred AI assistant.