
How to Turn Product Photos Into Editable Ad Layers for Faster Creative Production
A product photo may begin as a reusable asset, but once it is placed inside a finished ad, banner, social post, or campaign graphic, the product, headline, logo, offer badge, and background are often flattened into one image. Ad to Layers gives you a new editable starting point when the original PSD or Figma file is missing.
On this page
The problem
A flattened product ad locks the product, copy, graphics, and background together.
The better starting point
Recover those elements as separate parts before making the next campaign variation.
Best for
Product ads, social creatives, banners, posters, ecommerce promotions, and older assets with missing source files.
Ad to Layers
The ad is finished. The campaign is not.
A flattened JPG, PNG, or WebP turns even small changes into a reconstruction task: update a headline, move the product, replace an offer, change the aspect ratio, or prepare another language. The problem is not that the creative looks bad. It is that it no longer has structure.
Background removal helps when you only need a cutout. An ad contains more: product imagery, text, logos, offers, graphic accents, and a background. Ad delayering attempts to recover a broader design structure.
What Ad to Layers can recover
Product imagery
Separate the hero product so it can be repositioned or reused.
Text
Recover headlines, supporting copy, offers, and detected text separately.
Logos
Isolate visible brand marks when they are identifiable in the creative.
Graphics and background
Separate badges, decorations, and the background for easier adaptation.
Editable Text or Preserve Lettering?
Choose Editable Text when you expect to rewrite copy. Choose Preserve Lettering when the visible appearance matters more than changing the words. Font matching is approximate, so review typography, spacing, line breaks, and important brand text before publishing.
- 1.Upload the finished JPG, PNG, or WebP creative.
- 2.Choose how detected text should be handled.
- 3.Let Ad to Layers reconstruct recoverable elements.
- 4.Review product fidelity, typography, logos, overlaps, and rebuilt regions.
- 5.Continue editing from the recovered structure.
Where editable ad layers help most
If you are starting from a normal product photograph, use Image to Layers. If the product is already inside a designed ad, banner, poster, or promotional graphic, Ad to Layers is the better fit.
What the reconstruction cannot recover
A flattened image does not contain Figma components, editing history, hidden layers, original masks, Smart Objects, font files, blend modes, or vector source files. AI-generated reconstruction is a faster editable starting point, not a byte-for-byte restoration. Review logos, packaging, small text, shadows, overlaps, and hidden areas before publishing.
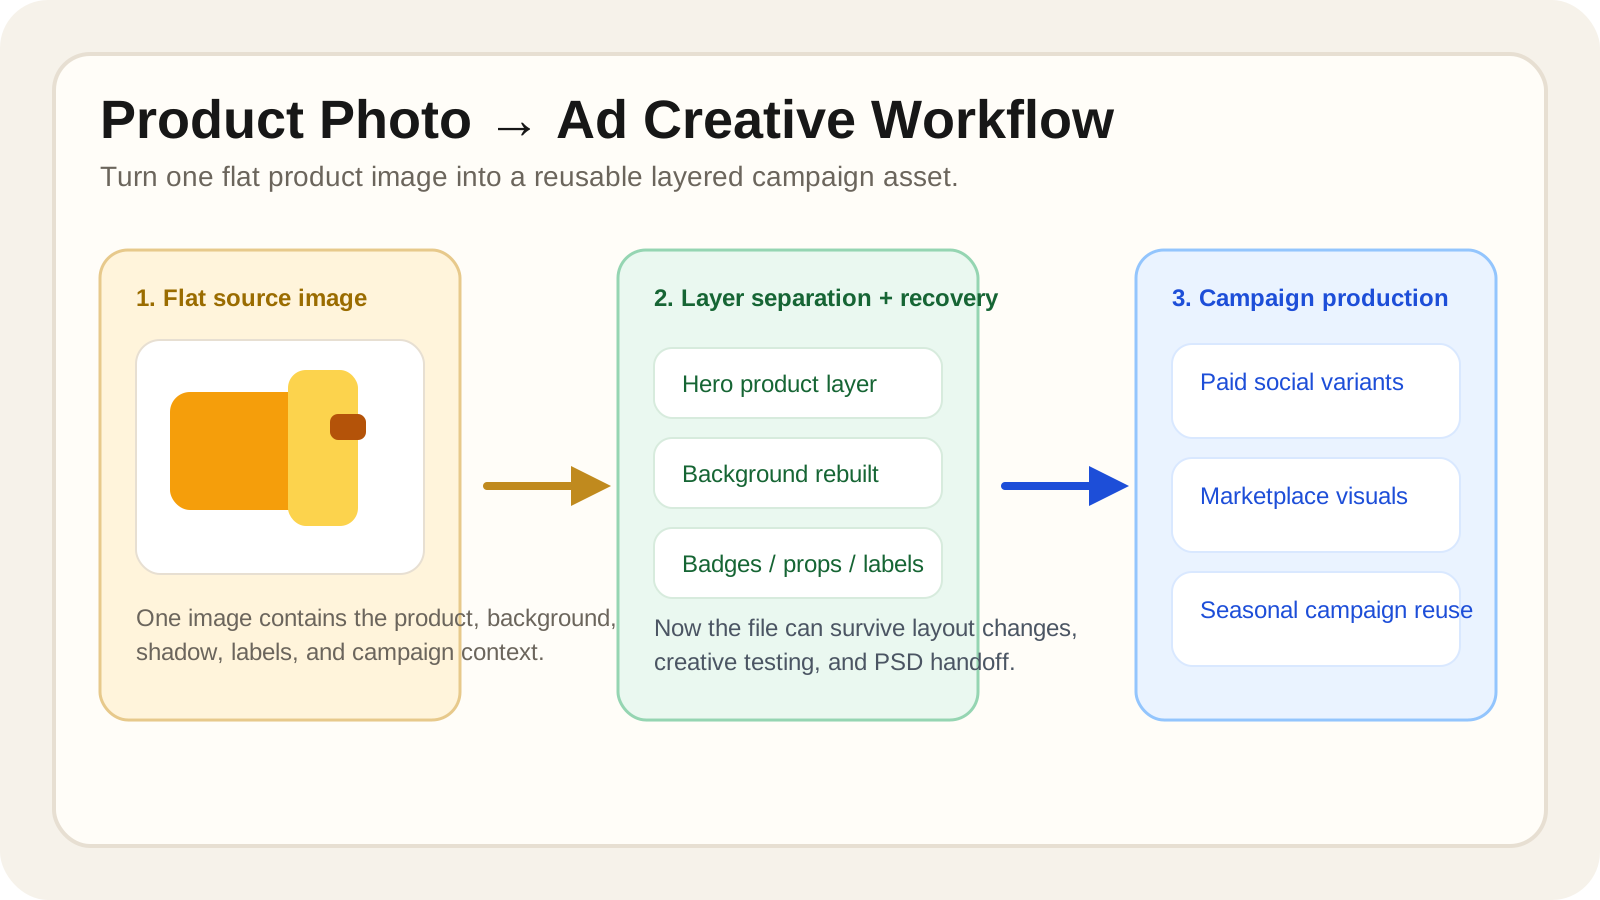
Step 1
Upload the original product photo
Start with the highest-quality product image you have, ideally one that still preserves clean edges, texture, and lighting detail.
Step 2
Separate the product into editable groups
Split the hero product, background, labels, props, and support elements so the asset is ready for real ad layout changes.
Step 3
Rebuild the hidden background areas
Recover the image regions that were originally covered by the product or overlays so the composition remains believable after rearrangement.
Step 4
Review the stack for campaign use
Check whether the product can be resized, repositioned, or reused across placements without forcing manual cleanup.
Step 5
Export for ad design and production
Move the layered result into PSD or another downstream workflow so the design team can build channel-specific creatives faster.
Product ad layering FAQ
How do I turn product photos into editable layers for ad creative work?
Start by separating the product, supporting props, shadows, labels, and background so the ad designer can move or swap each part without rebuilding the whole layout.
Why is background removal not enough for product ad production?
A simple cutout helps only when the subject stays fixed. Ad production usually needs layout changes, badge swaps, crop changes, and background reconstruction behind moved objects.
Can I use layered product files for paid social and ecommerce ads?
Yes. Layered product assets are useful for paid social variations, marketplace visuals, hero banners, and seasonal campaign updates.
What kinds of product photos work best for layer separation?
Well-lit product photos with clean edges, clear subject separation, and enough resolution for downstream design changes usually work best.
Do editable layers help with resizing creatives for different channels?
Yes. Layered files let teams reposition the product, text, and supporting graphics faster across different ad formats.
Can I export a layered PSD from a product photo workflow?
Yes. PSD export is valuable when the next step happens in Photoshop or another layered design workflow.
Why do ad teams lose time when starting from flat product images?
Flat images force designers to spend time isolating the product, patching hidden background areas, and rebuilding flexible layout structure before real creative work begins.
Can this workflow reduce creative prep time for campaign production?
Yes. The main gain is reducing repetitive manual prep so teams can spend more time testing offers, messaging, and format variants.
What should I review before exporting layered product files?
Check edge quality, shadow handling, reconstructed background regions, and whether the product can move without exposing visible gaps.
When should I use image to layers instead of a simple product cutout?
Choose image to layers when the asset needs reuse across campaigns, flexible composition changes, or PSD-based handoff to a design team.
Next step
Turn the flattened ad you already have into an editable starting point
Upload a finished ad, recover its main design elements, review the result, and continue with the next campaign version.
Ask AI about this page
Continue exploring this page with your preferred AI assistant.