That favorite photo deserves a creative second life. Separate the people, pets, scenery, and background in your picture into editable image layers. Start with a photo that means something to you and prepare the artwork for a personalized shadow box, paper-cut light box, or handmade keepsake.
Start with Your Own PhotoSeparate Subjects & SceneryDownload Editable Layers
1
Click or drag image to upload
Upload your image
JPG, PNG, WebP up to 10MB · Drag & drop anywhere
Change Image
Layer explorer17 layers
Hover or tap a box to inspect a layer
Separated layers17 layers
Protected exampleClick a layer to inspect it
2
Settings
Leave this blank to let Detailed Layers identify the main editable elements automatically. Or name the parts you want separated.
Guide the separation toward the details that matter
Add a short note about the subject or scenery you want to preserve, such as a pet, a family member, trees, or distant mountains. Clear depth in your image can make the resulting layers easier to review.
People & petsForeground subjectTrees & scenerySky & backgroundKeepsake details
Detailed Layers uses 60 credits per generation. Each photo may produce a different number of layers.
Start with the Photo You Already Love
No need to recreate the people, pets, or landscape in your favorite photo from scratch. Upload your image, let AI separate its visible elements, and explore the individual layers before continuing your design.
Upload your photo, generate editable image layers, and explore the individual elements before continuing to design a personalized shadow box or keepsake.
Start with Your Own PhotoSeparate Subjects & SceneryDownload Editable Layers
Your result depends on image clarity, overlapping elements, and the details visible in the original photo.
See how image layers work
Discover the Hidden Layers Inside a Scene
A picture can contain much more than one visual element. With AI separation, objects and scenery that once appeared together can be explored individually.
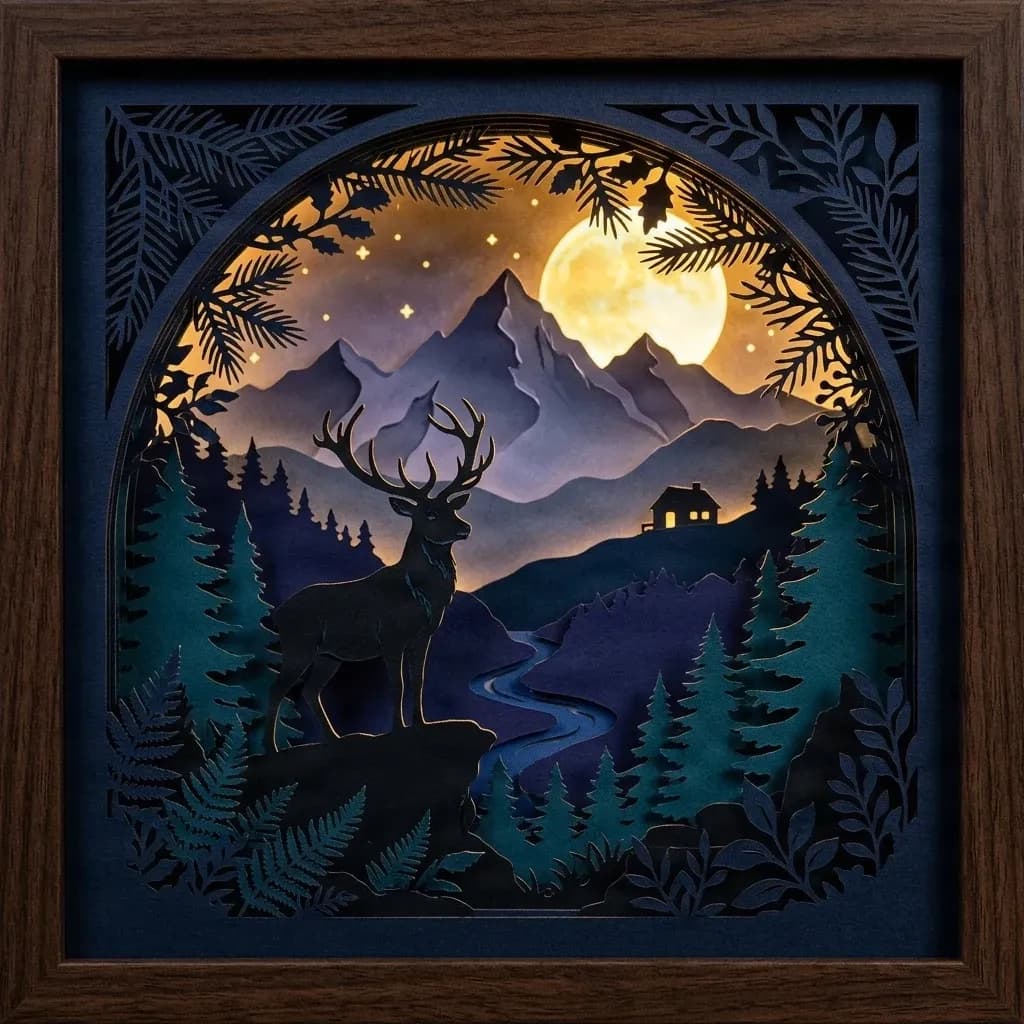
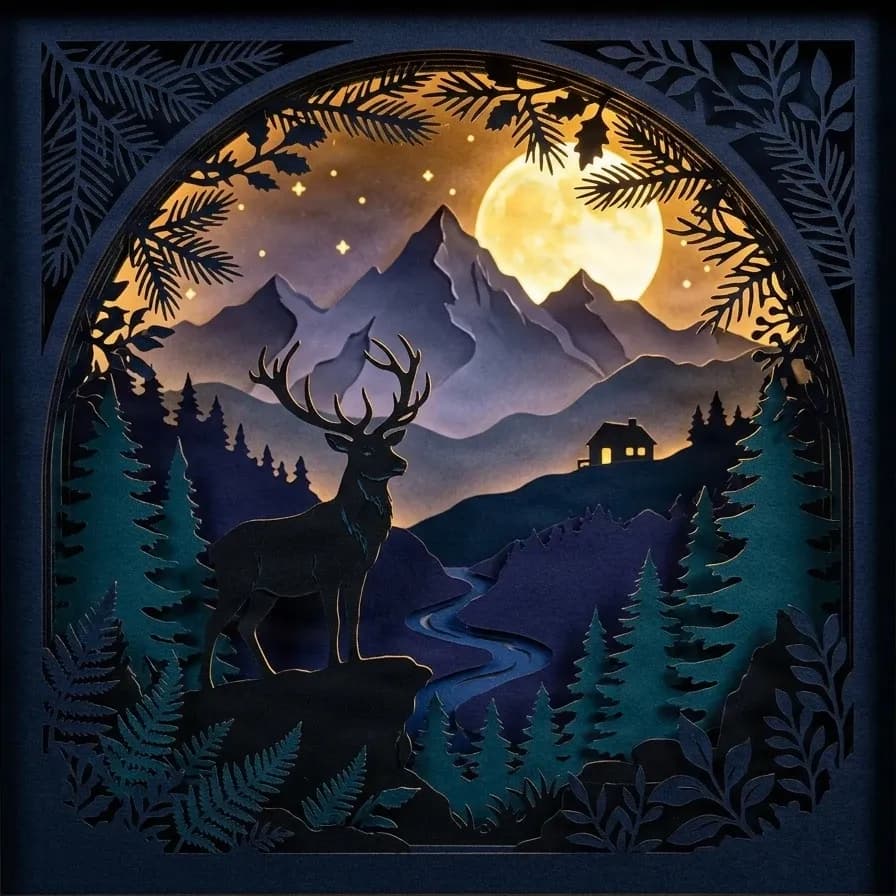
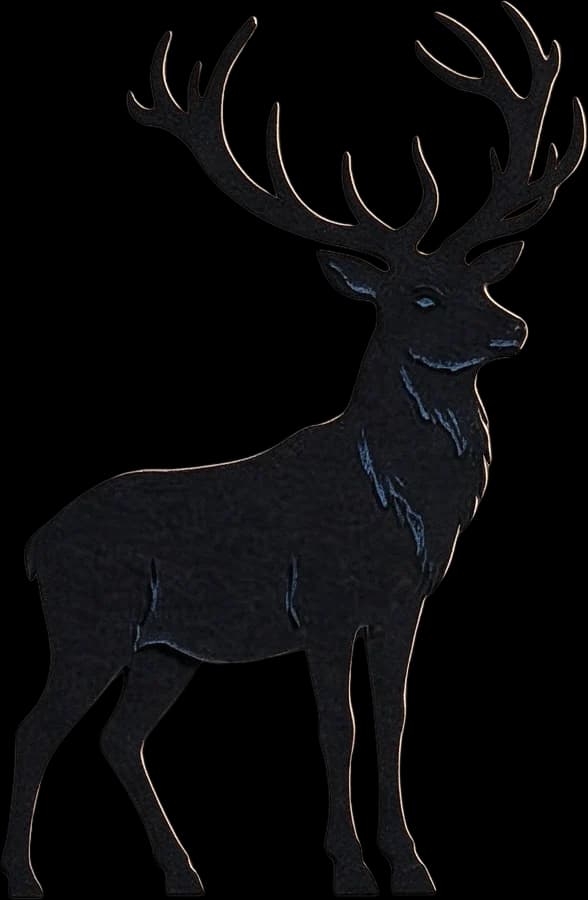
See how a woodland illustration separates into a deer, trees, mountains, moon, and foreground decorations. The example demonstrates how the same separation workflow can help when you're preparing a photo-based shadow box project.
Framed Forest Scene
17 AI image layers
Explore a layered woodland illustration featuring a deer, glowing moon, distant mountains, trees, a cottage, and a decorative frame. Select individual elements to inspect how the artwork was separated.
Layers in these examples
Wooden picture frame
Star sky background
Full moon
Distant mountain range
Inner frame dark blue base
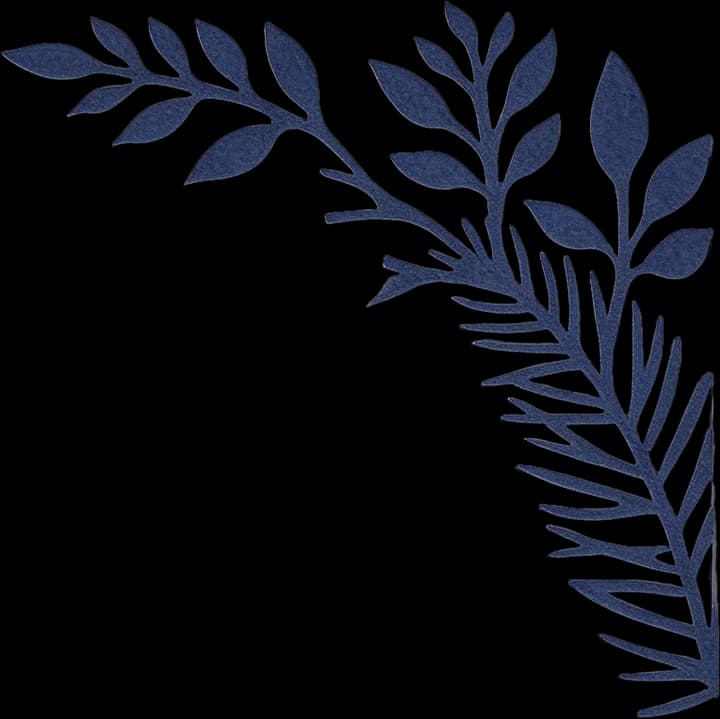
Top-left plant
Top-right plant
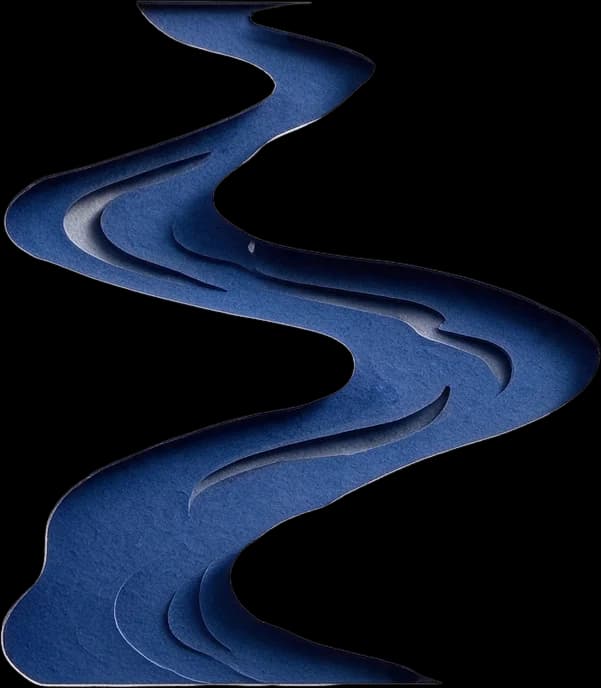
Stream
Left dark forest
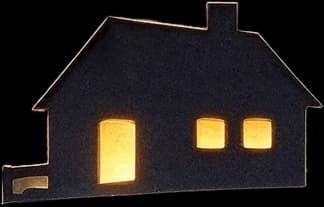
Hillside cabin
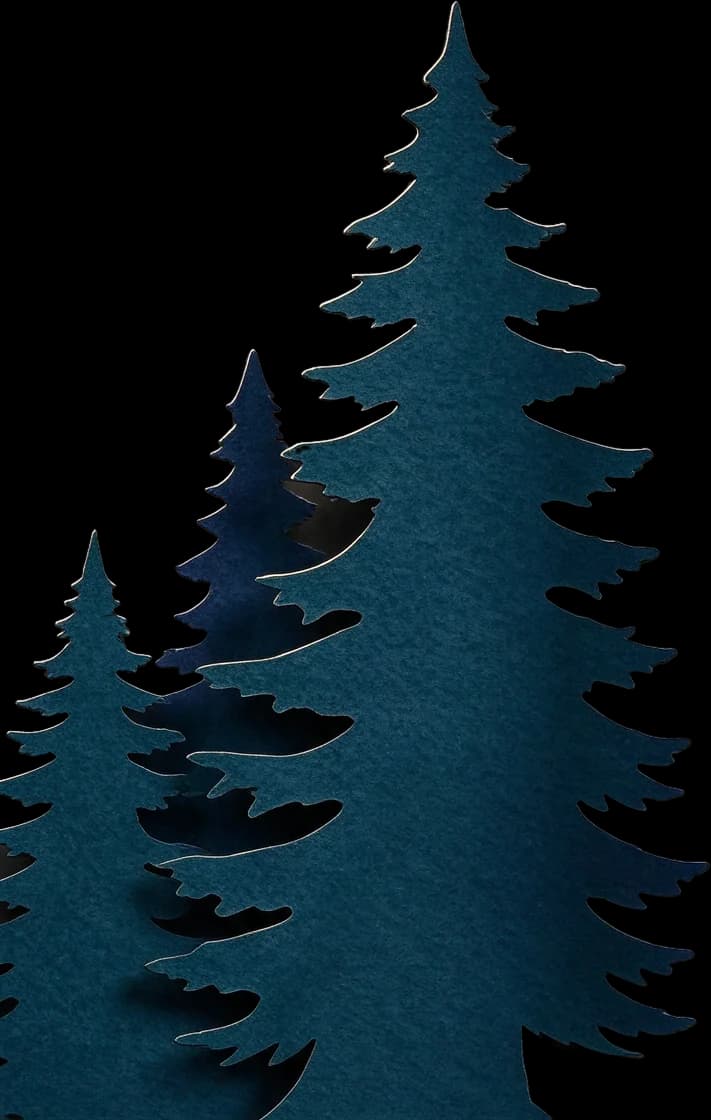
Left foreground conifer
Right foreground conifer
Top pine branch
Bottom fern plant
Bottom-right plant decoration
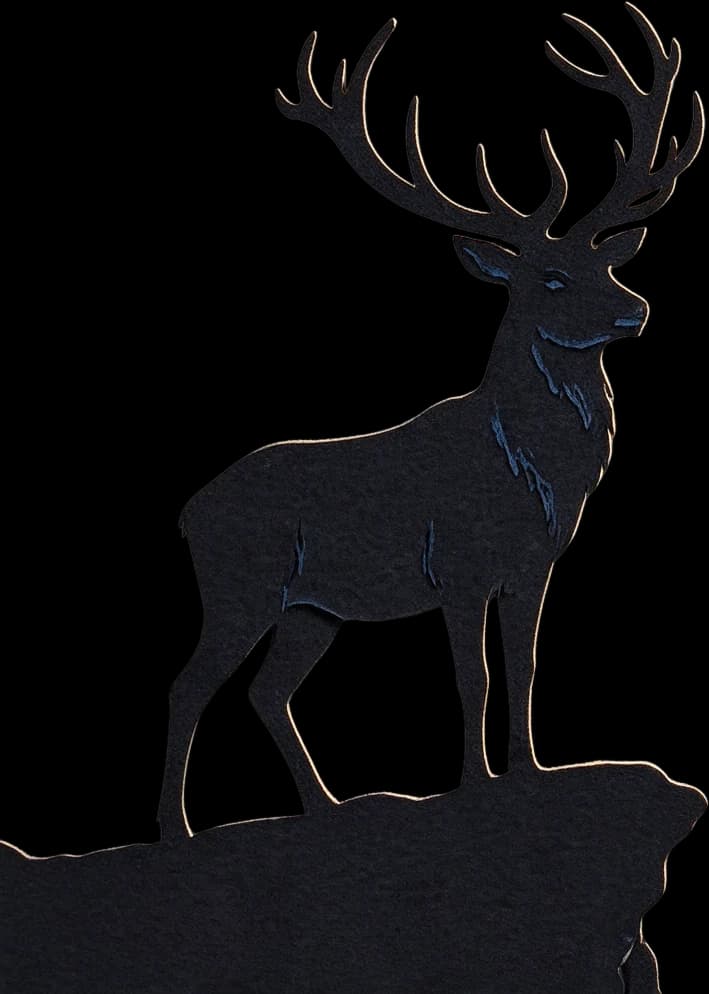
Foreground stag main
Paper-Cut Scene
16 AI image layers
See a version of the same illustration without the outer frame. Explore the visual elements that can serve as a starting point for a layered paper art design.
Layers in these examples
Starry sky background
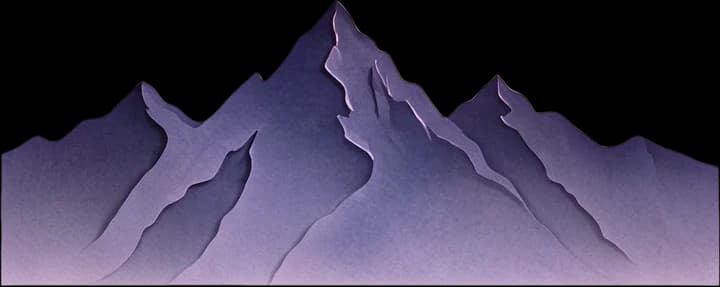
Purple distant mountain range
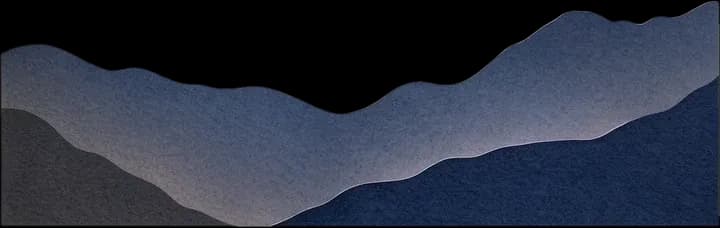
Dark gray midground mountain range
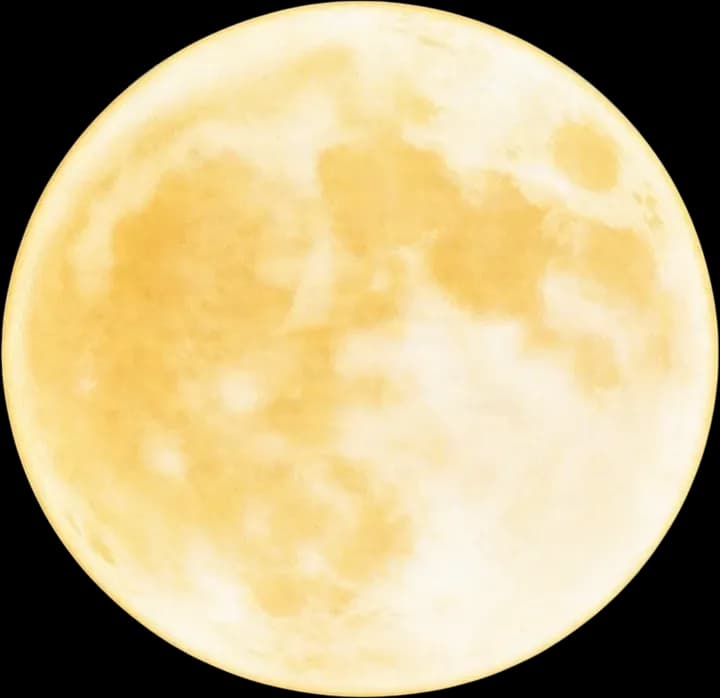
Full moon
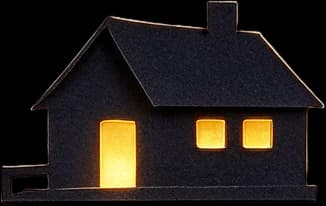
Hilltop cabin
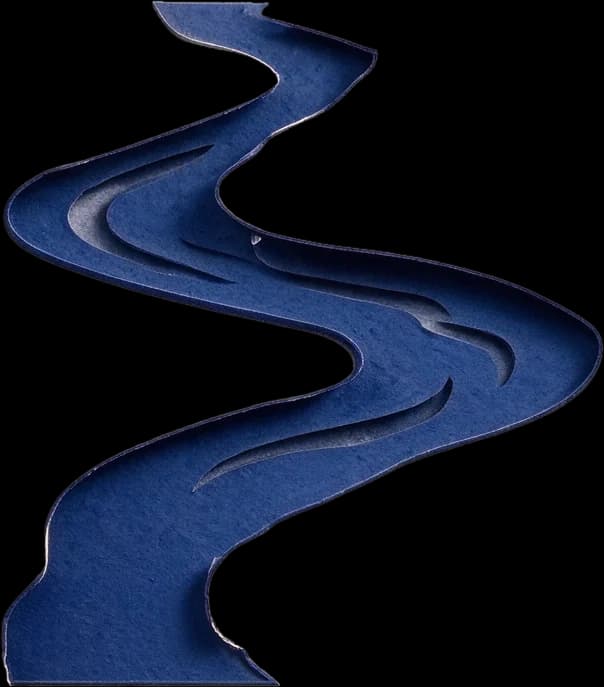
Winding river
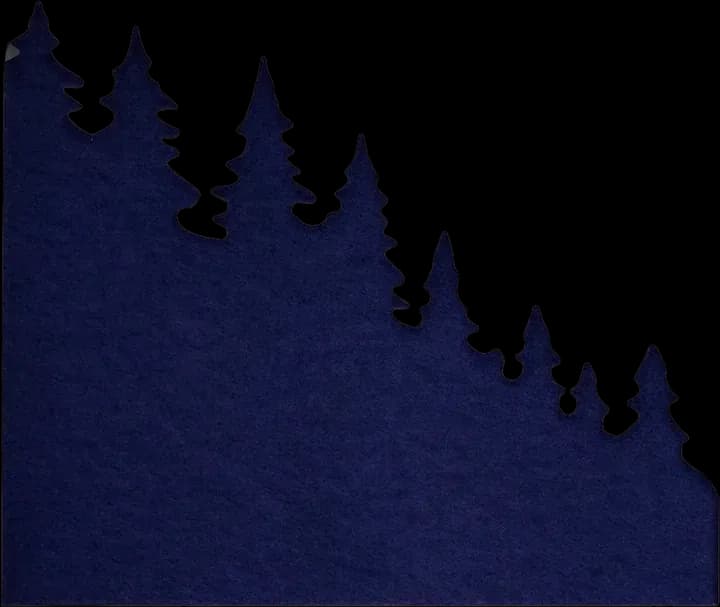
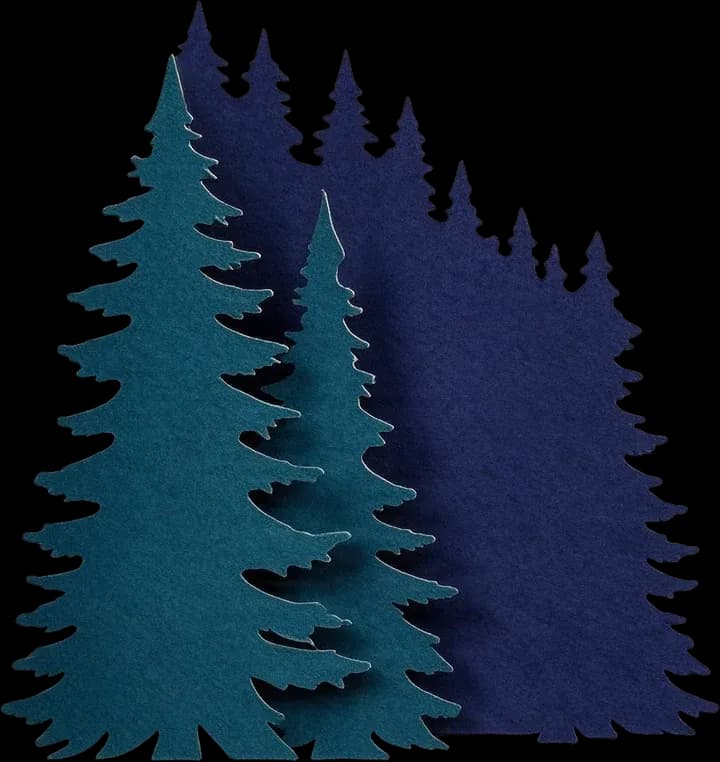
Left fir tree cluster
Right fir tree cluster
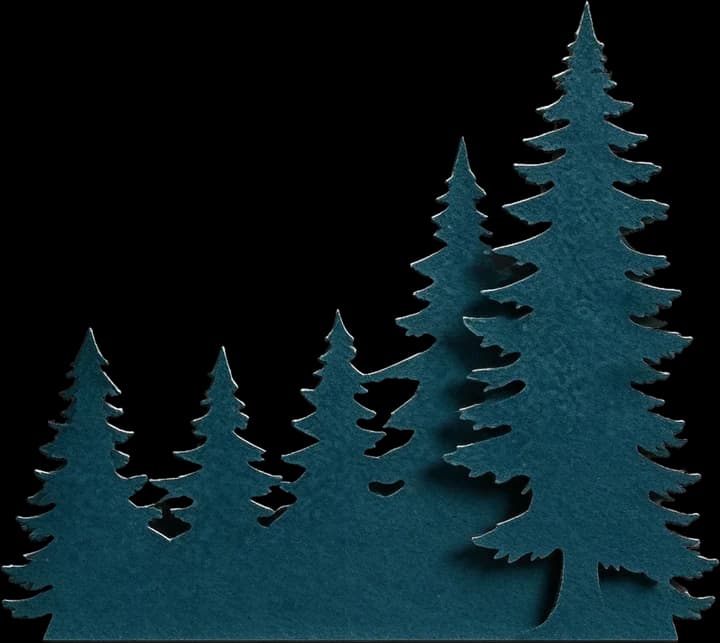
Bottom fir tree cluster
Foreground stag
Stag's rocky platform
Top arched pine branch
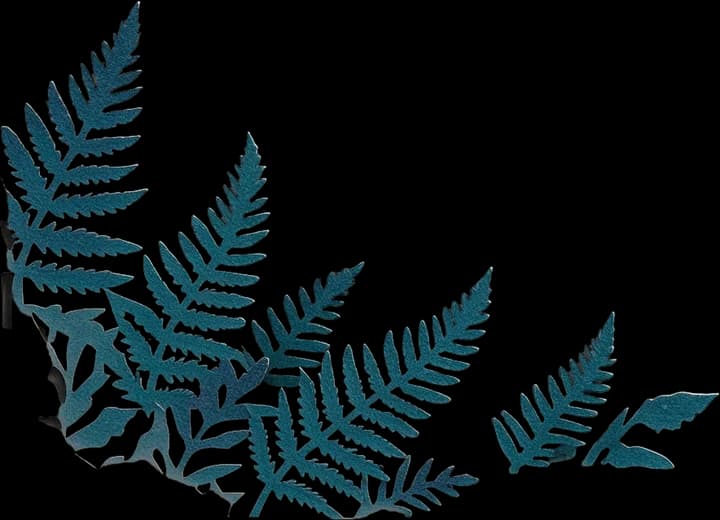
Bottom fern
Bottom broadleaf plant
Outer dark decorative border
Select an element to inspect its layer. Switch between the complete image and isolated details.
These are illustrative shadow box artwork samples, not results from a photographic portrait. Photographic results vary, and image layers are not automatically cut-ready templates.
Create from the moments that matter
Keep the Memory. Change How You Create with It.
A favorite photo captures a moment. But when you're making a custom gift or layered art piece, editing a single part can be difficult when the whole image is flattened.
Keep Your Favorite Subject
Start from a photo containing someone or something meaningful to you instead of generating an unrelated design.
Work with Foreground and Background Separately
Explore separating your subject from the surroundings so you can refine different parts of the composition.
Reduce Manual Selection Work
Let AI attempt the initial separation rather than tracing every person, pet, tree, or object yourself.
Explore Personalized Compositions
Experiment with which elements to keep, reposition, simplify, or combine during your design process.
Prepare Artwork for Creative Editing
Move from a single photograph toward a layered image project that you can continue developing in compatible software.
Create More from One Image
Use your own source artwork as the starting point for personal projects, design variations, and custom gifts.
Your photo, your story
What Kind of Shadow Box Could Your Photo Inspire?
Use a picture you already care about as the starting point for a personal layered art project.
Pet Portraits & Memorial Keepsakes
Start with a favorite photograph of your dog, cat, or other pet. Separate the subject from the surrounding scenery and explore a personal layered art composition.
Family Photo Shadow Boxes
Work with family portraits and meaningful memories. Separate visible subjects from the background to make further editing and design planning easier.
Wedding & Anniversary Memories
Turn a treasured wedding or couple photograph into editable layers you can refine for a heartfelt gift or anniversary project.
Travel Photos & Favorite Places
Use scenic travel photographs, sunsets, mountain views, and memorable destinations as inspiration for layered shadow box artwork.
Nature & Wildlife Photography
Explore the visual depth in forest scenes, birds, animals, trees, mountains, and distant landscapes.
Memorial & Tribute Artwork
Prepare photo-based artwork for meaningful keepsakes that celebrate a person, pet, or place you want to remember.
Layered image separation is only one part of making physical shadow box art. Photo simplification, vector cutting paths, material planning, and manual design work may still be necessary.
Four simple steps
Start Creating with Your Photo
Step 1
Choose Your Photo
Pick a clear portrait, pet photo, landscape, or other image. A recognizable subject and distinct scenery make the result easier to review.
Step 2
Generate Image Layers
Upload your photo and start Detailed Layers. AI analyzes the visual elements and attempts to separate them into individual layers.
Step 3
Review Your Scene
Inspect the generated subjects, scenery, and background. Check important details and any AI-reconstructed areas.
Step 4
Edit and Export
Continue refining your available image layers or download supported formats for further design work.
For personal projects and small creative businesses
Spend More Time Designing, Less Time Separating
Handmade Gift Creators
Prepare image elements from a customer's authorized photograph before refining a personalized piece of artwork.
Etsy Shadow Box Sellers
Use photos and illustrations you have permission to process as starting material for custom design projects and product variations.
Cricut & Silhouette Users
Separate photo elements before creating suitable vector cutting paths in compatible design software.
Laser Cutting Creators
Prepare individual visual elements to use as references when developing layered paper or wood designs.
Digital Artists & Illustrators
Use AI separation to get more editing flexibility from an existing photo composition.
DIY Crafters
Experiment with an image you love before planning the physical layers and assembly of a shadow box.
Understand the next step
Image Separation First. Cutting Preparation Next.
Turning a photo into editable layers is different from producing a finished paper-cutting template.
Image layers give you a starting point for further design. Physical craft production needs additional planning and preparation.
With Photo to Layered Shadow Box, you can:
Upload a photo for AI image separation
Explore individual subjects and scene elements
Review possible background reconstruction
Download supported image layer exports
Continue editing the artwork
For a physical shadow box, you may also need to:
Simplify photographic detail into workable silhouettes
Decide the physical number and order of paper sheets
Join unsupported pieces or remove very small details
Convert suitable shapes into cutting paths
Check dimensions, paper strength, and machine settings
Test the final design before assembly
AI-generated image layers do not automatically become verified Cricut or laser-ready cutting templates.
Get a better starting result
What Makes a Good Photo?
A clear source image makes it easier to inspect the subjects and scene details after separation.
Choose a Recognizable Subject
Photos with a clearly visible person, pet, building, or main object are easier to evaluate after separation.
Look for Visible Depth
A distinct foreground, middle ground, and distant background can provide useful elements for further layered artwork.
Avoid Extremely Crowded Photos
Many overlapping people, fine branches, or small objects can make separating and editing the result more difficult.
Use a Clean Original
Whenever possible, start with a good-quality image rather than a tiny screenshot or heavily compressed copy.
Check Important Details
AI may alter fine facial features, fur, hair, textures, or areas hidden behind other objects. Review these details carefully, especially for memorial or portrait projects.
How do I turn a photo into layered shadow box art?
Upload your photograph, generate editable image layers, and inspect the individual elements. You can then refine the artwork before deciding how to simplify it into physical paper layers or cutting templates.
Can I use a normal photo instead of a paper-cut illustration?
Yes. The Detailed Layers workflow can process photographs as well as illustrations. However, a regular photo may need more editing and simplification before it can be used for physical paper cutting.
Can I make a shadow box from a pet photo?
You can use a pet photograph as a source for image layer separation. The AI may separate the pet from the surrounding scene, giving you a starting point for developing personalized artwork.
Will the AI preserve the faces in my family portrait?
The model starts from your uploaded photograph, but exact preservation of facial features is not guaranteed. Inspect faces, hands, hair, and other personally important details before using the result.
Can I use wedding or anniversary photos?
Yes. You can upload an authorized wedding or couple photograph and attempt to separate the subjects and background for further creative editing.
Can I turn a landscape photo into multiple scenic layers?
Yes, the AI can attempt to separate visible elements such as trees, mountains, buildings, clouds, or distant scenery. The number and quality of layers depend on the image.
Will it automatically create exactly six or eight paper layers?
No. Detailed Layers identifies image elements rather than generating a guaranteed number of physical paper sheets. You may need to combine or simplify the image layers for a final craft design.
Does AI fill in the background behind a person or object?
The model may generate plausible visual content in previously hidden areas. These areas are AI-generated estimates, so they may not match the actual scene behind the subject.
Can I download separate PNG layers?
The existing ImageToLayers export workflow supports separate PNG layers. Available downloads depend on the completed generation and your export access.
Can I get a layered PSD for Photoshop?
The existing export workflow supports layered PSD files, subject to the applicable plan and export requirements. Check the PSD after opening it in your editing software.
Does the tool create Cricut-ready SVG files?
Not directly. This workflow generates editable image layers. You can explore the separate Image to SVG tool afterward, but converting images to SVG does not guarantee a usable cutting template.
Can I use the result with xTool, Glowforge, or LightBurn?
You can use generated image layers as source material for preparing cutting files. You still need to create and verify the appropriate cutting geometry, size, and material settings.
Can I use the results for custom gifts that I sell?
You can use the workflow for custom design projects, provided you have the appropriate rights to the original image and comply with the service terms. Verify the final deliverables before offering them for sale.
Does the AI convert my photo into a paper-cut visual style automatically?
This page focuses on separating visual elements, not guaranteeing a paper-cut style transformation. Additional editing may be required to create simplified silhouettes or a finished paper-cut appearance.
Why might some small details be missing?
Fine hair, thin branches, intricate textures, overlapping shapes, and low-contrast elements can be difficult to separate accurately. Some details may remain merged or be reconstructed differently.
How much does Photo to Layered Shadow Box cost?
Detailed Layers currently uses 60 credits per generation. You can review the amount required before submitting your photo. Separate tools, such as Image to SVG, may have their own credit costs.
Turn a Favorite Photo into Your Next Creative Project
The most meaningful designs often begin with a picture you already have.
Separate your favorite photo into editable image layers and start exploring the details, scenery, and memories you want to bring into your next shadow box project.