
How to Turn a Logo Into Editable Layers Online
Logo layer separation matters when the original vector or PSD is gone but the brand still needs to evolve. The goal is to recover editability quickly enough for redesign, motion, and production work.
On this page
Logo breakdown
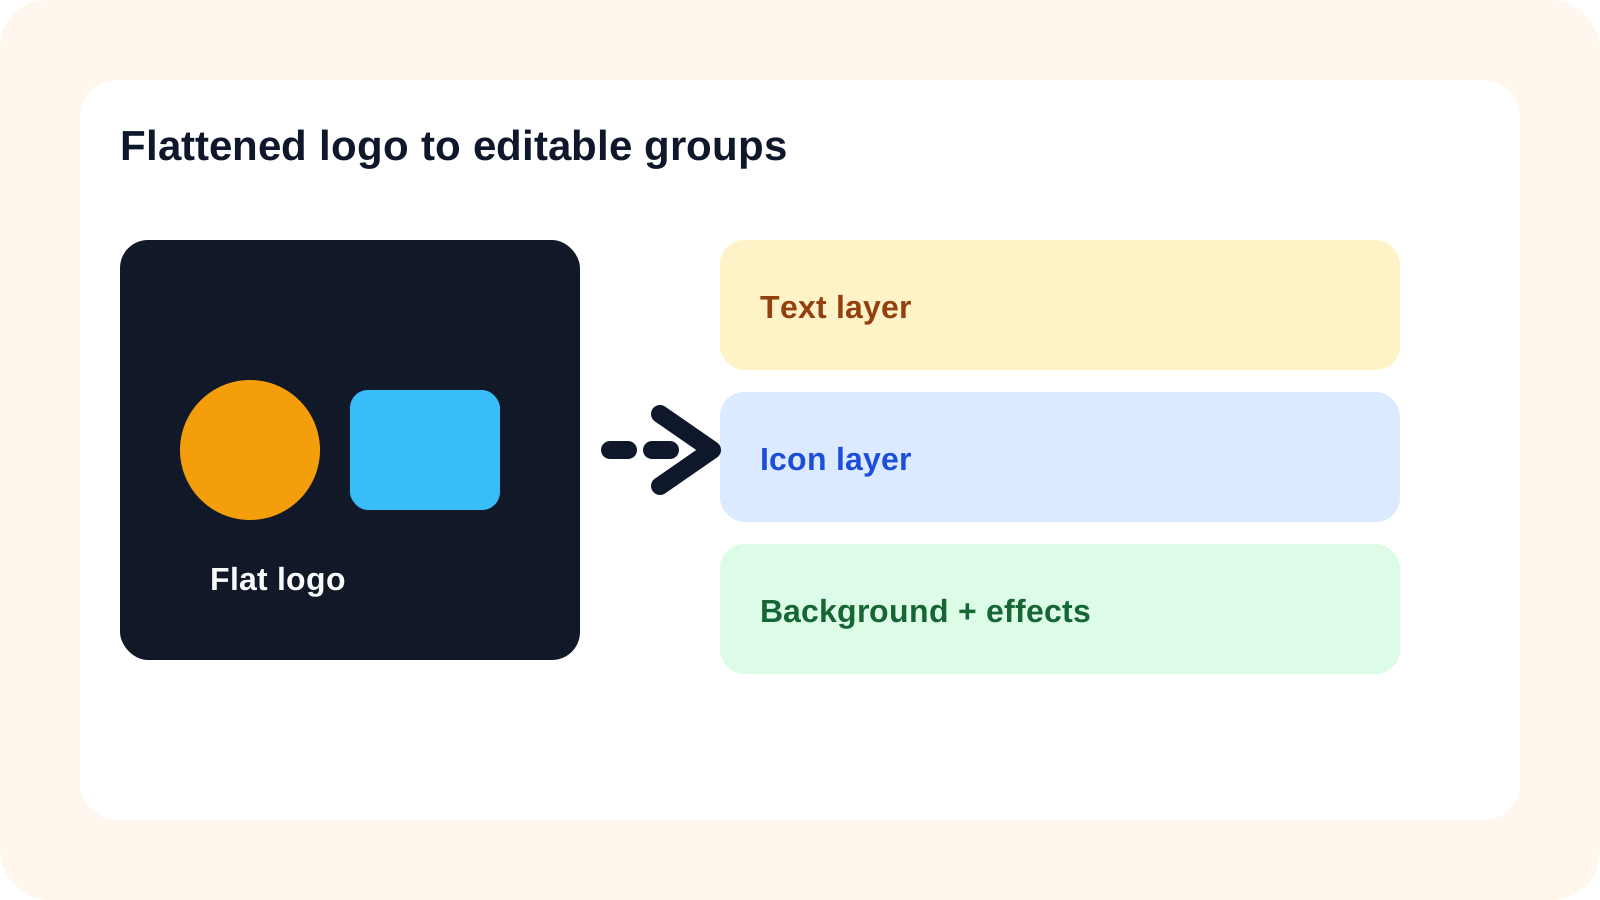
Why flattened logos cause problems
Once a logo is flattened, the text and icon often stop being independently editable. That slows down brand refreshes, social overlays, intro animation prep, and even simple layout changes.
What parts of a logo can become separate layers
In many real-world cases, the useful split is icon, wordmark, support shapes, shadows, and the surrounding background. You do not need a hundred fragments. You need the parts a brand designer is likely to change next.
Common logo extraction issues
Shadows, transparent glows, gradients, and low-resolution edges are the biggest friction points. These issues do not make the workflow useless, but they do change what “editable” should mean for the project.
In practice, the goal is usually fast brand control, not perfect forensic recovery of every original vector shape.
Logo to layers vs full vector recreation
Full vector recreation is still the gold standard when perfect scalability matters. But many teams do not need that first. They need speed, editability, and a reasonable PSD or layered handoff. That is where a tool like Logo Into Layers becomes practical.
Step 1
Upload the flattened logo
Start with the JPG, PNG, or screenshot version of the logo that needs to become editable again.
Step 2
Separate text, icon, and background
Break the logo into the groups that matter most for branding updates or PSD export.
Step 3
Review transparency and gradients
Check whether shadows, soft edges, and gradients still look believable after separation.
Step 4
Decide between PSD and SVG next
Keep the result in PSD for layered editing or move into vector recreation when absolute scalability matters.
Step 5
Export for redesign or motion
Hand off the layered logo to the next branding, layout, or animation workflow.
Logo layer separation FAQ
How do I turn a logo into editable layers online?
Icons, text, shapes, drop shadows, and the surrounding background can often be separated into independent editable groups.
Why is a flattened PNG or JPG logo so hard to edit?
Once a logo is flattened into one bitmap, text, icon, and background details are merged together, which makes redesigns slower and riskier.
Can logo layer separation replace redrawing the logo as a vector?
Not always. Vector recreation is still useful when perfect scalability is required, but layered extraction is much faster for many edits and motion tasks.
Should I use PSD or SVG after separating a logo into layers?
Use PSD when you need layered bitmap editing or Photoshop-based handoff. Use SVG when the artwork needs clean vector scalability.
Can I turn a logo screenshot or website logo into editable layers?
Yes, if the screenshot is clear enough and the logo elements still have readable boundaries.
Do shadows, gradients, or glows make logo layer extraction harder?
Yes. Gradients, glow effects, and shadows add complexity because their edges are softer and less clearly separated.
Can I use layered logo files for motion graphics or animation?
Yes. Layered logo outputs are useful for intro animations, brand stings, overlays, and social motion design.
Do I still need to recreate the logo as a vector sometimes?
Yes. If the final brand asset must scale perfectly in every context, vector recreation may still be the right final step.
What is the fastest way to edit a flattened logo file?
Usually it is separating the icon, text, and background first so brand changes can start before a full redraw is considered.
Can a low-resolution logo PNG still be turned into layers?
Sometimes yes. Even imperfect separation can restore enough structure for mockups, layout tests, and early redesign work.
Next step
Try logo layer separation
Move the flattened logo into a workflow that separates icons, text, and effects before the redesign work begins.
Ask AI about this page
Continue exploring this page with your preferred AI assistant.