Image to Layers vs Background Removal: What’s the Difference?
These two tools are often confused because both can make an image easier to edit. The real difference is depth. Background removal isolates one subject. Image to layers creates a broader editable structure.
On this page
Side-by-side
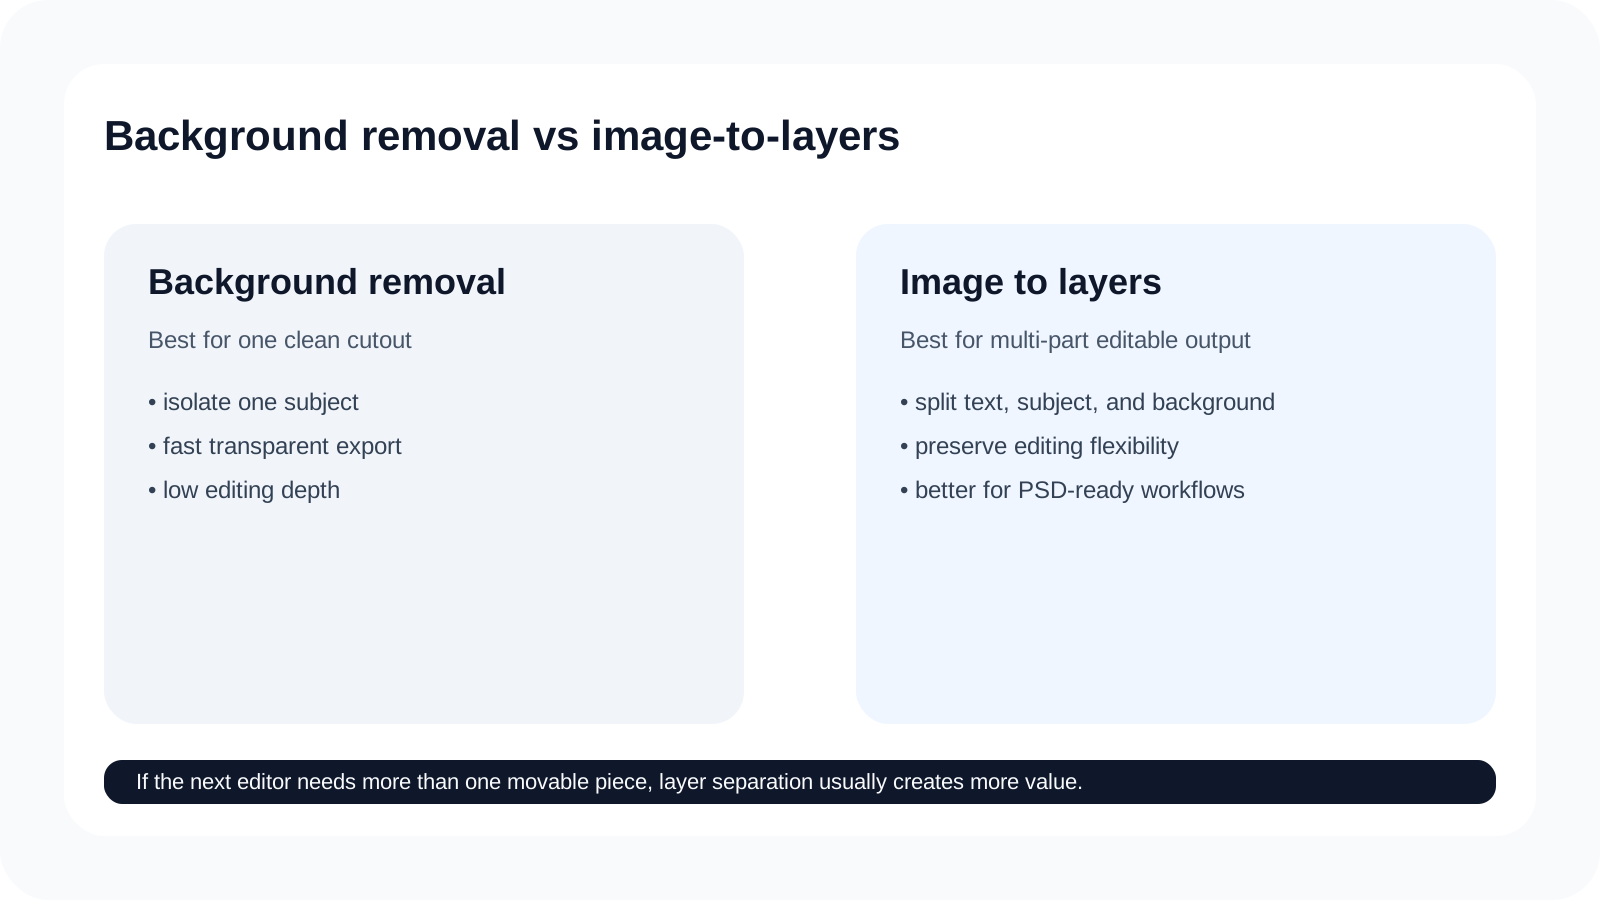
When remove background is enough
A product cutout, profile picture cleanup, or quick subject isolation task usually does not need a deeper layer stack.
When true layer separation matters
If you need text cleanup, independent object movement, rebuilt background space, or PSD-ready handoff, image to layers is the better fit.
Side-by-side comparison
| Criteria | Background removal | Image to layers |
|---|---|---|
| Output | Single cutout | Multiple editable groups |
| Editing depth | Low | High |
| Best for | Simple subject isolation | PSD-ready multi-part editing |
What background removal does
It identifies the main subject and removes everything around it. The output is usually a single transparent PNG or cutout layer. That is perfect when the rest of the image does not need to survive editing.
What image-to-layers does
It separates multiple meaningful regions, not just one subject. That might include foreground, background, text, iconography, and reconstructed hidden space. The result is more useful when several edits will happen later.
Examples that make the choice clear
A portrait for a cutout profile photo probably only needs background removal. A poster with text, a logo layout, or a marketing graphic with overlapping elements usually benefits more from image-to-layers.
Step 1
Define the editing goal
Decide whether you only need a cutout or whether several parts of the image need to remain editable.
Step 2
Check how many groups matter
If only one subject matters, background removal may be enough. If multiple elements matter, layer separation is usually stronger.
Step 3
Review the output you need
Ask whether the next person needs a cutout, a reconstructed background, or several editable groups.
Step 4
Choose the workflow that reduces rework
Use the tool that saves the next editor from rebuilding structure manually.
Step 5
Hand off to the right product page
Move to image-to-layers for editable outputs or background removal for a simple cutout-first workflow.
Comparison FAQ
What is the difference between image to layers and background removal?
No. Background removal usually produces a cutout. Image to layers produces a broader editable structure with multiple visual groups.
When is simple background removal enough for editing?
A simple cutout is enough when the only goal is to isolate one subject from the rest of the image.
When do I need editable layers instead of just a transparent cutout?
Editable layers matter when you need to move several objects, remove text, preserve the background, or export a PSD-style layered handoff.
Can I use remove background first and image to layers later?
Yes. Some projects start with background removal and later move into fuller layer separation when editing needs become more complex.
Which is better for logos, posters, portraits, and product graphics?
Logos, posters, and multi-element graphics usually benefit more from layer separation than from simple background removal.
Is background removal faster than image to layers?
Usually yes, because it solves a simpler problem. Speed is one reason it remains useful for quick cutout tasks.
Is image to layers better if I need a PSD export later?
Yes. Layer separation is far more useful when the next step requires a PSD-style handoff with multiple editable groups.
Can image to layers preserve the background behind a moved object?
Yes. That is one of the major differences from background removal, which usually does not rebuild the space behind moved objects.
Which workflow is better for product photos with text, badges, or overlays?
If the image contains product, text, badges, and other editable parts, image to layers is usually stronger than a simple cutout workflow.
How do I decide whether I need background removal or full layer separation?
Yes. If the editing goal is not obvious, comparing the output requirements first usually prevents rework later.
Next step
Compare workflows or try image-to-layers
Use the comparison page when you are still choosing, then move into the product page that matches the editing depth you actually need.
Ask AI about this page
Continue exploring this page with your preferred AI assistant.