AI Monster & Boss Layer Separator
Split Monster and Boss Art Into Editable Layers
Separate armor, limbs, capes, weapons, and other equipment into individual transparent layers.
Separates the pieces the AI can clearly see; the number of layers depends on your artwork. Covered areas may be reconstructed.
Separate Body Parts & Equipment
Supports JPG, PNG, and WebP
or drag and drop
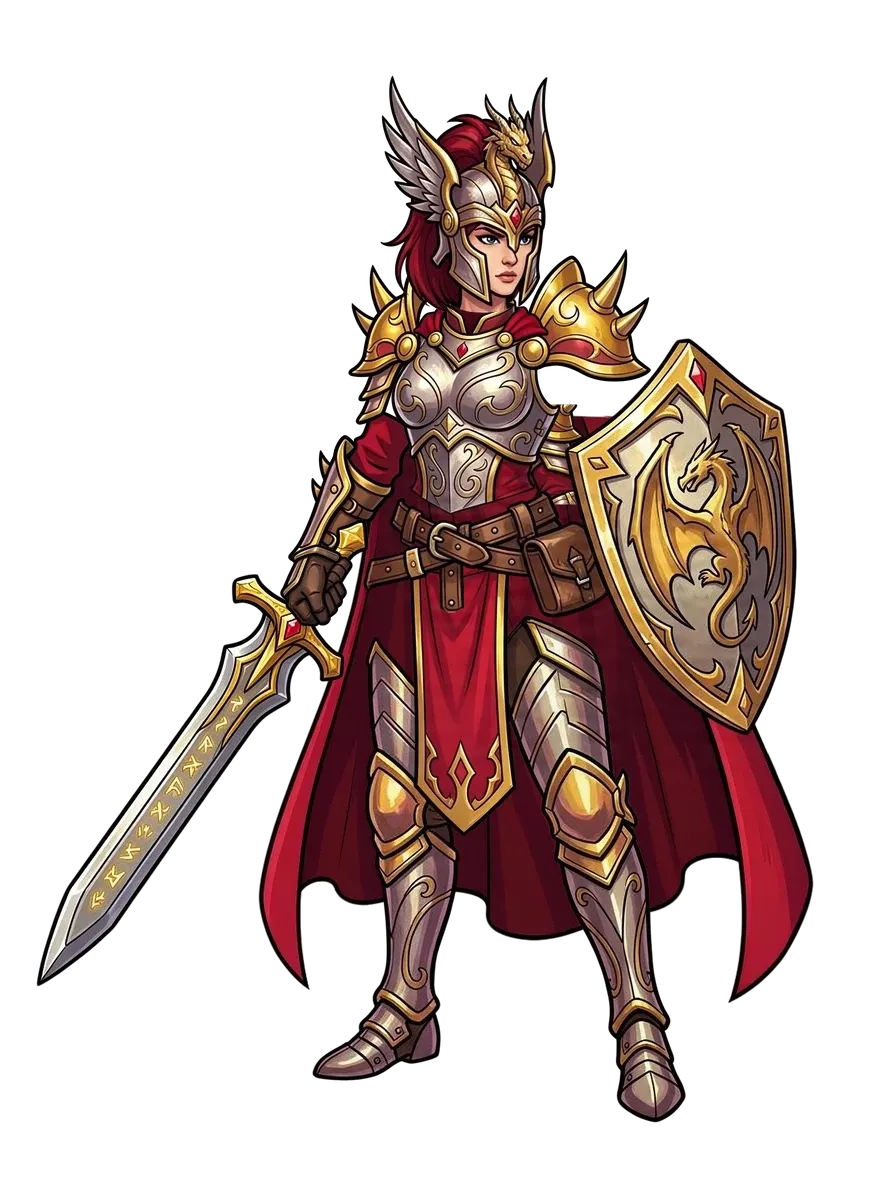
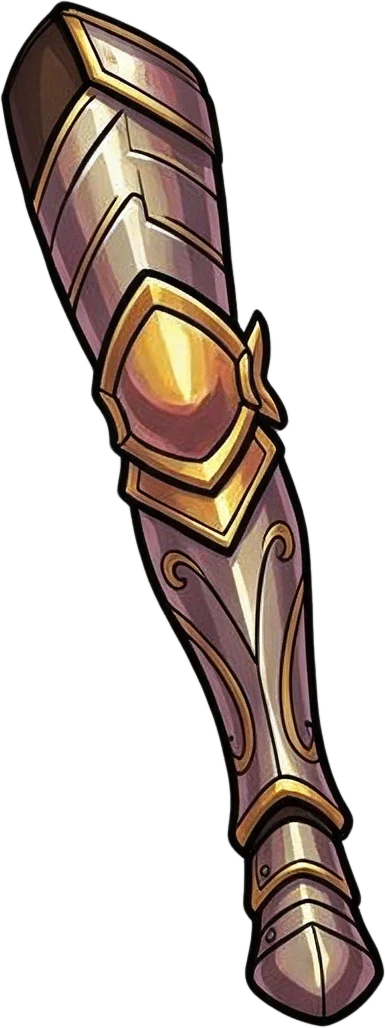
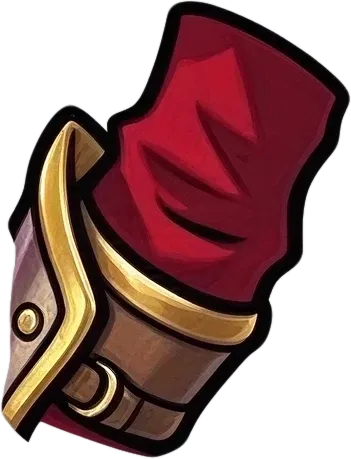
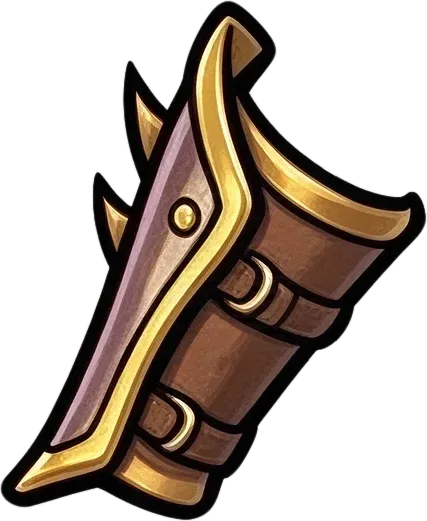
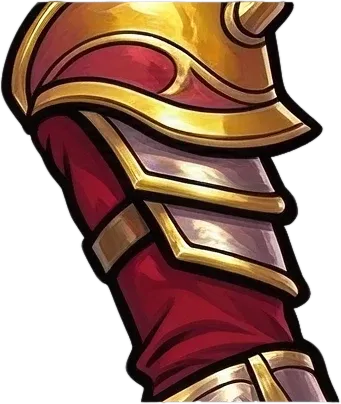
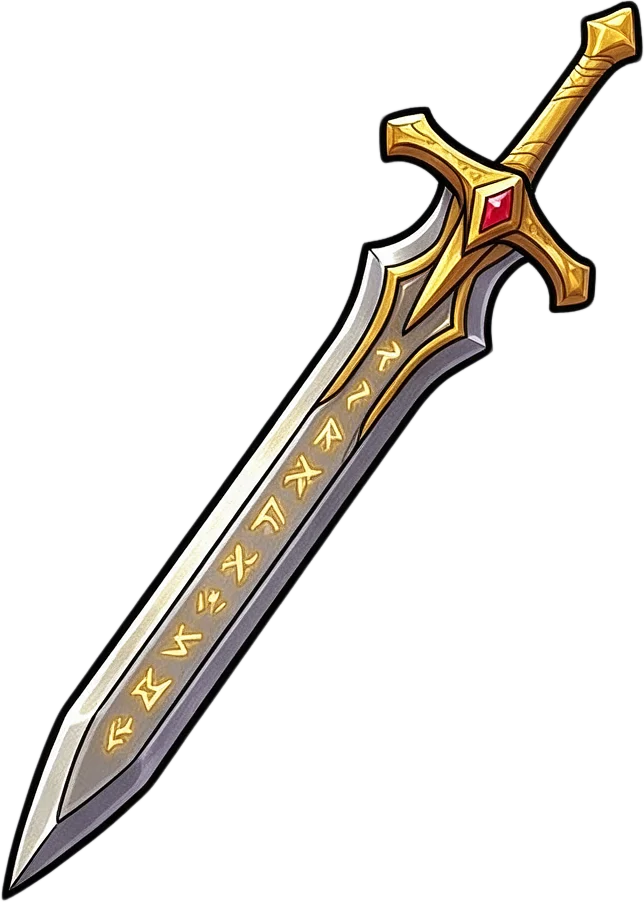
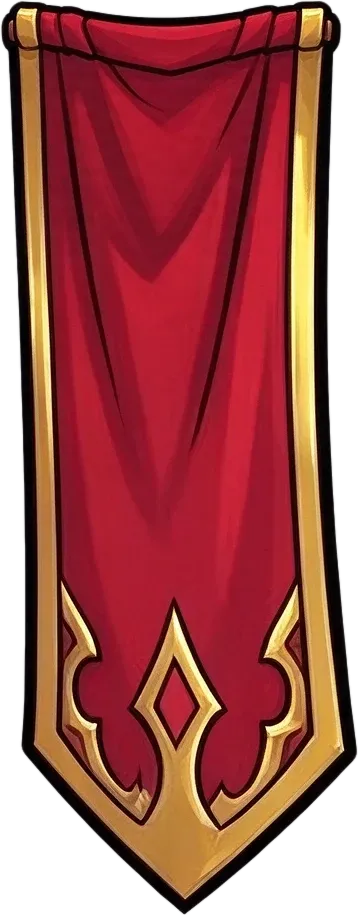
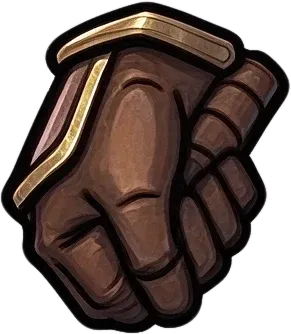
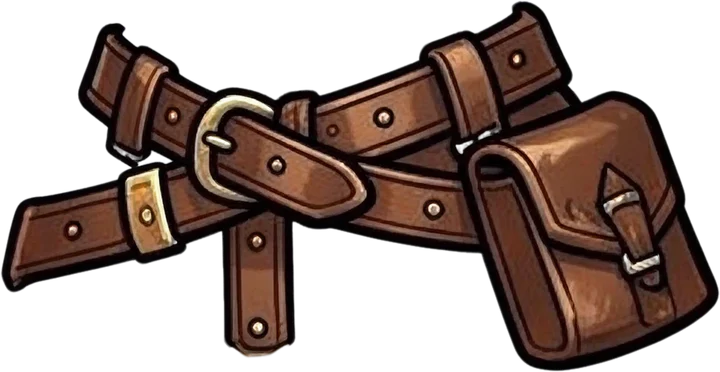
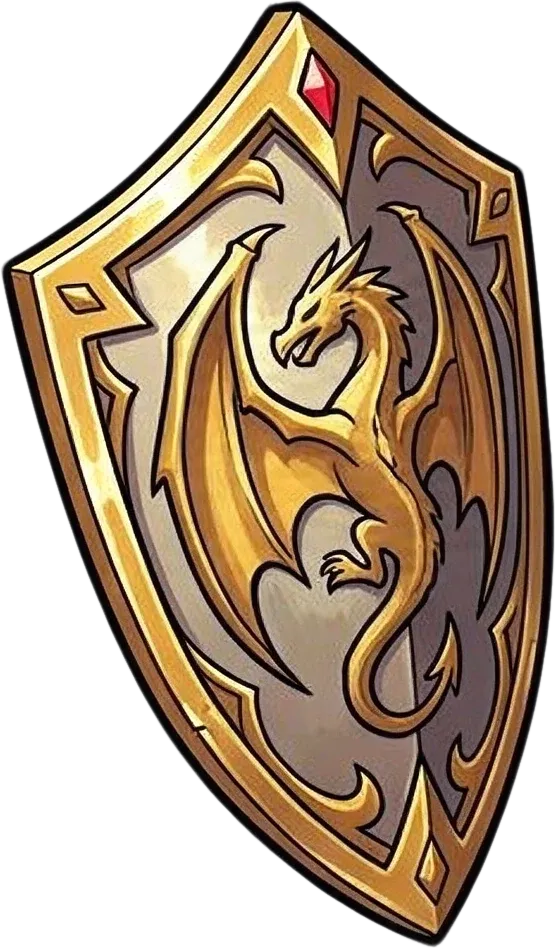
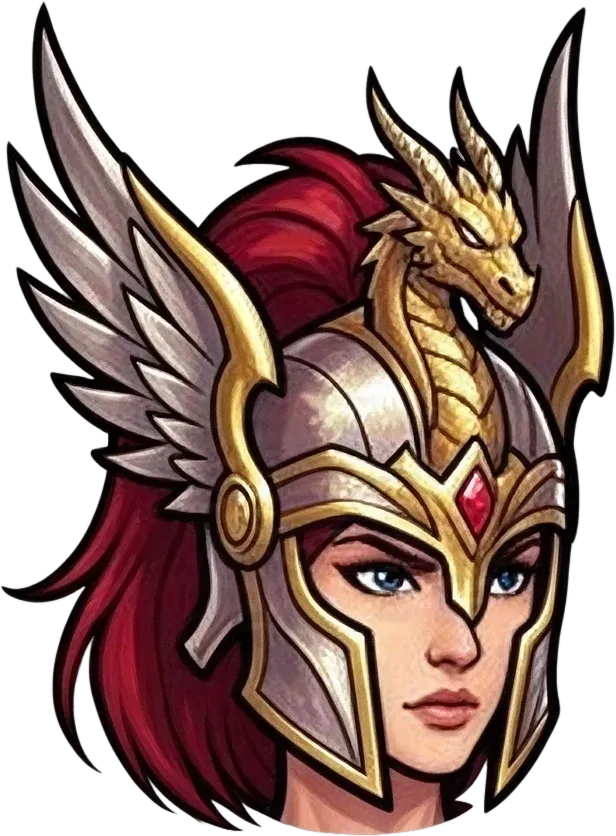
Ready to test with your own or this sample character
Clear character structure works best
Covered areas may be reconstructed
Uses 60 credits per character
Processing time varies with artwork complexity. Detailed armor, overlapping limbs, and large capes may take longer.
60 credits per image · Results depend on your character design and visible parts.
Your enemy design is finished. Now you need to make it move. But the head, arms, claws, armor, and other details are merged into one flat image. Upload your monster or Boss artwork and separate recognizable character parts into editable layers. Spend less time cutting up your illustration and more time preparing the attacks, movements, and visual changes your game needs.
Start with the monster artwork you already have. No original layered PSD required.
See How Character Parts Can Be Separated
From One Flat Character to Individual Image Layers
Before you start animating a character, you need artwork that gives you control over its separate pieces. See how the existing Body Parts & Equipment workflow extracts recognizable character regions from one flattened illustration.
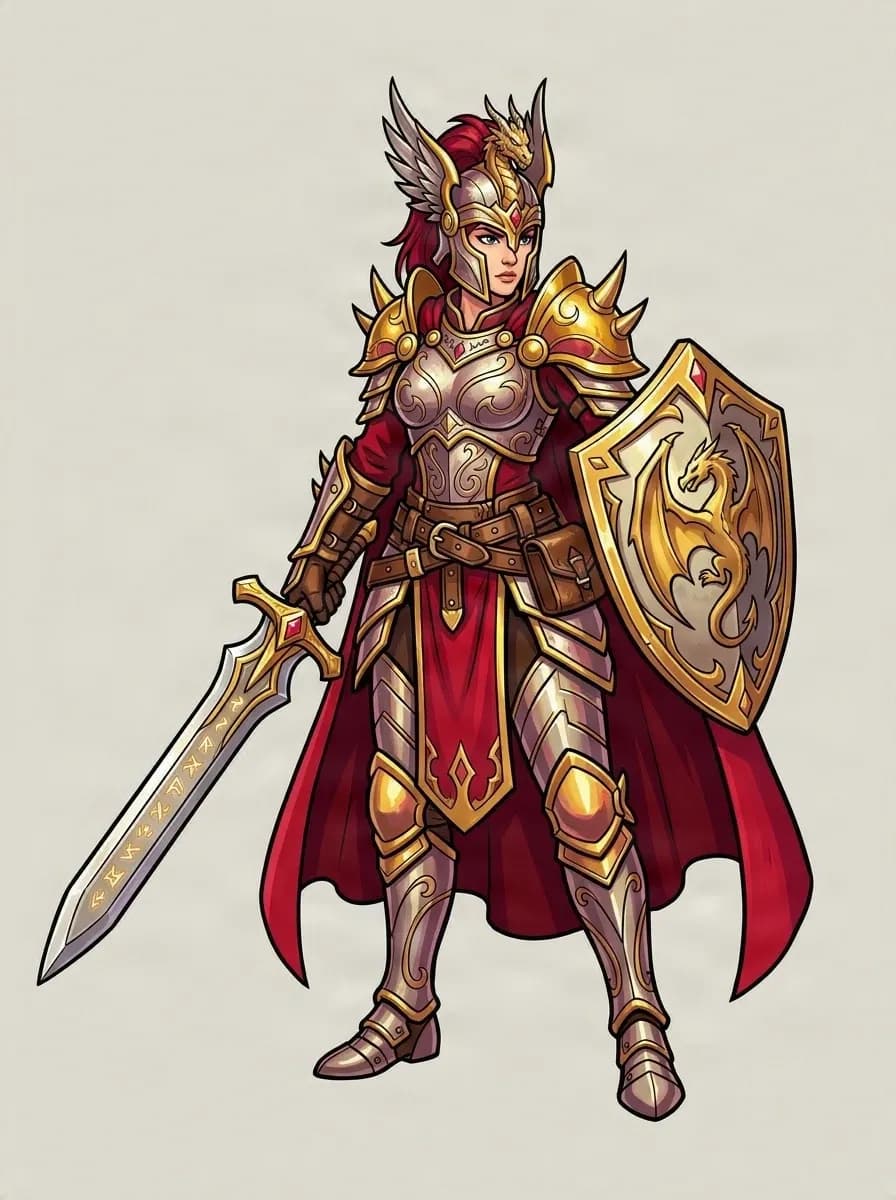
Original Character
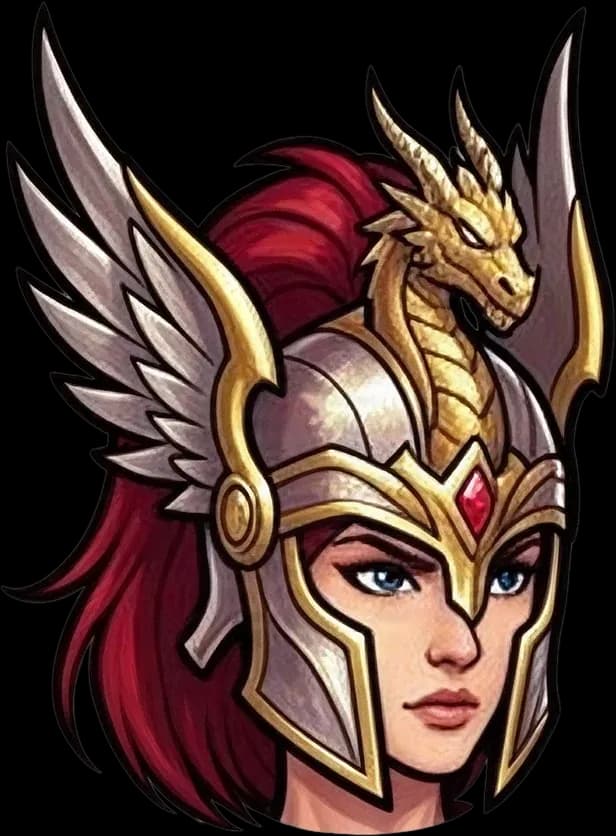
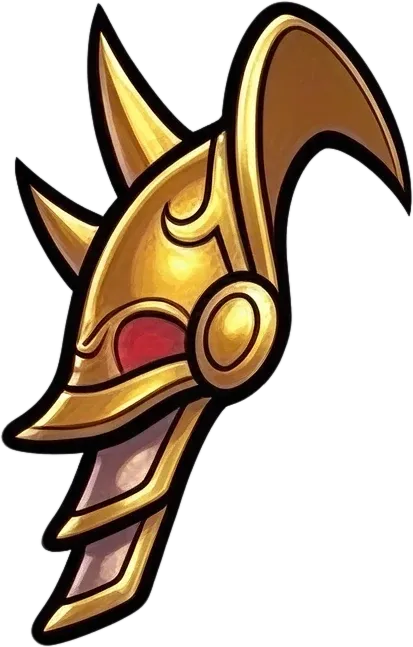
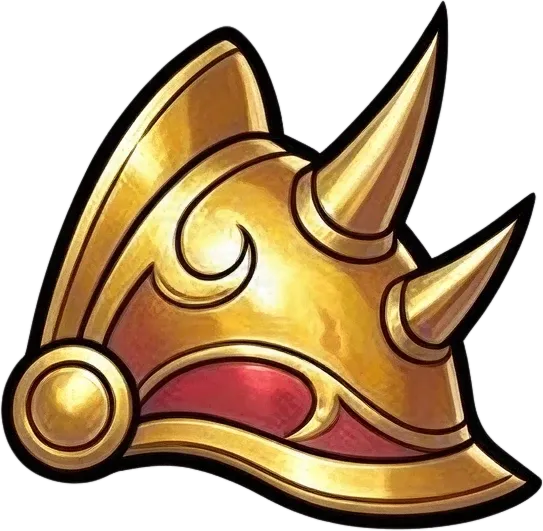
Helmet
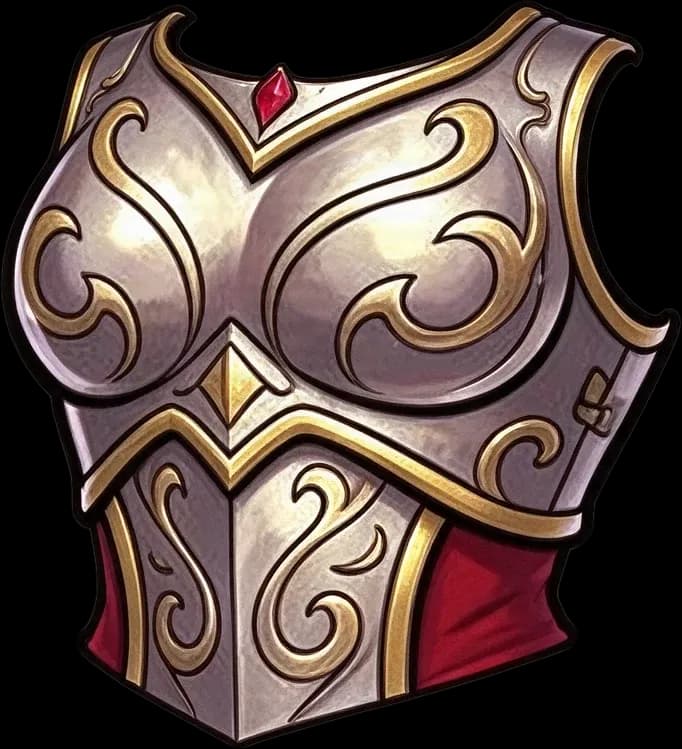
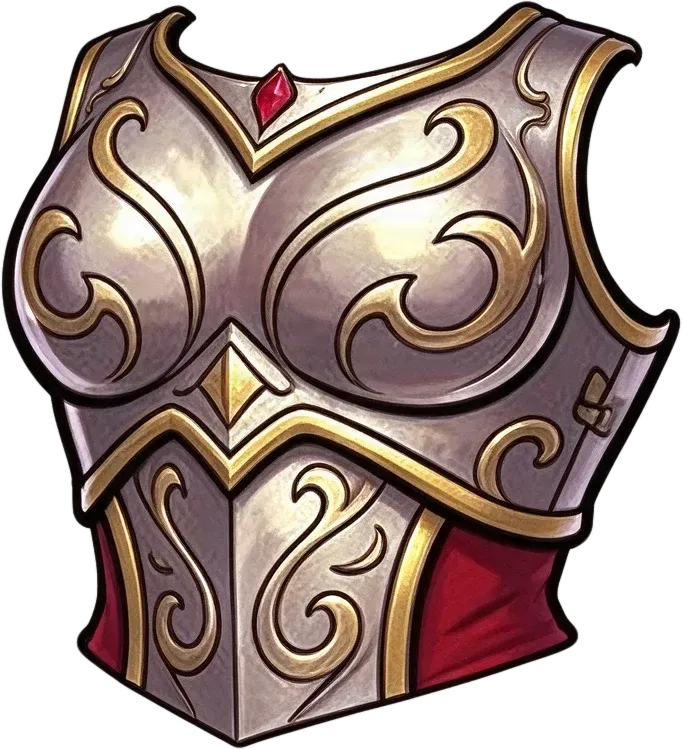
Chest Armor
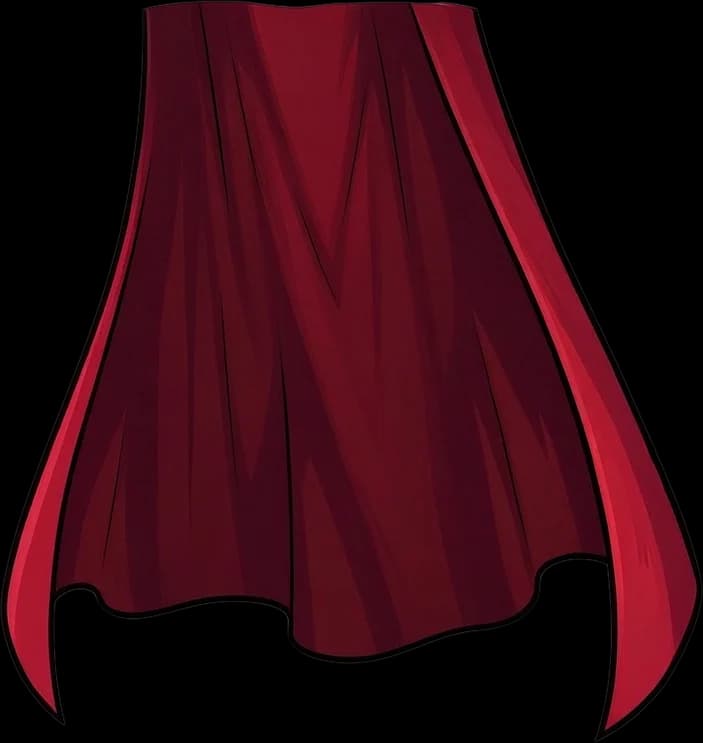
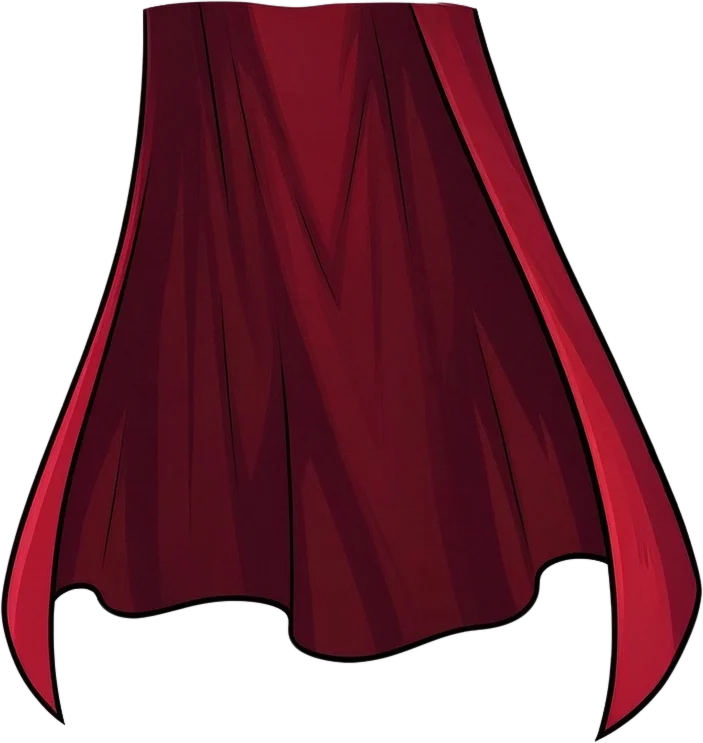
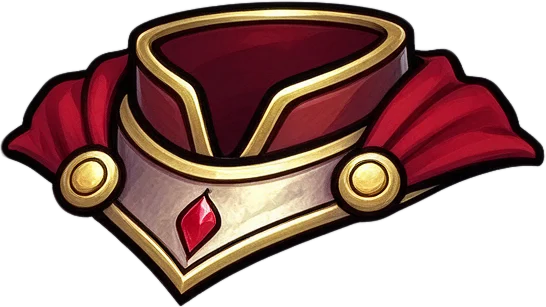
Cape
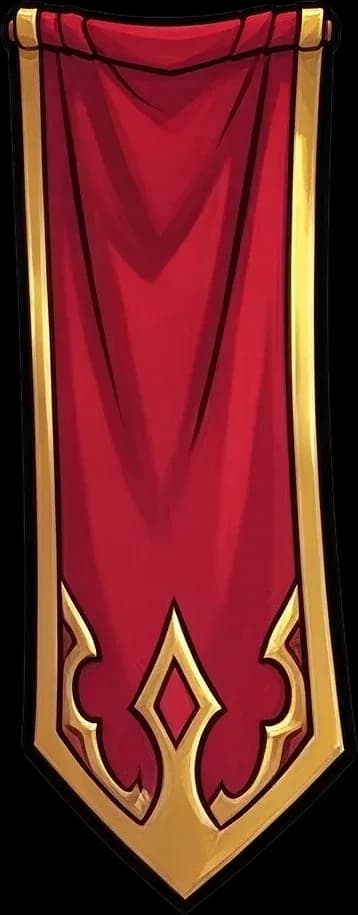
Hip Plates
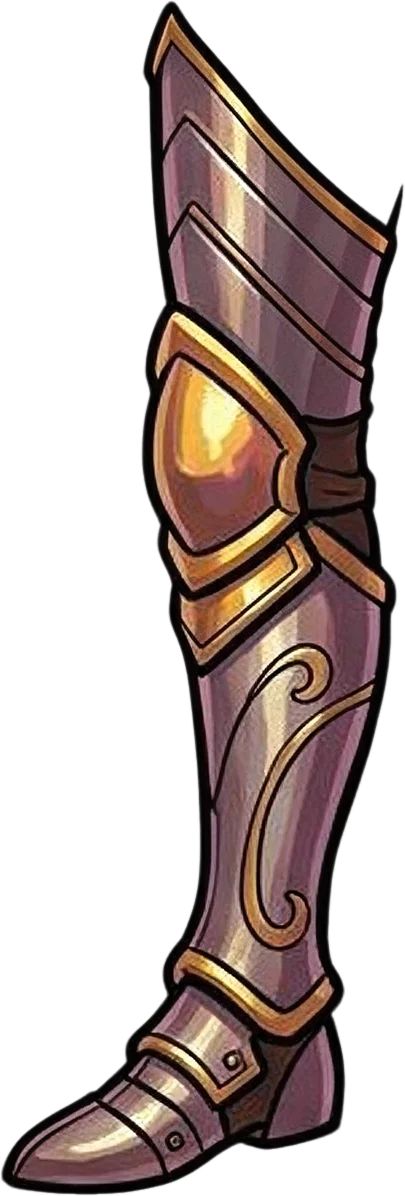
The existing sample contains 17 layers including the background. It demonstrates separation on an armored fantasy character, not a monster. Wings, tails, claws, or every joint are not guaranteed to become individual layers.
Less Manual Cutting. More Creative Control.
Stop Recutting Your Monster Every Time You Need to Make a Change
You have already designed the monster. Maybe you want to change its armor, adjust a claw, reposition the head, or prepare the artwork for animation.
A flattened image does not let you work on those parts separately. Start with AI-generated layers instead of manually tracing every piece from scratch.
Make Monster Parts Easier to Edit
Work on recognizable body and equipment regions independently instead of making every change to the complete illustration.
Prepare Artwork for Movement
Get an initial set of image parts before creating attack movements, idle animations, and other actions in your animation software.
Keep Your Existing Character Design
Start from the illustration you already have. You do not need to redraw the entire monster just to begin separating it.
Make Boss Design Revisions Faster
Want a different helmet, larger shoulder armor, or a revised body detail? Work with extracted regions and refine the parts that need to change.
Reduce Repetitive Cutout Work
Let AI attempt the first separation pass so you can focus on difficult outlines, joints, and overlaps.
Export Assets for Your Pipeline
Review generated layers and export supported PNG or PSD files for further work in your art and game development tools.
Prepare the Parts Your Monster Needs
Work With Heads, Limbs, Armor, and Other Monster Details
Every monster has a different design. A skeleton warrior may have familiar arms and legs, while a flying demon may include wings, horns, or a long tail. The AI attempts to identify visible parts, but the exact separation depends on your artwork.
Heads, Faces & Horns
Prepare recognizable head and headwear regions for editing. Distinct horns and facial details may need additional separation.
Arms, Hands & Claws
Start with visible arm and hand regions before refining the parts that need to move independently. Claws or fingers may remain grouped with the hand.
Legs, Feet & Body Sections
Work with distinguishable body and leg regions to prepare initial cutout assets. Complex anatomy may need extra cleanup.
Armor, Clothing & Accessories
Separate recognizable helmets, chest armor, belts, capes, and other equipment when present.
Wings & Tails
Test whether visible wings or tails can be isolated from the body. They are not guaranteed to separate into independent segments.
Weapons & Boss Equipment
Prepare visible swords, staffs, shields, or other gear when it can be distinguished from the character.
Not every part becomes an independent layer. Small details, overlaps, and unusual anatomy may remain combined or need manual refinement.
From Monster Artwork to Editable Parts
Prepare Your Enemy Character in Four Steps
- 1
Upload Your Monster
Choose a flattened illustration of a skeleton warrior, creature, armored enemy, or fantasy Boss. Start with one clearly visible character.
- 2
Separate the Character Parts
Run Body Parts & Equipment. AI analyzes the image and attempts to separate recognizable body regions, clothing, armor, and accessories.
- 3
Review the Generated Layers
Check which parts were separated and which remain together. Pay attention to limbs, joints, overlapping equipment, and hidden details.
- 4
Refine and Export
Inspect and refine results in the available layer workspace. Export supported PNG or PSD assets for editing, animation preparation, or game development.
This creates image layers. It does not automatically build a skeleton, rig, animation, or game-ready enemy controller.
Made for 2D Game Development
Prepare Your Enemies for the Next Stage of Production
RPG Enemy Character Assets
Separate recognizable body and equipment parts from skeleton warriors, armored monsters, and fantasy enemies.
Boss Animation Preparation
Start with separate visual regions before setting up idle movement, attacks, or reactions in your animation software.
Side-Scrolling Action Games
Prepare character artwork for cutout animation workflows used in 2D action games and platformers.
Monster Design Revisions
Change selected armor, clothing, or body details without treating a flattened illustration as one element.
Spine 2D Monster Rigging Preparation
Create raster parts to refine before setting up bones, attachments, and animation in Spine.
Unity & Godot Enemy Assets
Export image parts for cleanup and organization before importing them into your game project.
Choose the Right Separation Workflow
Separating a Monster, a Human Character, or Just the Armor?
The best workflow depends on what you need to edit.
Monster & Boss to Layers
For enemy and creature artwork. Separate recognizable monster body regions and equipment for game-art revisions or animation preparation.
60 credits per image
Separate My Monster ArtworkCharacter Armor to Layers
For armor-focused editing. Separate recognizable helmets, chest armor, capes, belts, and equipment.
60 credits per image
Explore Armor SeparationGame Character Layer Separator
For general character art preparation. Work with recognizable face, hair, clothing, and other character regions.
60 credits per image
Explore Game Character LayersBefore You Generate
Get a Head Start on Monster Cutouts—not a Finished Rig
Clear Shapes Give Better Starting Points
A monster with a visible head, arms, legs, and recognizable accessories is generally easier to process than a densely overlapping creature.
Wings and Tails May Stay Connected
Complex appendages are not guaranteed to become individual layers. You may need more cutout work when they overlap the body.
Joint Separation Is Not Guaranteed
Arms, legs, claws, and other body regions may remain grouped. Review results before planning how parts rotate or bend.
Hidden Areas Are AI Estimates
Where one piece covers another, AI may reconstruct plausible hidden details. Check them for consistency before using the result.
The Output Is Not Automatically Animated
The result does not include bones, animation clips, pivot points, hitboxes, enemy behavior, or a completed Spine, Unity, or Godot setup.
The goal is to help you prepare editable character art faster while keeping you in control of the final production assets.
Monster & Boss Layer Separator FAQ
Can I split a monster image into editable layers?
Yes. Upload supported flattened monster artwork and use Body Parts & Equipment to generate editable visual layers from recognizable regions. Exact parts depend on the monster anatomy and image complexity.
Can I separate a Boss character into body parts for animation?
Use generated image layers as a starting point for cutout animation. The tool does not guarantee independent joints or automatically create an animation rig.
Does this work with skeleton warriors and humanoid monsters?
These can be reasonable starting inputs because they often have recognizable heads, arms, legs, armor, and equipment. Results still depend on pose, style, and overlap.
Can it separate monster wings from the body?
You can try with a clearly visible wing, but the workflow is not specifically optimized for wings. Wings may stay attached to the body or need editing.
Can I separate a monster’s tail?
The AI may identify a distinct tail, but it does not guarantee a standalone tail layer or separate segments suitable for animation.
Will it split arms and legs at every joint?
Not necessarily. Upper arms, forearms, thighs, shins, or hands may stay grouped. Refine them manually before rigging if needed.
Can I separate horns, claws, and teeth?
You can try when these details are recognizable, but small elements may remain part of a larger head, hand, or body layer.
Can I separate a monster’s weapon or shield?
Visible weapons and accessories may be extracted as separate parts. Equipment overlapping the hand or body can remain grouped and need cleanup.
Can I use the layers for a Boss attack animation?
Yes, as input artwork for your animation workflow. You still need to create the animation, place pivots, attach images, and set up movement in your animation software.
Does it create a Spine 2D rig automatically?
No. It creates editable image layers, not a Spine rig. Bones, slots, attachments, meshes, weights, and animations must be created separately.
Can I use generated monster parts in Unity?
You can export supported image assets for Unity. You need to handle transforms, sorting, animation, collisions, and character behavior yourself.
Does it support Godot enemy characters?
Exported image layers can be used as source assets in a Godot workflow. Node setup, animation, skeletons, and enemy logic remain part of your project.
Can I split a dragon into wings, legs, head, and tail?
You can experiment with dragon artwork, but non-humanoid creatures are more challenging. Independent wing, tail, or leg layers are not guaranteed.
Does it work with pixel-art monsters?
You can try pixel art, but generative separation may modify exact pixels, small shapes, and sharp edges. Inspect results carefully when you need pixel-perfect assets.
Can I upload a sprite sheet with multiple monsters?
This workflow is intended primarily for parts from one character image, not as a sprite-sheet frame slicer. Isolate one monster before uploading for the best results.
What input artwork gives the best results?
Start with one clearly visible character, a readable silhouette, distinct body regions, and minimal overlap. Simple poses are easier to review.
How many layers will I get?
There is no fixed layer count. It depends on the character and how the AI interprets its structure. The knight demonstration contains 14 layers including the background; this is not a standard count for monsters.
How much does Monster & Boss layer separation cost?
The Body Parts & Equipment workflow costs 60 credits per image. The active cost is displayed before generation.
Can I download transparent PNG or PSD layers?
The results workspace supports layer review and available PNG or PSD export workflows. Options depend on the job and your account permissions.
Can I use generated layers in a commercial game?
Commercial use depends on applicable service and model terms, your account plan, and your rights to the source artwork. Ensure you have permission for protected third-party designs.
Your Monster Is Designed. Start Preparing It for Animation.
Do not spend another production session manually cutting every recognizable part out of one flattened image. Upload your monster or Boss artwork and prepare editable visual layers you can review and refine for your game.
Separate My Monster Artwork60 credits per image · PNG & PSD export options · Results vary by character
More Tools for Preparing 2D Game Characters
Character Armor to Layers
Separate recognizable helmets, chest armor, capes, and equipment.
Separate Weapon From Character
Prepare recognizable swords, shields, staffs, and handheld equipment.
Paper Doll Character Layers
Prepare RPG character and equipment art for modular customization.
Game Character Layer Separator
Separate general game character artwork into editable parts.
Spine Character Preparation
Prepare character image layers before creating bones and animations.