Separate Shadow Box Artwork into Layers for Cricut Projects
Have a shadow box design as one flat image? Separate trees, mountains, animals, and other details into individual image layers, then continue selected shapes through an SVG conversion workflow for your Cricut project.
Separate Subjects & SceneryExplore Individual Image LayersContinue from PNG to SVG
1
Click or drag image to upload
Upload your image
JPG, PNG, WebP up to 10MB · Drag & drop anywhere
Change Image
Layer explorer17 layers
Hover or tap a box to inspect a layer
Separated layers17 layers
Protected exampleClick a layer to inspect it
2
Settings
Leave this blank to let Detailed Layers identify the main editable elements automatically. Or name the parts you want separated.
Separate the Shapes You Want to Work With
Guide the AI toward trees, mountains, animals, decorative borders, or foreground scenery. Review the generated layers before continuing to your next design step.
Upload a JPG, PNG, or WebP image. Artwork with recognizable shapes and layered scenery is easiest to review.
Detailed Layers uses 60 credits per generation. SVG conversion is a separate paid step.
Turn Your Shadow Box Image into Separate Layers
Start with artwork you already have and explore its parts before cutting. Separate recognizable scene elements, review the results, and choose which shapes to refine or convert next.
Upload a woodland illustration, moonlit landscape, floral arrangement, or existing shadow box image. The AI will attempt to separate visible elements so you can inspect and work with them individually.
Separate Subjects & SceneryExplore Individual Image LayersContinue from PNG to SVG
This step creates editable image layers. It does not automatically produce finished Cricut cutting files.
Explore the separated artwork
See What Happens When One Image Becomes Multiple Layers
A detailed shadow box can look like a single picture, even when it contains many individual design elements.
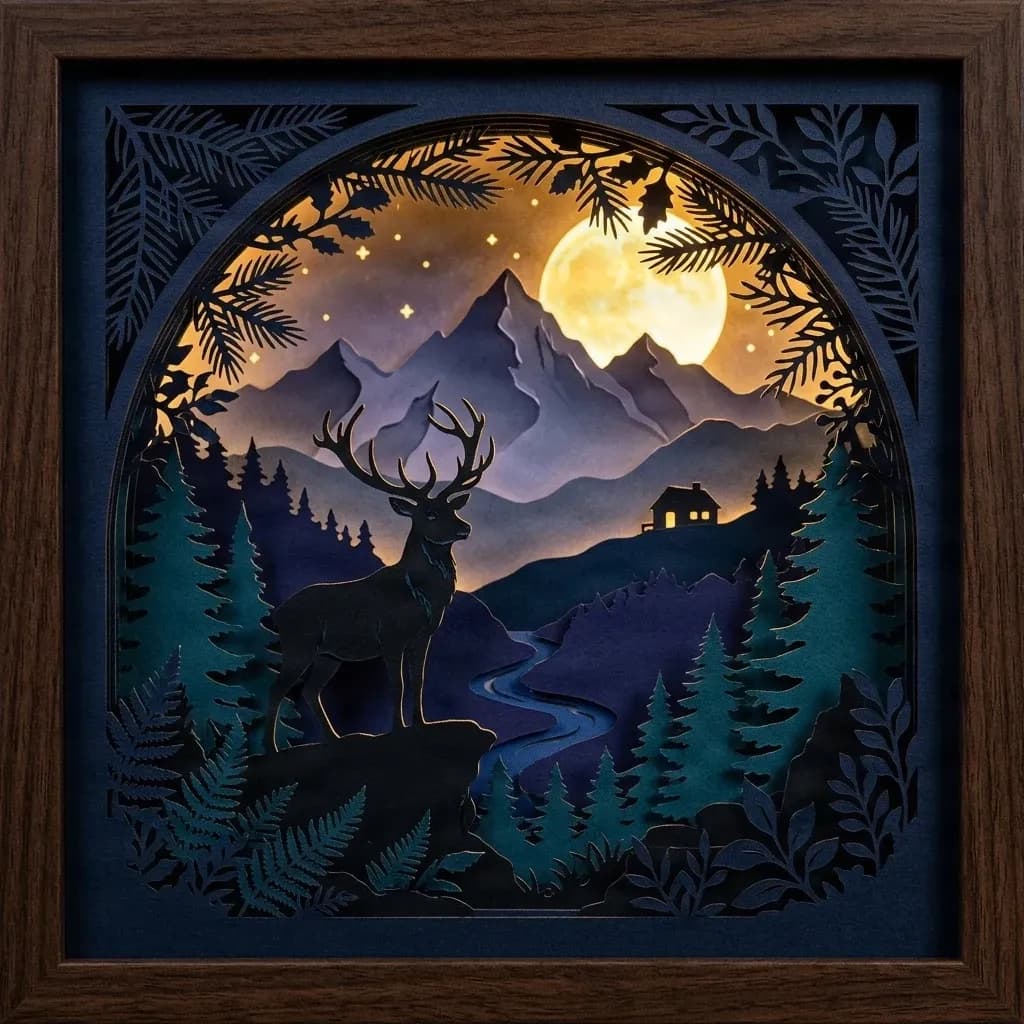
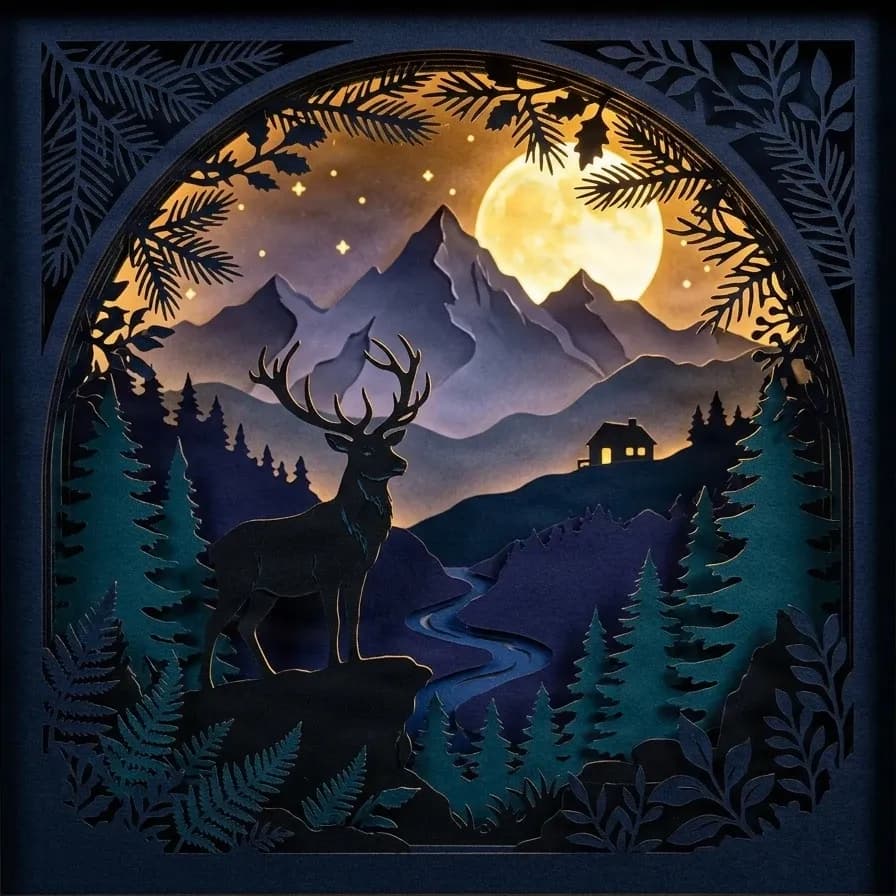
Explore how our sample artwork separates the moon, mountains, trees, deer, cottage, and decorative elements. Select individual layers to examine the shapes you may want to refine or vectorize for a Cricut project.
Framed Forest Shadow Box
17 AI image layers
Explore the complete woodland composition, including its decorative frame. Inspect the foreground deer, forest elements, distant mountains, and moon as separate image layers.
Layers in these examples
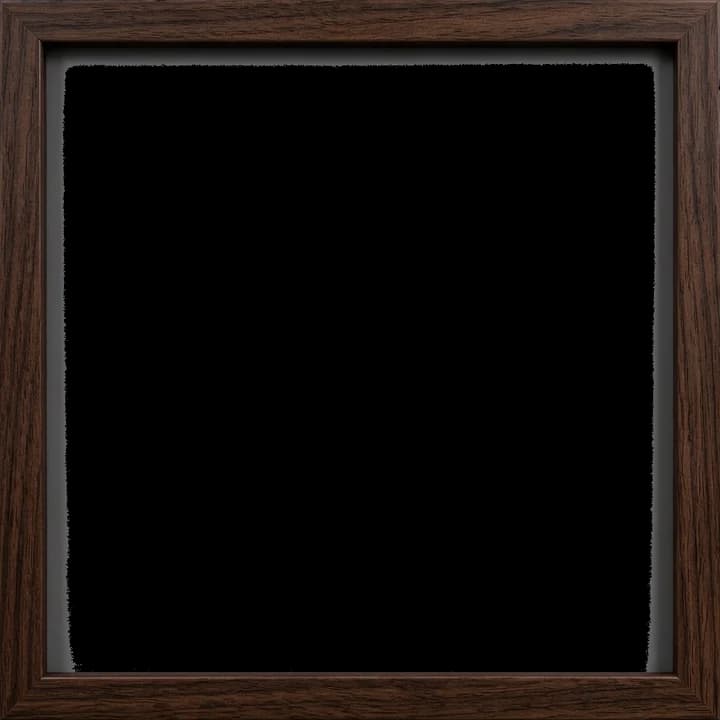
Wooden picture frame
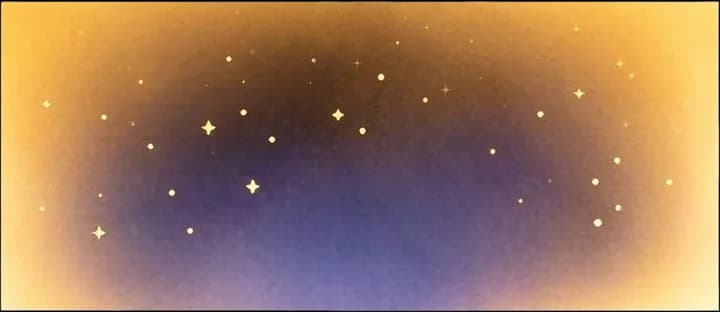
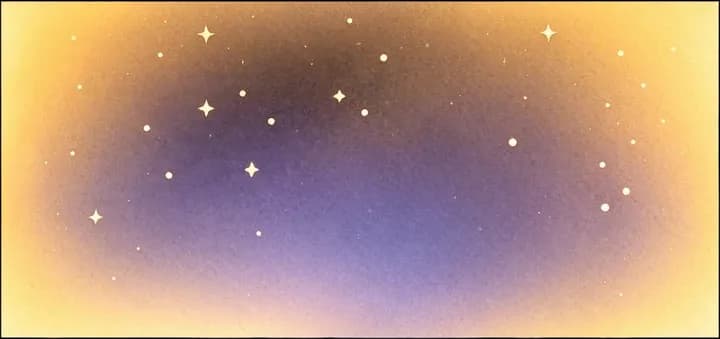
Star sky background
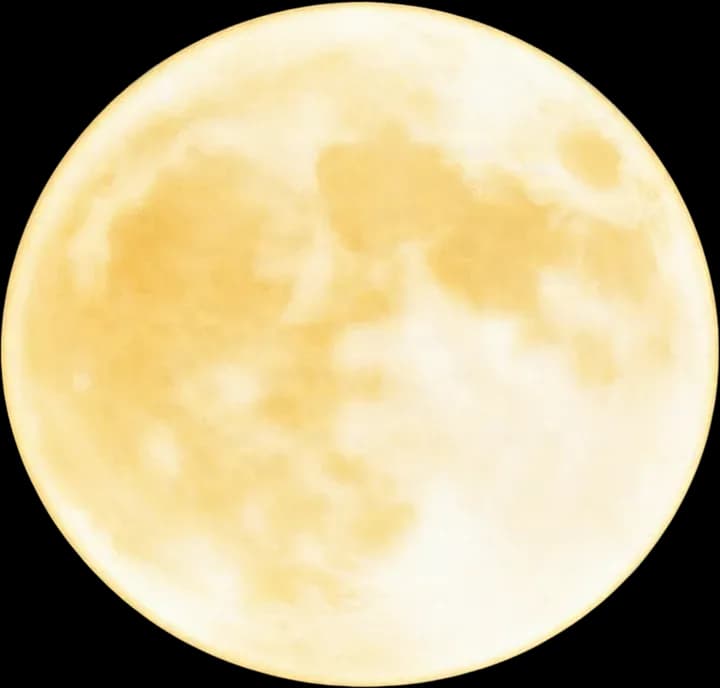
Full moon
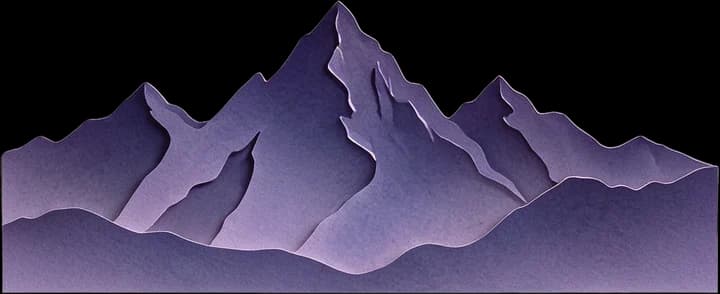
Distant mountain range
Inner frame dark blue base
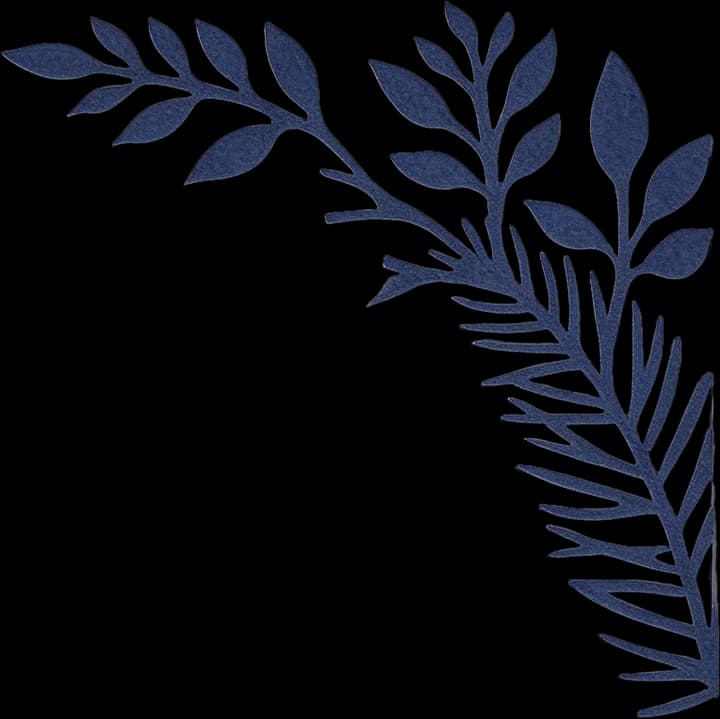
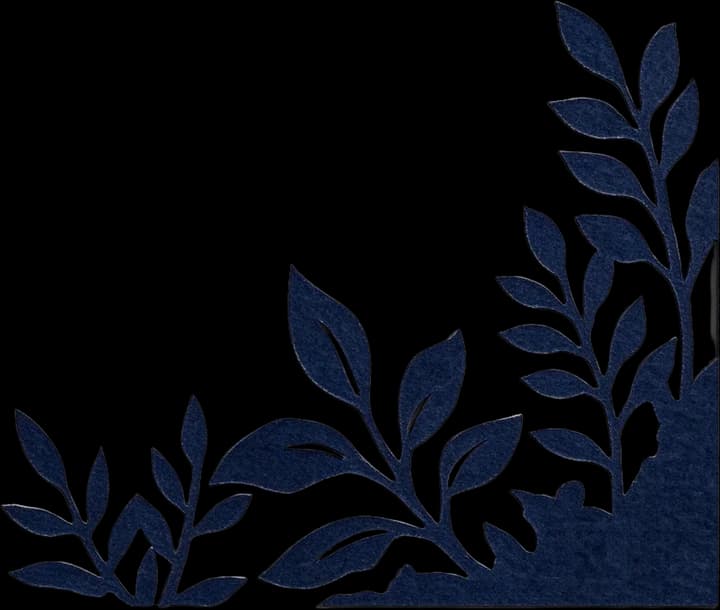
Top-left plant
Top-right plant
Stream
Left dark forest
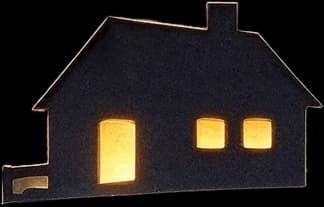
Hillside cabin
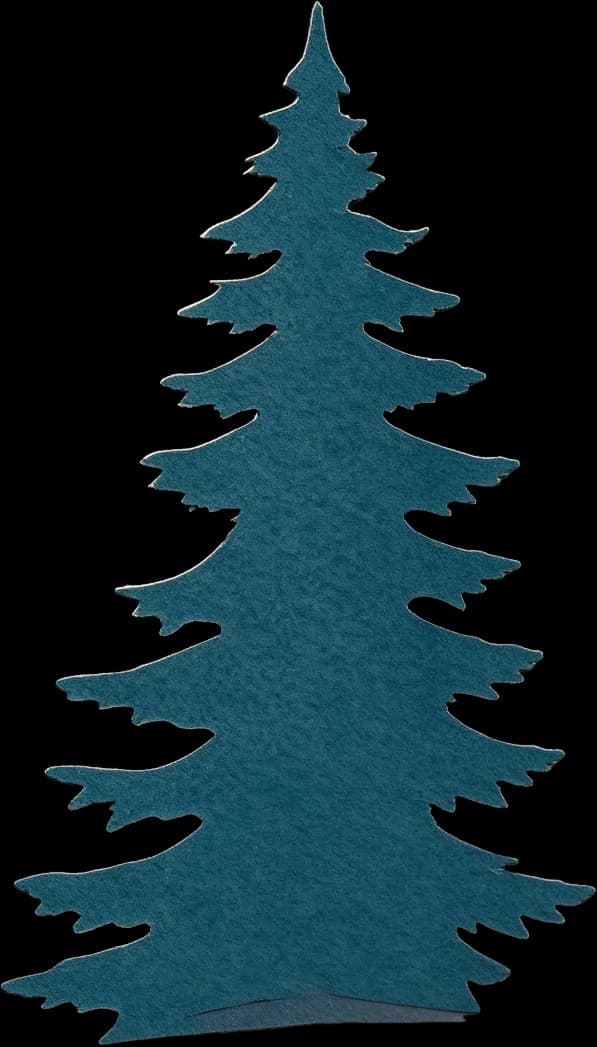
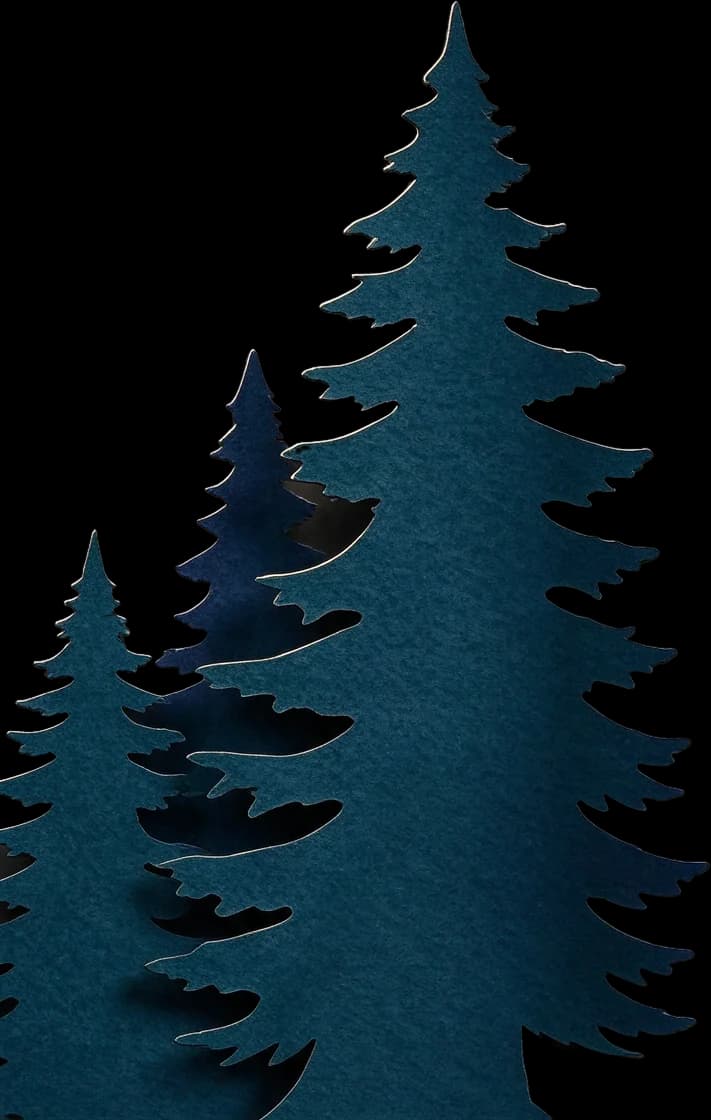
Left foreground conifer
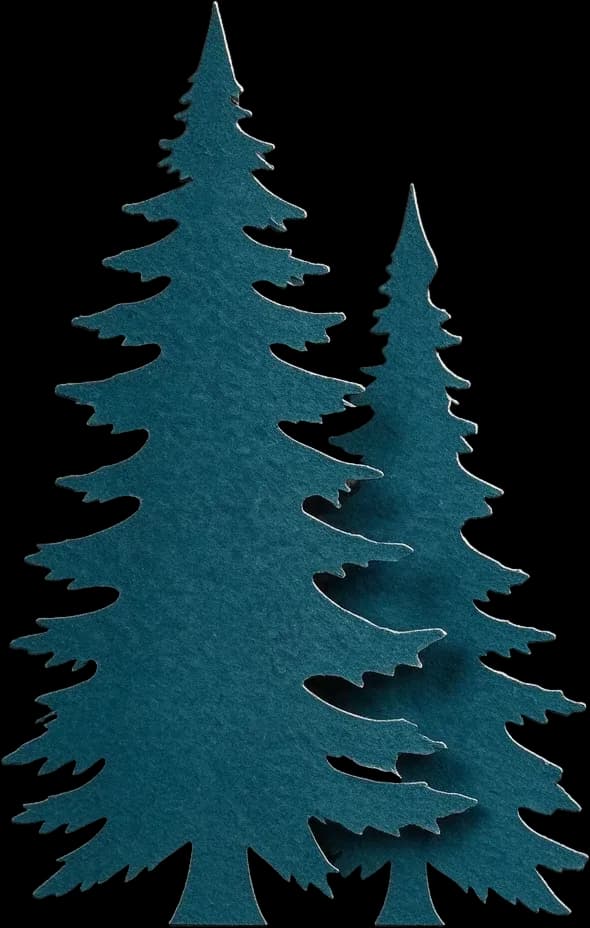
Right foreground conifer
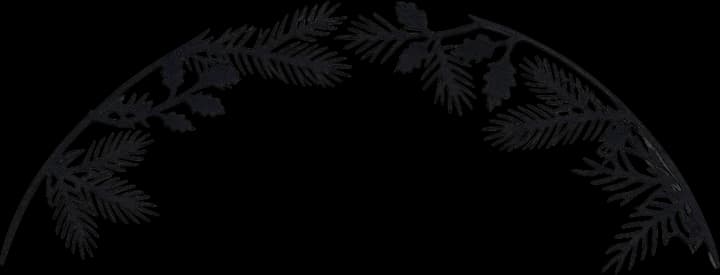
Top pine branch
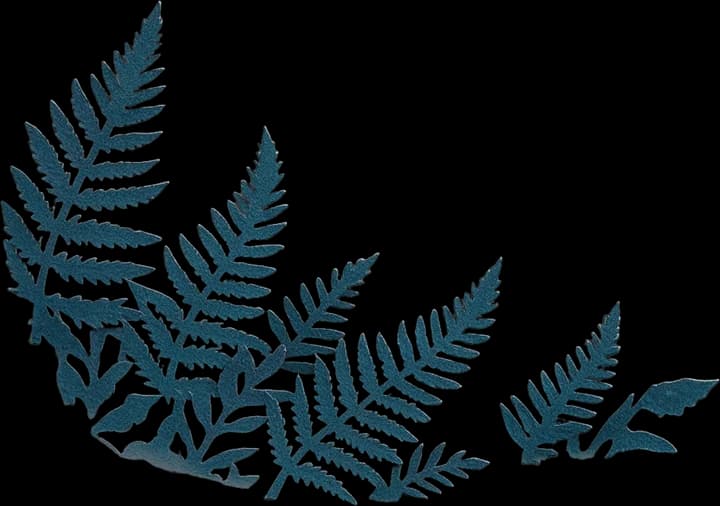
Bottom fern plant
Bottom-right plant decoration
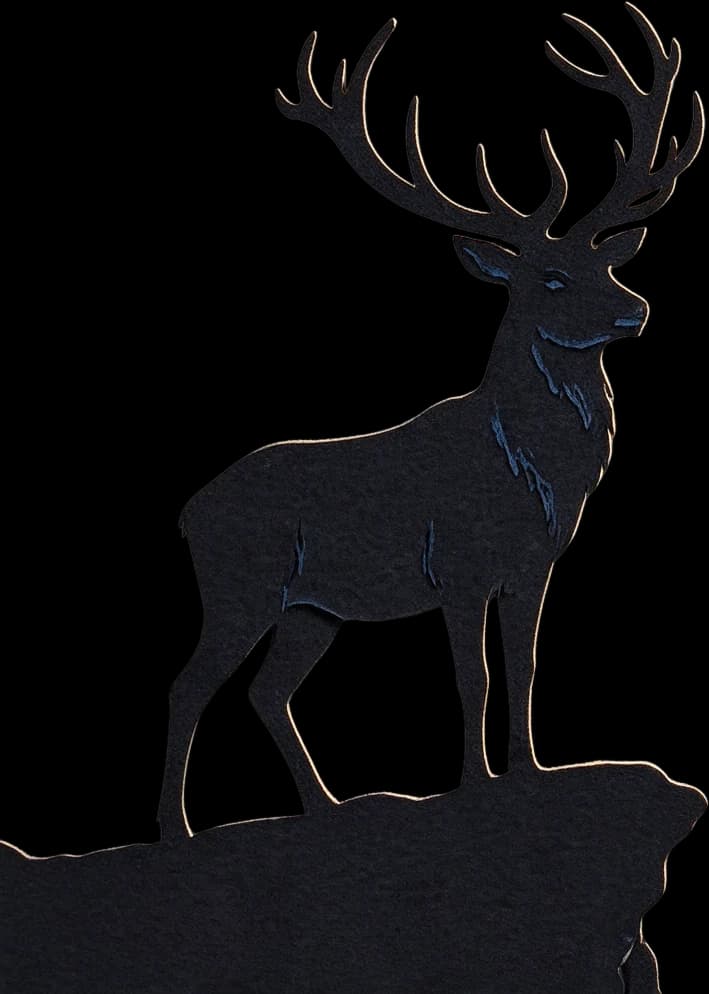
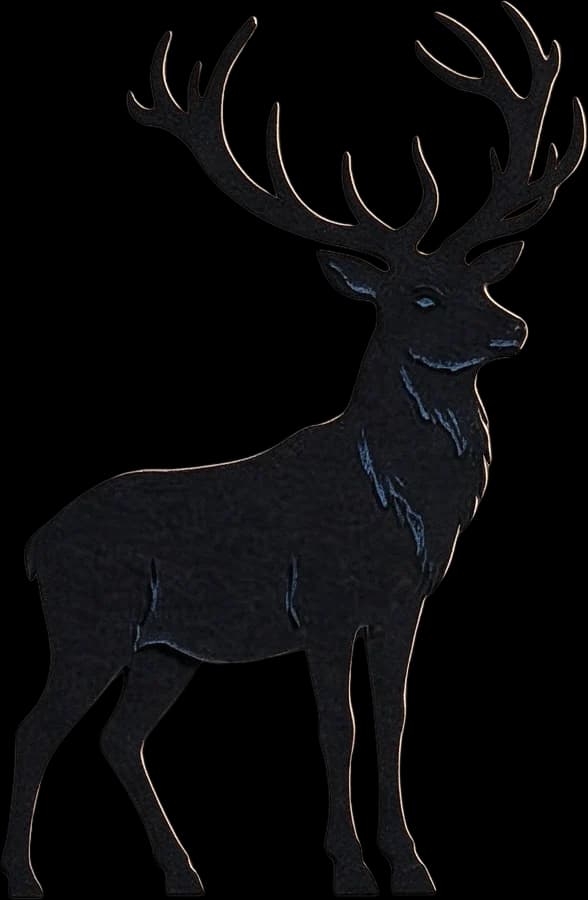
Foreground stag main
Paper-Cut Forest Scene
16 AI image layers
See the same woodland theme without the external wooden frame. Explore the landscape, animal, and decorative elements as individual pieces of artwork.
Layers in these examples
Starry sky background
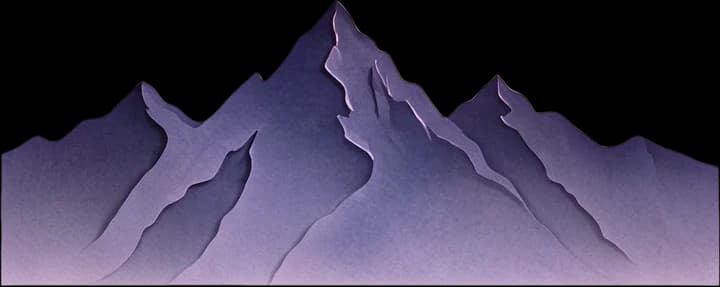
Purple distant mountain range
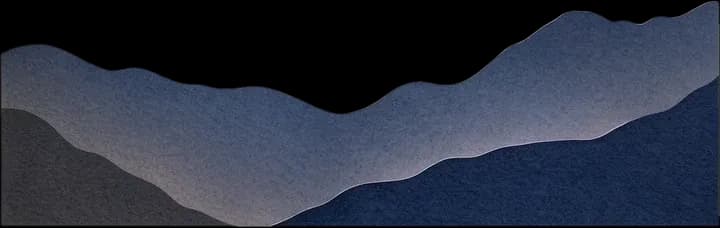
Dark gray midground mountain range
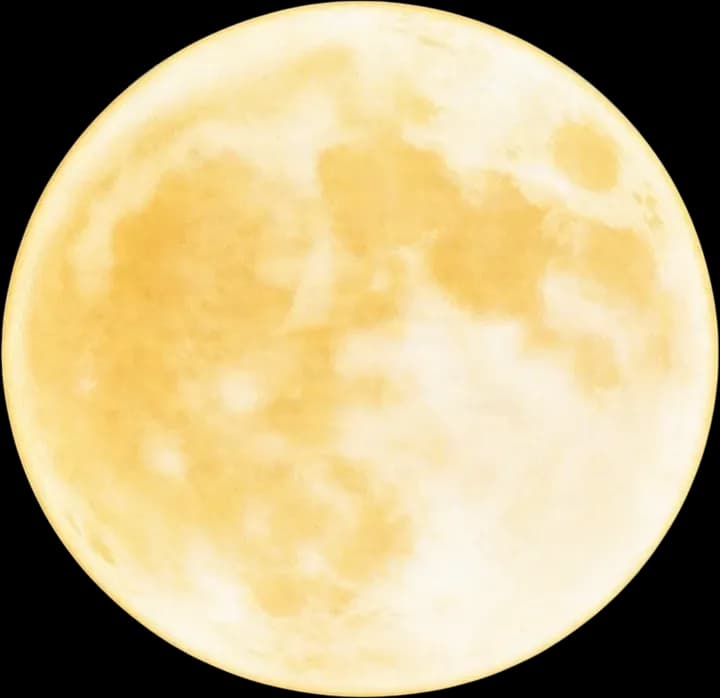
Full moon
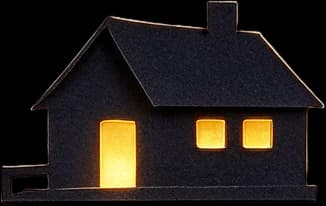
Hilltop cabin
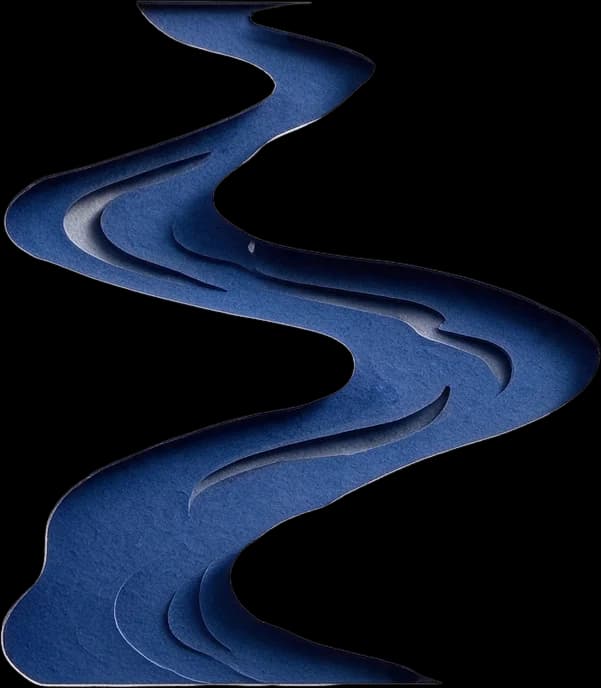
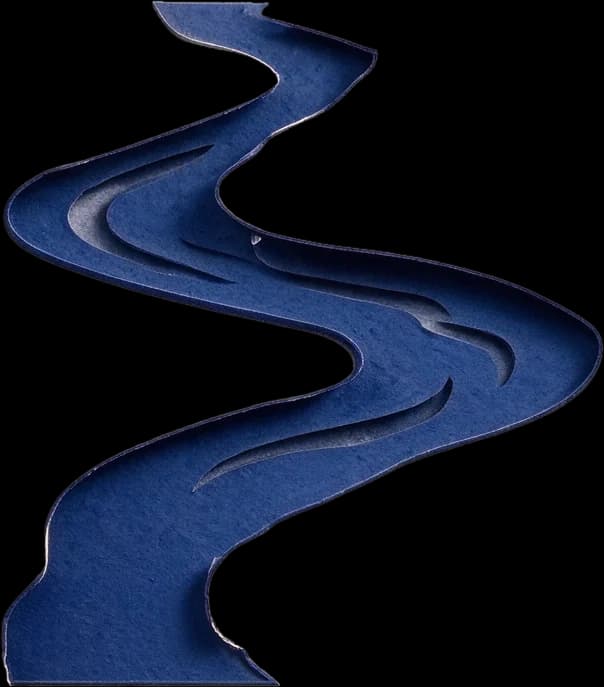
Winding river
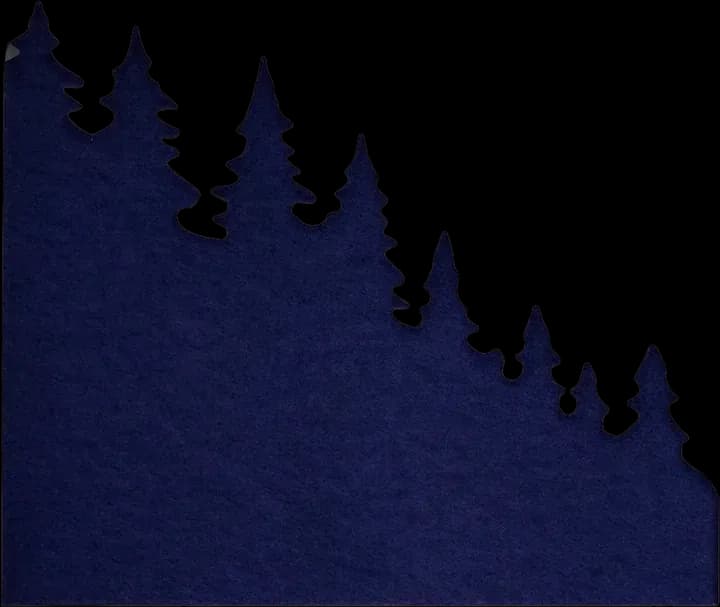
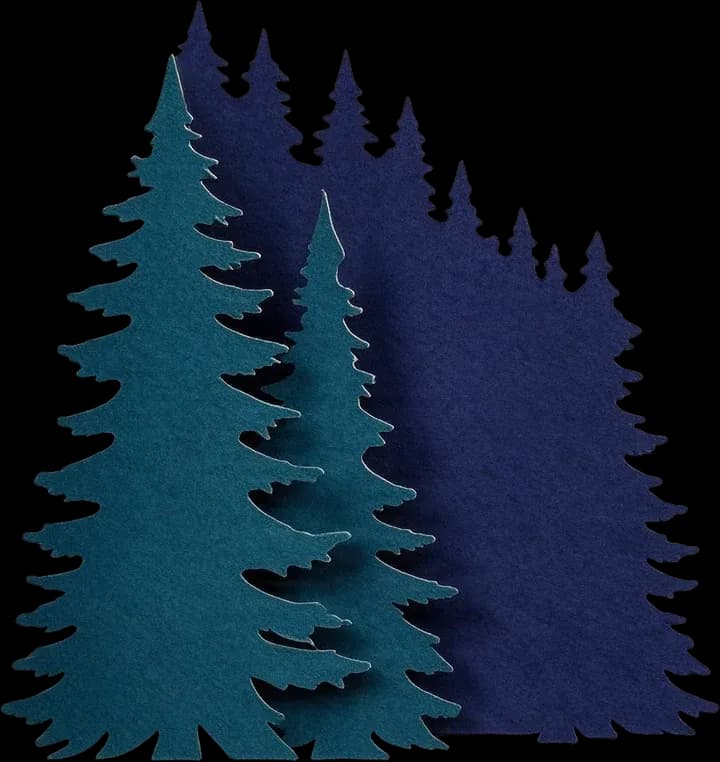
Left fir tree cluster
Right fir tree cluster
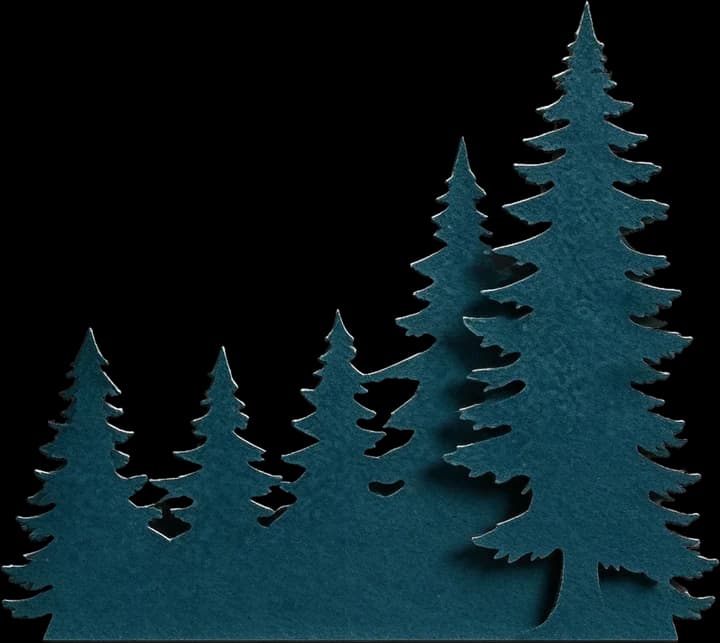
Bottom fir tree cluster
Foreground stag
Stag's rocky platform
Top arched pine branch
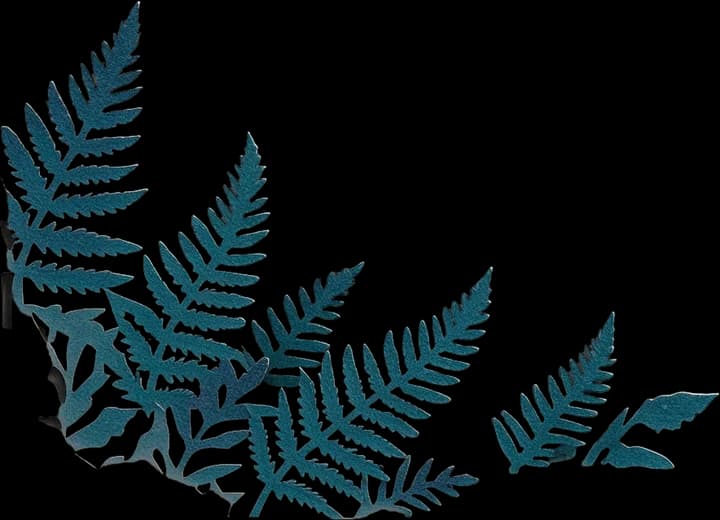
Bottom fern
Bottom broadleaf plant
Outer dark decorative border
Select a layer to inspect it, then switch back to the complete artwork to compare the composition.
These are real AI-generated image separation examples, not finished or machine-verified Cricut SVG cutting templates. The number of image layers does not equal the number of physical paper sheets.
Less manual tracing, more creating
Spend Your Time Making the Shadow Box, Not Separating the Picture
You already have the design inspiration. Separate its individual parts so you can choose what to change, simplify, or keep.
Separate Detailed Scenes More Easily
Start with a complete image and explore separating recognizable elements such as trees, mountains, animals, and decorative scenery.
Work on One Element at a Time
Need to change the deer or simplify a tree? Separate image layers let you work on an element without rebuilding the whole picture.
Get More Flexibility from Existing Artwork
Bring new possibilities to illustrations and flat designs you already have permission to use.
Explore Foreground and Background Depth
Inspect major scenic elements separately and see how they contribute to the overall layered composition.
Prepare Shapes for Vector Conversion
Choose an individual PNG layer and continue to an SVG conversion workflow instead of tracing directly from a complex full image.
Keep Your Creative Options Open
Download supported image formats, refine the elements, and continue in the design software that fits your workflow.
Inspired by your next Cricut project
Layered Shadow Box Ideas Worth Making
Whether you're making a personal gift or developing a design for your craft business, separated image elements can give you a more flexible starting point.
Woodland & Wildlife Shadow Boxes
Explore deer, wolves, owls, forests, mountains, and other nature-inspired scenes. Separate major shapes before simplifying them for layered cardstock.
Moon & Star Paper-Cut Light Boxes
Work with moonlit landscapes, trees, stars, and scenic silhouettes for a backlit paper art design.
Floral Shadow Boxes
Prepare flowers, leaves, and decorative elements for personalized arrangements and layered paper artwork.
Personalized Family Gifts
Start with an authorized family photo or illustration and explore how its main subjects and scenery can be separated for further design.
Wedding & Anniversary Shadow Boxes
Develop layered keepsake artwork inspired by couples, meaningful landscapes, and wedding-themed illustrations.
Seasonal & Holiday Paper Art
Experiment with winter forests, pumpkins, spring flowers, Christmas scenery, and other seasonal illustrations.
Image separation and SVG conversion are separate operations. Check physical cutting suitability before making your project.
Know what each file can do
Image Layers, PNG, and SVG Each Play a Different Role
Image separation produces editable raster image layers. PNG is useful for preserving transparent artwork and continuing edits in compatible software.
An SVG stores vector paths that can be resized and imported into Cricut Design Space when it uses supported features. Converting an image layer to SVG is a separate step.
SVG conversion does not automatically repair disconnected shapes, extremely thin details, or structural problems in layered paper art.
Before cutting, review dimensions, connected shapes, material needs, and every path in your final design.
A Practical Starting Point for Your Shadow Box Projects
Cricut Paper Craft Enthusiasts
Explore separating a complex illustration before creating a layered paper art project.
Personalized Gift Makers
Prepare authorized photo-based or illustrated elements for birthdays, anniversaries, memorials, and other meaningful gifts.
Etsy & Digital Design Sellers
Use original or authorized artwork to develop designs for further editing, product preparation, and customer projects.
Paper-Cut Light Box Creators
Experiment with moonlit forests, landscapes, and silhouettes before planning the final paper-cut construction.
Small Handmade Businesses
Use an existing image as the starting point for custom designs without repeating the entire manual separation process.
Digital Designers
Separate a flattened composition into individual image assets for continued editing and possible SVG conversion.
A clear next step for every layer
Separate the Artwork First, Then Prepare It for Cutting
This page helps you explore the visual parts inside a flat shadow box image.
The cutting-file workflow starts after you choose and refine the shapes you want to use.
What image separation provides
Editable image layers from a flat image
An easier way to inspect foreground and scenery elements individually
PNG layers for continued editing
PSD export for supported layered-image workflows
A result-page option to send one selected layer to an SVG tool
What Cricut preparation still requires
Converting selected raster artwork into vector paths
Reviewing and simplifying SVG shapes
Combining image layers into a practical number of physical sheets
Checking thin connections, disconnected pieces, and dimensions
Confirming the design and material settings in Cricut Design Space
A physical cut review before making the final project
The layer count is not a recommended cardstock sheet count. Image separation, SVG conversion, design cleanup, material planning, and physical assembly are separate parts of the workflow.
Before you upload
Start with Artwork That's Easier to Turn into Layers
A clear source image makes it easier to inspect which shapes may work in a layered paper project.
Choose Clear Silhouettes
Distinct objects, recognizable scenery, and separated foreground elements make the AI result easier to evaluate.
Avoid Excessive Tiny Details
Fine branches, thin wires, tiny lettering, and complex textures may need additional cleanup before cutting.
Keep the Main Subject Visible
Artwork with a prominent animal, tree, building, or landscape feature gives you a clear focus for your layered design.
Think About the Physical Layers
Sixteen editable image layers may not make sense as sixteen cardstock sheets. Plan how elements will eventually be combined.
Review the Vector Paths
After SVG conversion, check for unwanted paths, disconnected pieces, and impractically narrow connections.
A Cricut shadow box SVG is vector artwork used to prepare shapes for a layered shadow box project in Cricut Design Space. A project may use several cardstock pieces cut, arranged, and assembled to create depth. The paths must suit the intended cutting process.
Can I turn a regular image into shadow box layers for Cricut?
Yes. Upload a JPG, PNG, or WebP image and use Detailed Layers to attempt to separate its visible subjects and scenery. You can refine the image layers and prepare selected elements for vector conversion.
Does this tool automatically generate a complete Cricut-ready SVG template?
No. This page generates editable image layers. The separate Image to SVG tool can convert selected artwork into vector graphics, but you still need to review and prepare the cutting paths before using them for a physical project.
Why separate an image before converting it to SVG?
A complex image can contain many overlapping visual elements. Separating subjects and scenery first lets you work with individual elements, which may be easier to refine or simplify than tracing the whole composition as one image.
Can it separate trees, mountains, animals, and backgrounds?
The AI can attempt to separate recognizable scene elements such as trees, animals, mountain ranges, buildings, and backgrounds. Results depend on the source image and how its elements overlap.
Can I turn a photo into a layered Cricut shadow box design?
You can use a photo as the starting point for image separation. Photographic textures, shadows, facial features, and other fine details may need simplification before they become practical paper-cut shapes.
Can I get exactly five, six, or eight cutting layers?
No. Detailed Layers separates visual elements rather than producing a guaranteed number of physical cardstock sheets. You may need to combine several image elements into one physical layer or simplify the design.
Why does the example have 16 or 17 layers?
Those numbers describe the AI-generated visual image layers, including the background. They are not recommended paper-sheet counts. A final physical shadow box may use a different arrangement.
Can the AI fill in scenery hidden behind other objects?
In some cases, the model may generate plausible details where part of the scene was hidden. Check reconstructed details carefully because they are not guaranteed to match the original concealed scene.
Can I download the separated layers as PNG files?
The existing image-layer export workflow supports PNG layers. These can be used for further editing or as source images in compatible design software, subject to the available export options.
Can I export a layered PSD file?
The existing workflow supports PSD export, subject to the applicable plan and export requirements. A PSD is useful for editing layered images but is not itself a Cricut SVG cutting template.
Can I upload PNG files directly to Cricut Design Space?
Cricut Design Space supports raster image uploads such as PNG and JPG. Raster images are handled differently from SVG vectors and may need cleanup or additional steps to produce the cut shapes you want.
Can I convert a separated layer into SVG without uploading it again?
For supported completed Shadow Box jobs, choose a layer through the Image to SVG continuation workflow. The selected stored image is passed to the converter, so you do not need to upload it manually again.
Is Image to SVG included in the Shadow Box separation price?
No. Detailed Layers and Image to SVG are separate operations. Detailed Layers currently uses 60 credits per generation, and Image to SVG currently uses 30 credits per selected image conversion.
Will the SVG work with every Cricut machine?
The separate conversion tool produces SVG vector artwork, but compatibility depends on the file contents, Cricut Design Space, and your project requirements. Inspect the imported paths and confirm that the design suits your machine and materials.
What if my SVG contains tiny or disconnected pieces?
You may need to remove small details, simplify paths, connect shapes, or change the design. An SVG can look correct on screen but still be difficult to cut or assemble from cardstock.
Can I sell shadow box designs or finished products made with these layers?
You can use the tool as part of a commercial design workflow, subject to the service terms and your rights to the original artwork. Make sure final files are suitable for customers and that you are authorized to sell designs incorporating third-party content.
Do I need Cricut Access or a special subscription to use ImageToLayers?
ImageToLayers is a separate service with its own credits and plans. It does not require a Cricut Access subscription to generate image layers. Some optional features inside Cricut Design Space may have their own subscription requirements.
Your Next Layered Shadow Box Starts Here
Have a beautiful design saved as one flat picture? Give yourself more control before you start cutting.
Separate the elements, explore the layers, and prepare your favorite shapes for the next stage of your Cricut project.