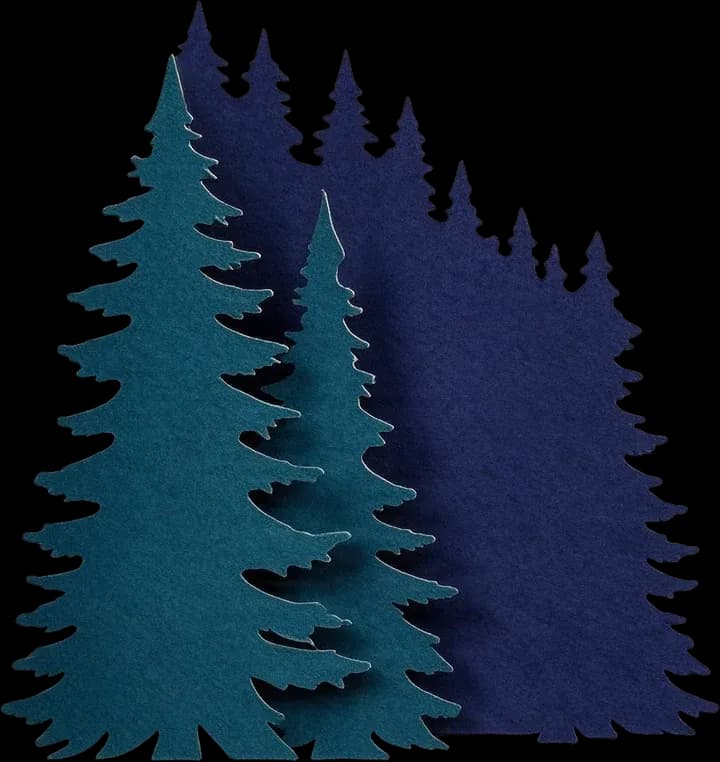
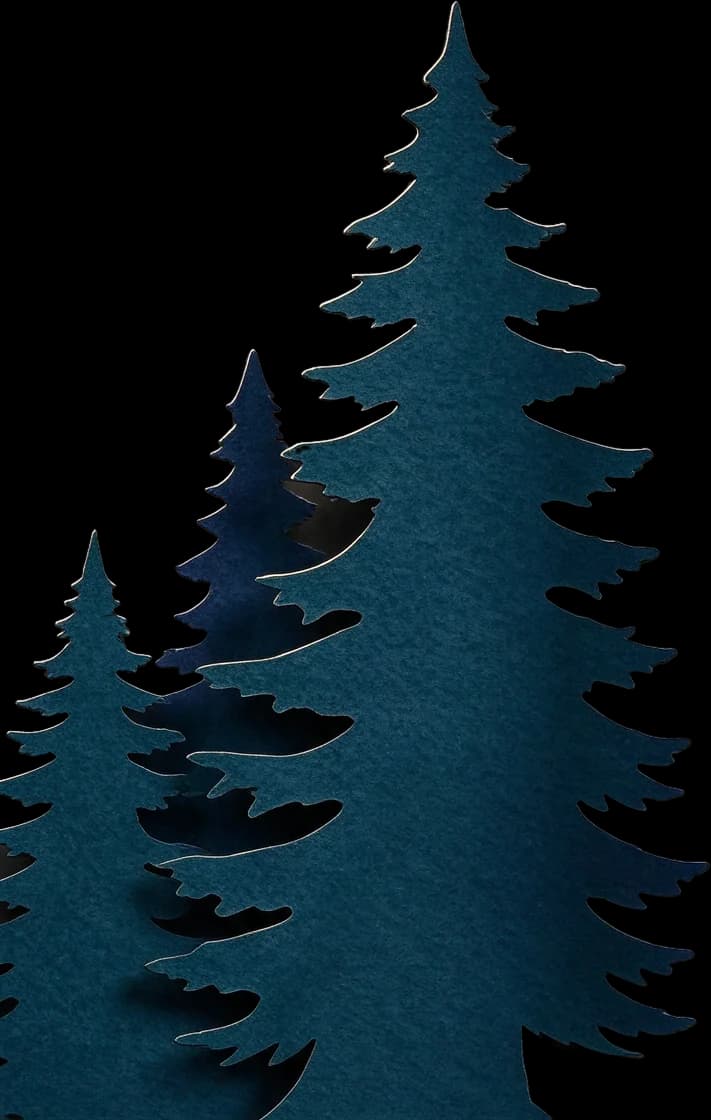
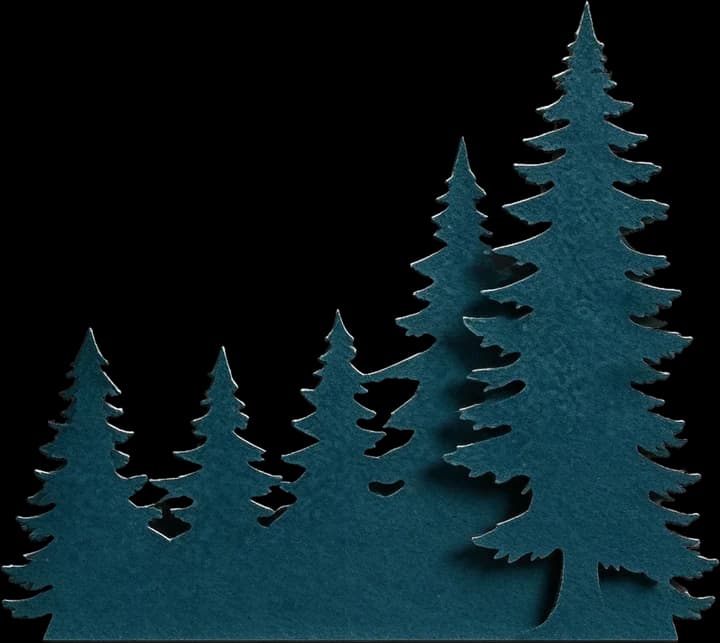
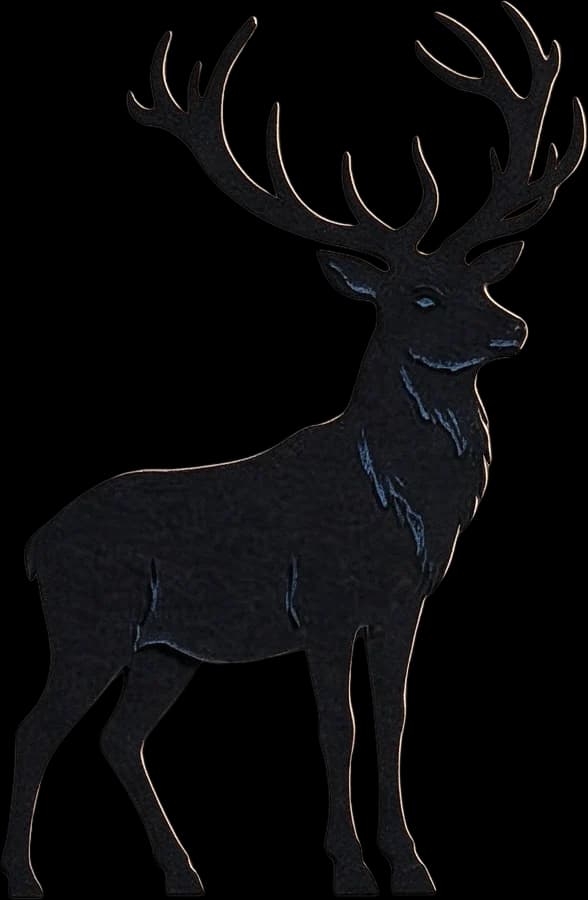
Have a shadow box illustration or photo as one flat image? Separate scenery, subjects, and decorative elements into editable image layers, then continue selected PNG layers to SVG for further laser cutting design work.
Separate scenery and subjectsReview individual image layersContinue selected PNG layers to SVG
1
Click or drag image to upload
Upload your image
JPG, PNG, WebP up to 10MB · Drag & drop anywhere
Change Image
Layer explorer17 layers
Hover or tap a box to inspect a layer
Separated layers17 layers
Protected exampleClick a layer to inspect it
2
Settings
Leave this blank to let Detailed Layers identify the main editable elements automatically. Or name the parts you want separated.
Separate the Artwork You Want to Refine
Guide the AI toward animals, trees, mountains, decorative shapes, and background scenery. Review each generated layer before continuing to vector preparation.
Animals and silhouettesTrees and foliageMountains and landscapesDecorative shapesBackground scenery
Upload a JPG, PNG, or WebP image. Clear subjects and recognizable scenery are easier to review.
Detailed Layers uses 60 credits per generation. SVG conversion is a separate operation.
Turn a Flat Shadow Box Image into Editable Layers
Start with artwork you already have. Separate recognizable visual elements, review the results, and choose what to refine before preparing your cutting paths.
Upload a woodland scene, landscape, wildlife illustration, or existing shadow box design. Detailed Layers attempts to separate visible subjects, foreground shapes, scenery, and backgrounds for review and further editing.
Separate scenery and subjectsReview individual image layersContinue selected PNG layers to SVG
This step creates editable raster image layers. It does not automatically produce structurally validated, machine-ready cutting paths.
Real separated artwork
Explore Two Real Shadow Box Layer Sets
These examples show how a detailed woodland composition can be separated into visual elements.
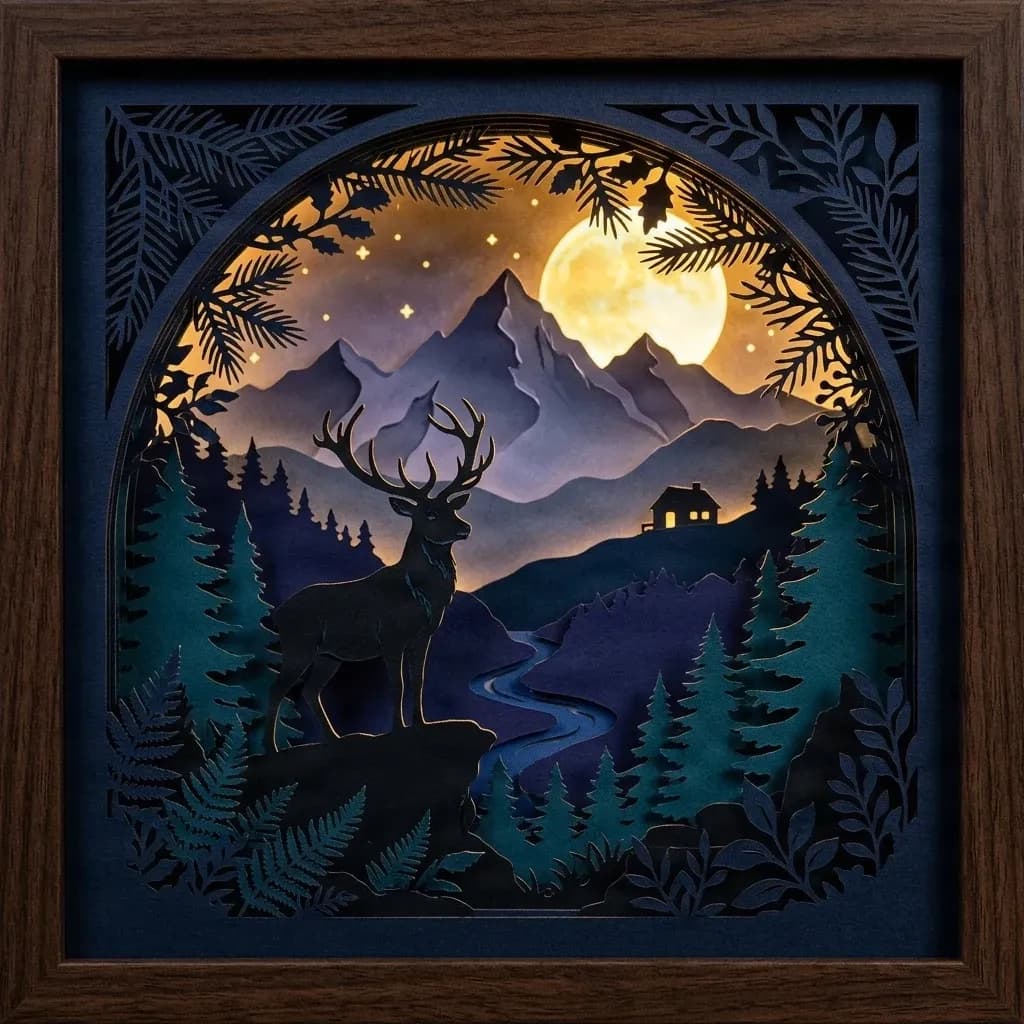
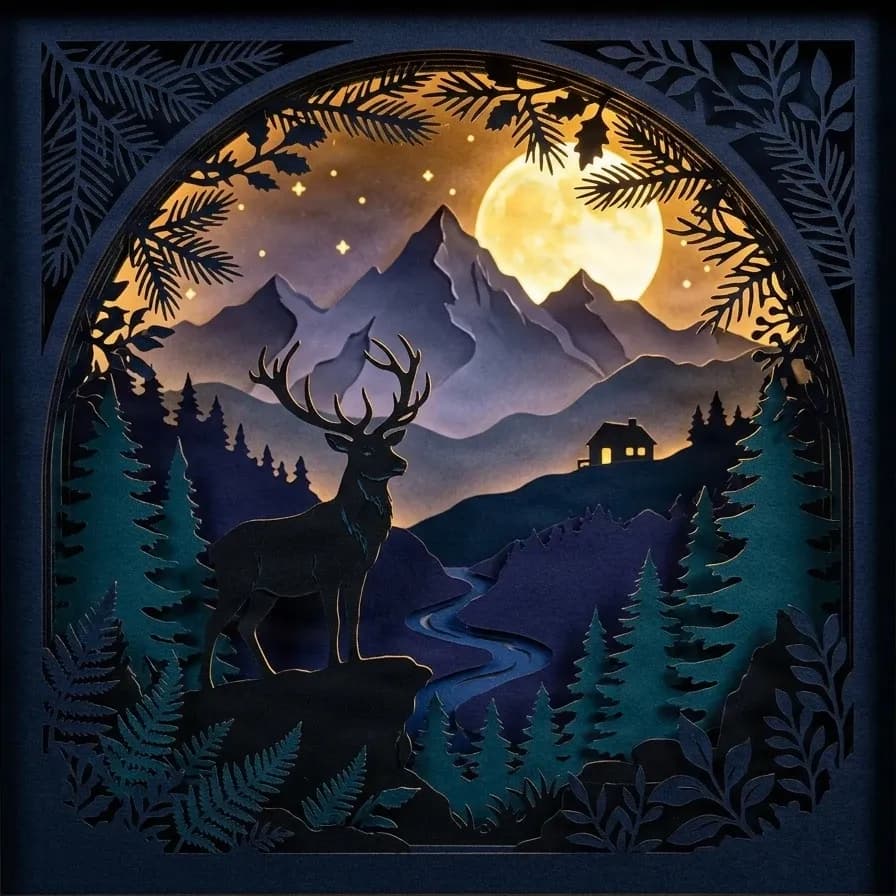
The framed scene contains 17 generated image layers, and the paper-crop scene contains 16. Inspect the deer, trees, mountains, moon, and background plates as individual source images.
Framed forest scene
17 AI image layers
Explore the complete woodland composition with its decorative frame, foreground deer, forest elements, distant mountains, and moon.
Layers in these examples
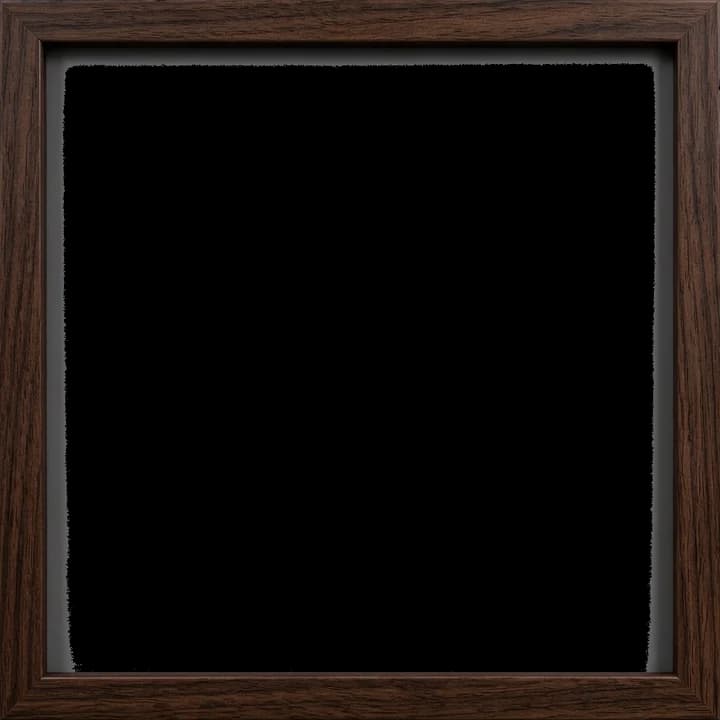
Wooden picture frame
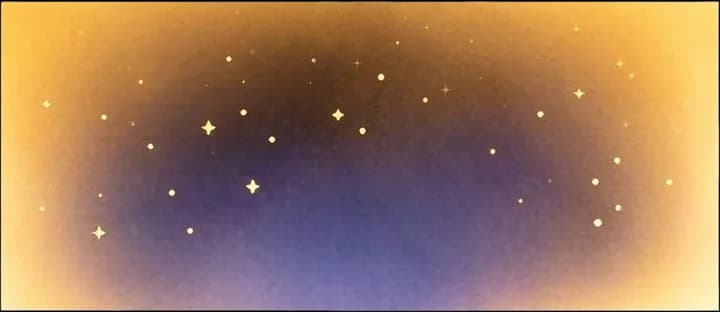
Star sky background
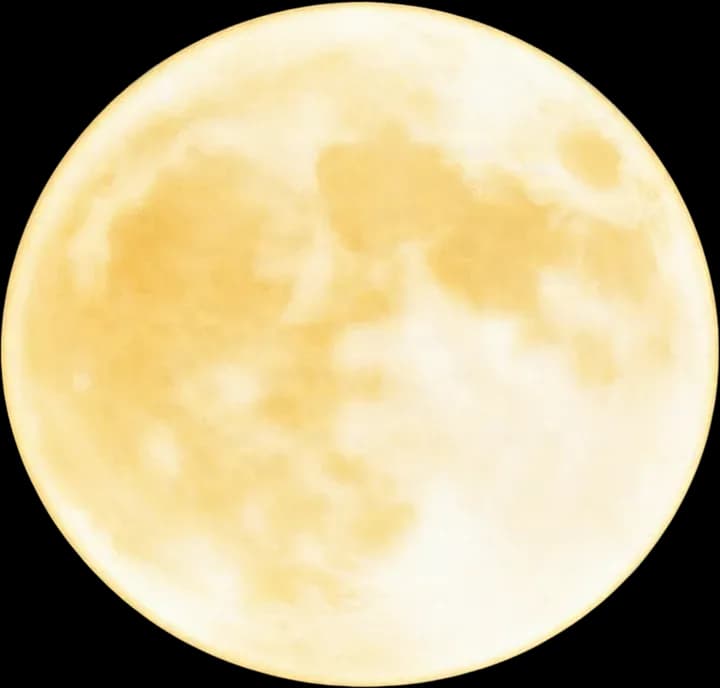
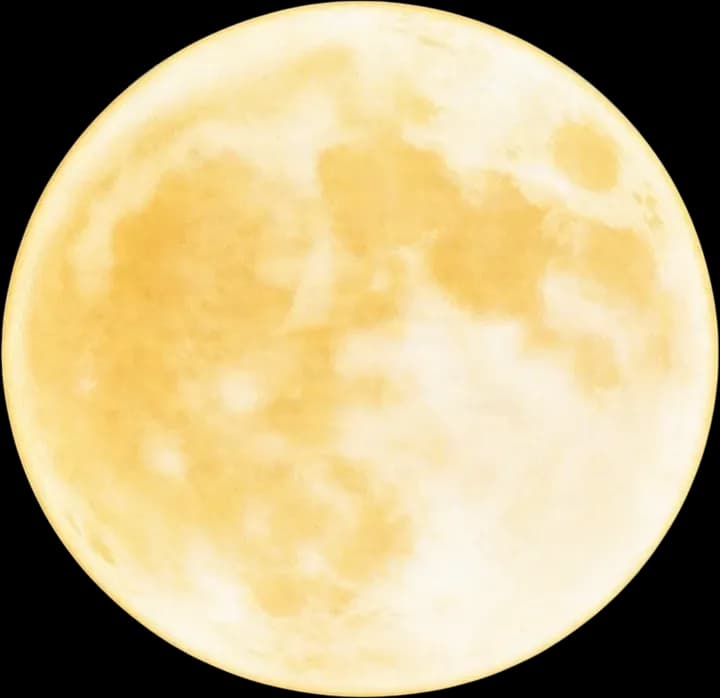
Full moon
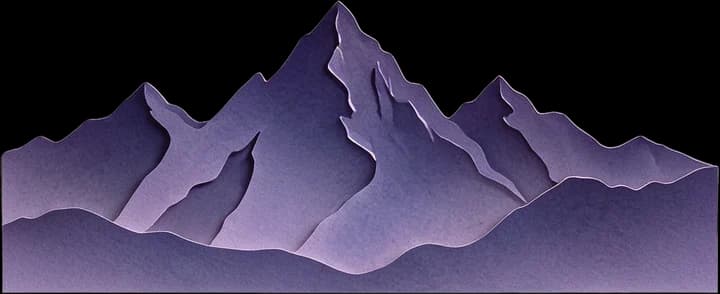
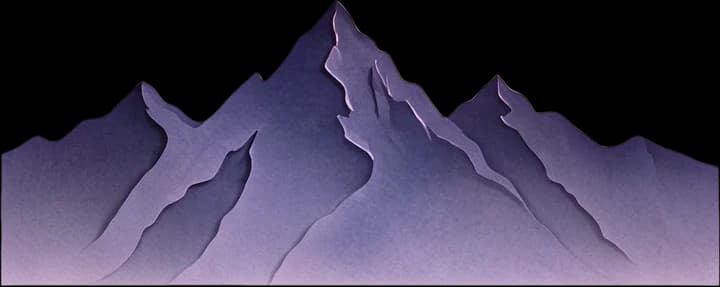
Distant mountain range
Inner frame dark blue base
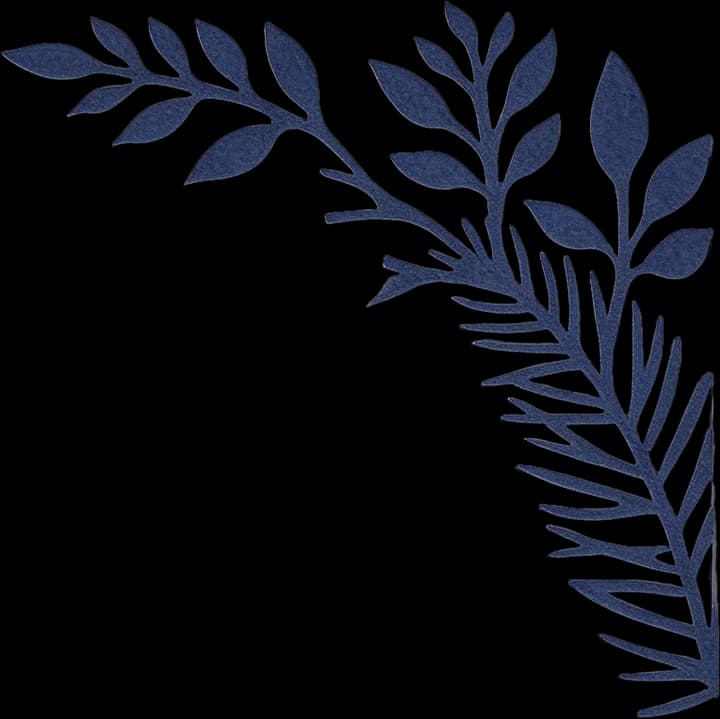
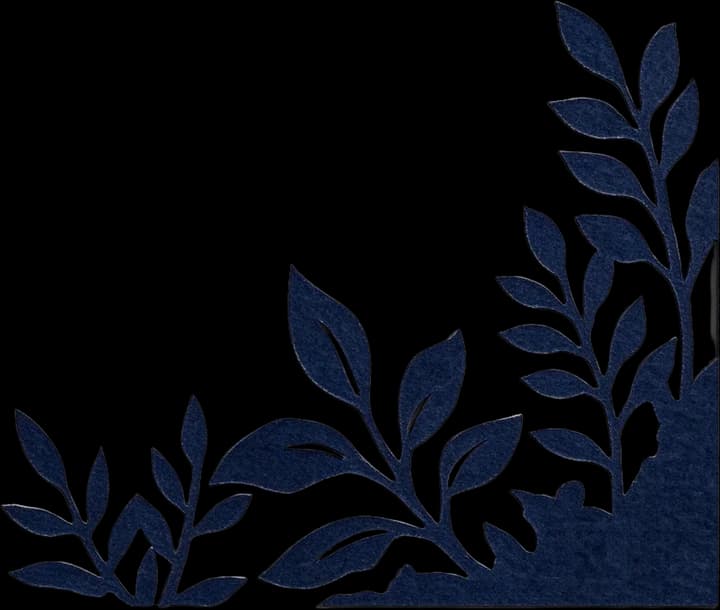
Top-left plant
Top-right plant
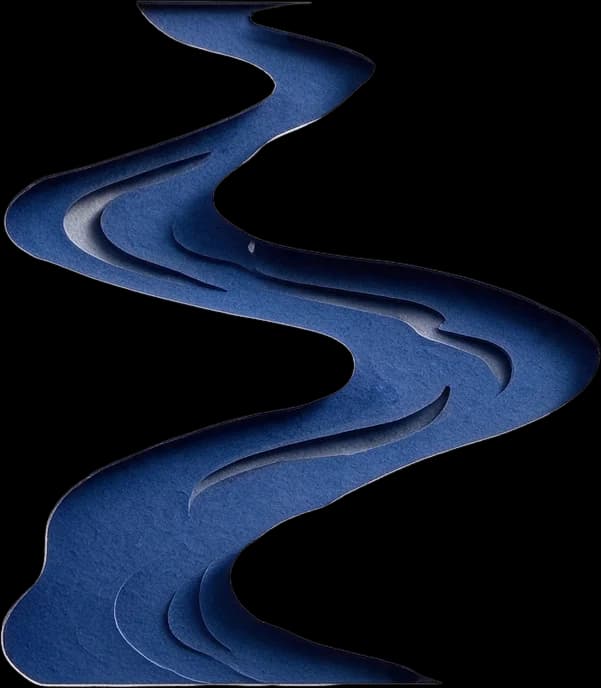
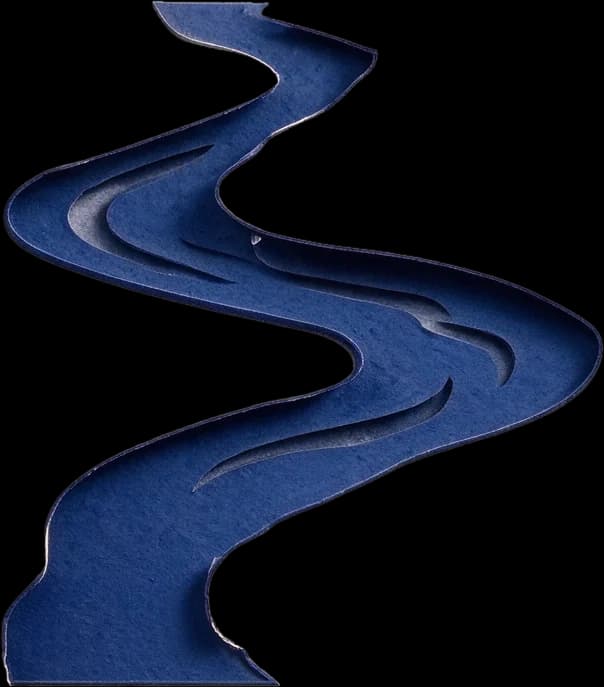
Stream
Left dark forest
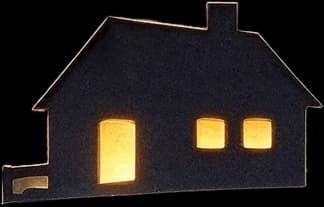
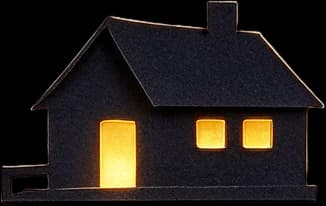
Hillside cabin
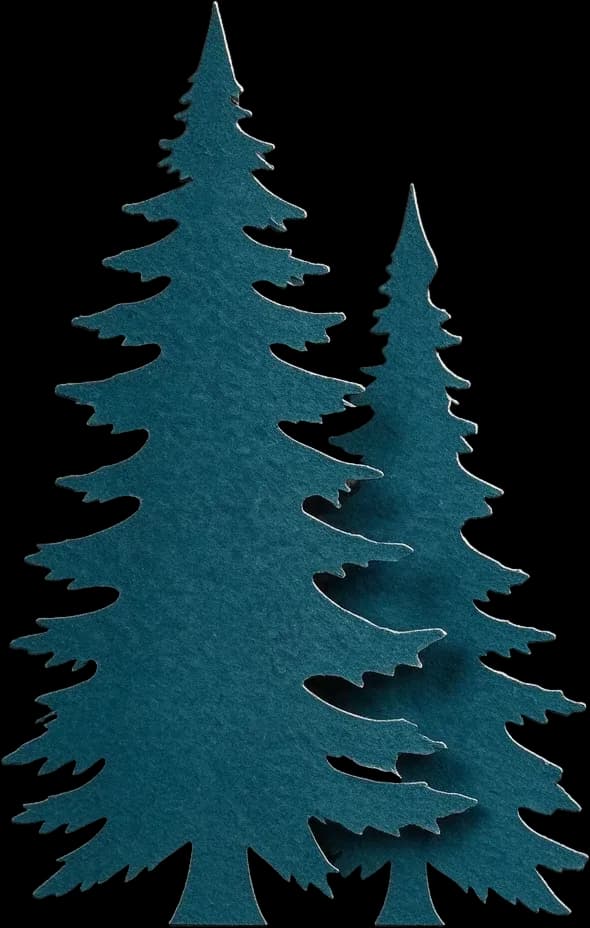
Left foreground conifer
Right foreground conifer
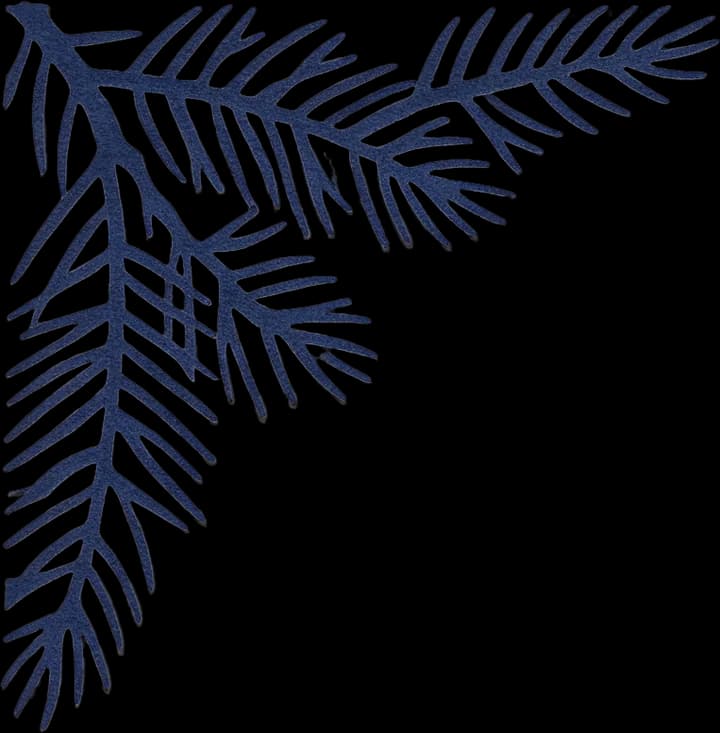
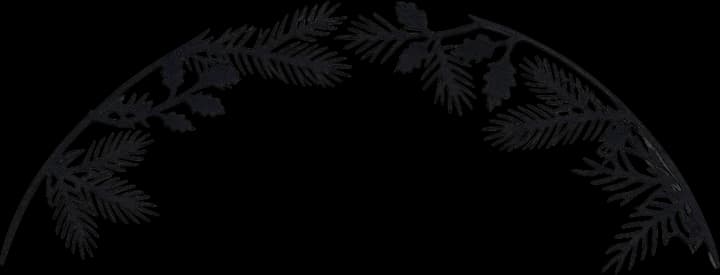
Top pine branch
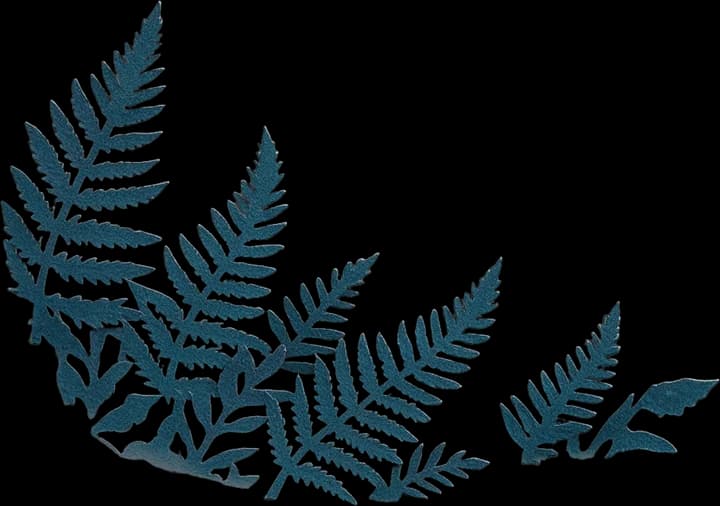
Bottom fern plant
Bottom-right plant decoration
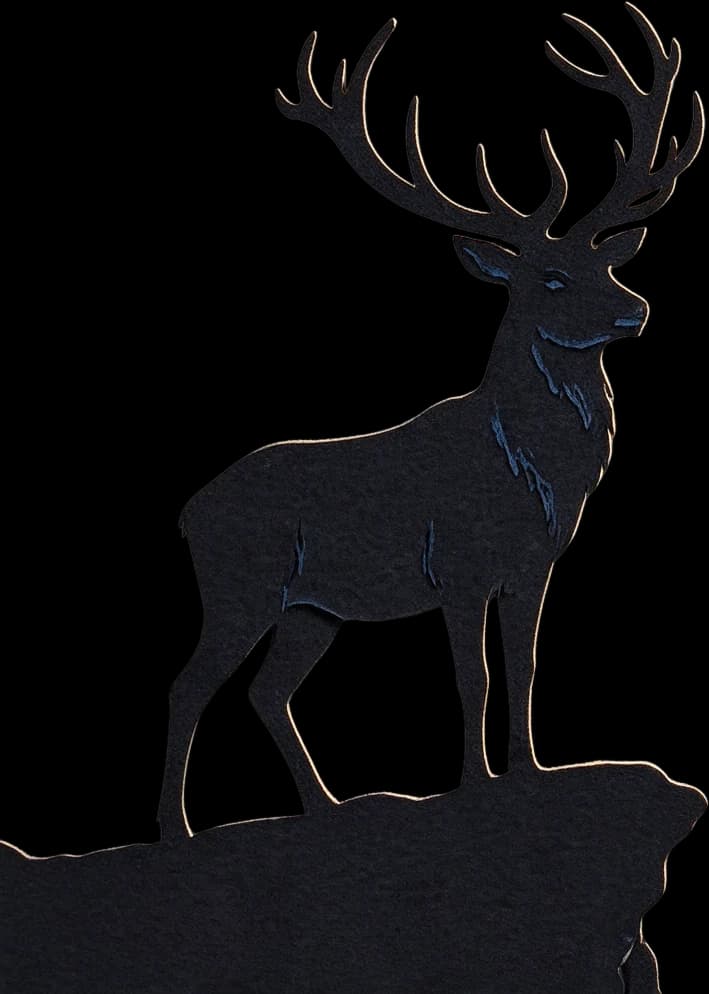
Foreground stag main
Paper-cut forest scene
16 AI image layers
Inspect the same woodland theme without the outer wooden frame, with visual elements separated for further design work.
Layers in these examples
Starry sky background
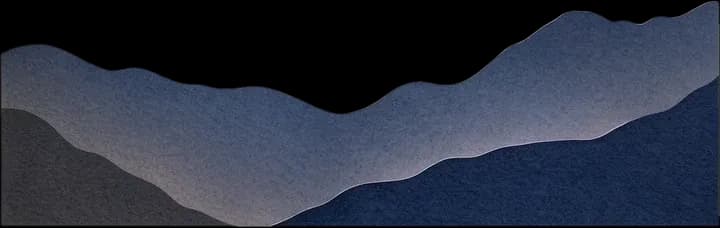
Purple distant mountain range
Dark gray midground mountain range
Full moon
Hilltop cabin
Winding river
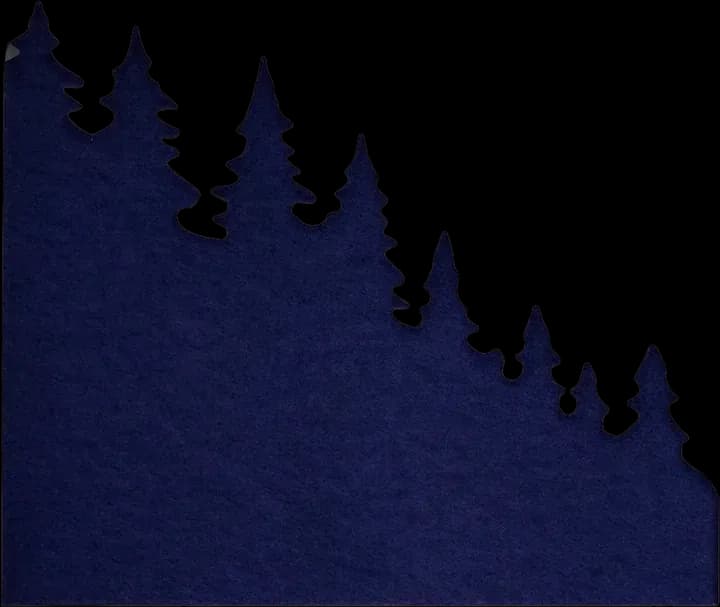
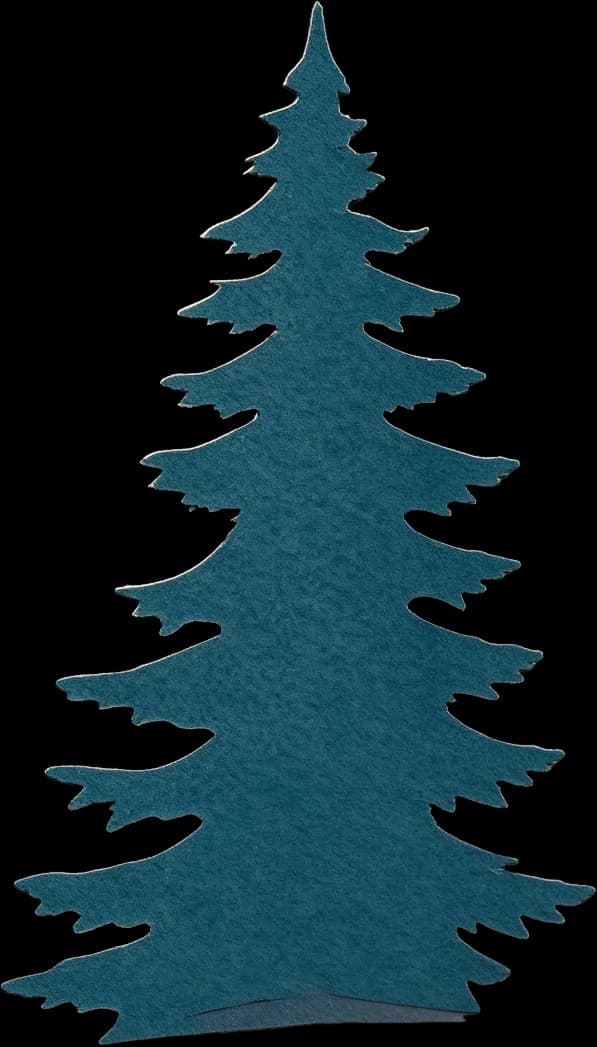
Left fir tree cluster
Right fir tree cluster
Bottom fir tree cluster
Foreground stag
Stag's rocky platform
Top arched pine branch
Bottom fern
Bottom broadleaf plant
Outer dark decorative border
Select a layer to inspect it, then return to the full artwork to compare its position in the composition.
These are real AI image-separation examples. Raster image layers are not machine-verified SVG paths or finished cutting templates.
Spend less time tracing
Prepare the Visual Elements Before Building Cutting Paths
Separate recognizable parts first, then focus your manual design work on the shapes you want to keep, simplify, or combine.
Start from Artwork You Already Have
Use a flat illustration or photo as the starting point instead of tracing every visible subject from scratch.
Edit One Visual Element at a Time
Inspect scenery, animals, trees, and foreground shapes separately while refining your composition.
Prepare Selected Shapes for Vectorization
Choose a suitable PNG layer and continue to SVG conversion instead of tracing the entire busy composition.
Keep Your Original Artwork as a Reference
Compare separated elements with the source image while checking edges and AI-reconstructed areas.
Plan Image Layers Before Material Layers
Use the separated artwork to explore an arrangement, then decide which visual elements should share a physical sheet.
Continue in Your Preferred Design Software
Download supported image layers and refine vector paths, dimensions, and cutting details in your existing workflow.
Ideas for your next laser project
Prepare Artwork for Layered Laser-Cut Designs
Separate image elements as a starting point for creative projects. Each design still needs vector cleanup and material-specific planning.
Layered Wooden Shadow Boxes
Explore woodland scenes, architecture, wildlife, and decorative silhouettes before developing a wood cutting design.
Paper-Cut Light Boxes
Separate moonlit landscapes, mountains, trees, stars, and foreground silhouettes for an illuminated paper project.
Wildlife and Forest Scenes
Prepare animals, branches, leaves, and background scenery for nature-inspired artwork.
Mountain and Landscape Art
Inspect mountains, hills, skies, rivers, and foreground details as individual image elements.
Personalized Memorial and Gift Designs
Start with a photo or illustration you are authorized to use and explore its subjects as part of a custom design.
Seasonal Laser-Cut Decorations
Develop image layers from winter villages, holiday forests, spring flowers, and other seasonal artwork.
Generated image layers are a design starting point. Vector cleanup, material selection, dimensions, and assembly planning are separate steps.
Your design, step by step
From a Flat Image to Laser Cutting Design Preparation
Step 1
Upload Your Artwork
Choose a shadow box illustration, photo, or flattened design. A clear main subject and recognizable background elements are easier to inspect.
Step 2
Generate Separate Layers
Start Detailed Layers. AI attempts to extract individual elements such as animals, trees, mountains, decorative shapes, and backgrounds.
Step 3
Review the Result
Inspect object boundaries, reconstructed areas, and small details. Decide which layers need editing or simplification.
Step 4
Choose a Layer for SVG Conversion
Download supported image layers or select an individual layer on the result page to continue into the separate Image to SVG for Laser Cutting tool.
Step 5
Refine Your Cutting Design
Check path continuity, small details, material dimensions, and assembly order in your preferred design software before cutting.
A Starting Point for Creative Laser Cutting Workflows
Laser Cutting Hobbyists
Explore detailed illustrations and prepare individual image elements for a handmade project.
Wooden Shadow Box Makers
Isolate subjects and decorative shapes before developing a layered wood design.
Handmade Gift Businesses
Prepare authorized photos and illustrations for custom keepsakes and personalized decor.
Etsy and Digital Design Sellers
Use artwork you own or have permission to use as a starting point for further design work.
Paper-Cut Light Box Creators
Separate scenic artwork before refining silhouettes, openings, and paper assemblies.
Digital Illustrators and Designers
Get more flexibility from a flattened image and continue editing its elements in compatible software.
Image layers and physical cuts are different
Separate the Artwork First, Then Plan the Material
Image separation helps identify visual elements inside a flat shadow box image.
A physical project requires additional vector editing, structural decisions, and machine-specific preparation.
What image separation helps with
Identify and inspect visual elements
Review foreground and background details separately
Edit individual image layers
Prepare selected artwork for vectorization
Explore a composition before planning materials
What cutting-path preparation still requires
Review and simplify vector paths
Fix disconnected shapes and narrow bridges
Combine artwork into a practical number of material sheets
Confirm dimensions and material thickness
Set up your laser workflow and machine parameters
Test the final design before full production
Sixteen image layers do not mean sixteen physical material sheets. The AI separates visual elements; you decide how to combine and prepare them for construction.
Before you start cutting
Five Checks for Shadow Box Laser Designs
A quick review of the source and the generated paths can make later design work easier.
Start with Recognizable Shapes
Distinct animals, trees, buildings, landscapes, and borders are easier to inspect as separate image elements.
Simplify Tiny Details
Thin branches, small windows, fine fur, and intricate textures may be difficult to cut in your chosen material.
Check Reconstructed Areas
AI may estimate portions of objects hidden behind other elements. Inspect those areas before using them.
Keep the Layers Aligned
Confirm that the final vector files share consistent dimensions and artwork positions.
Test Your Material and Settings
Paper, plywood, wood, and acrylic need different preparation. Test the geometry and machine settings before full production.
They are separate visual elements used to prepare a layered shadow box design. Physical paper or wood pieces require additional vector editing, structural planning, and cutting preparation.
Can I turn a picture into layers for a laser cut shadow box?
Yes. Upload a photo, illustration, or flattened shadow box design and use Detailed Layers to attempt to separate recognizable subjects and scenery into editable image layers.
Does this tool automatically create laser-ready SVG files?
No. This page separates visual elements into raster image layers. You can continue with the separate Image to SVG tool, but the vector paths still need to be reviewed and prepared before cutting.
Can I use the results with LightBurn?
You can use exported image layers as source artwork, or convert a selected element to SVG for further editing in LightBurn. Review its geometry, size, cut layers, and machine settings.
Does this work with xTool laser cutters?
The separated elements can be starting artwork for compatible xTool design workflows. Review imported SVG paths and dimensions in xTool Studio and confirm the design suits your device and material.
Can I use the resulting artwork with Glowforge?
Yes, as design preparation. Refine image layers and create supported SVG cutting designs for review in Glowforge software. Importing a vector does not guarantee cutting suitability.
Can I create a layered wooden shadow box?
The separated elements can help you begin developing layered wooden artwork. Vector editing, structural planning, material choices, dimensions, and cutting tests are still needed.
Can I make a paper-cut light box with this tool?
You can separate artwork for a paper-cut light box, including mountains, trees, animals, moons, and borders. Cutting paths, spacing, lighting, and assembly are separate design steps.
Can the AI separate a deer, trees, mountains, and moon into different layers?
The model can attempt to separate those visible elements. The woodland examples show this kind of image decomposition, though results depend on each source image.
Can the AI reconstruct elements hidden behind other objects?
The model may generate plausible content for portions that were covered. These are estimates, so inspect reconstructed areas before using them.
How many layers will I get?
The number varies by image. The two woodland examples contain 17 and 16 AI-generated image layers, including background plates. Other images may produce different counts.
Can I choose exactly five or eight physical cutting layers?
Not automatically. Detailed Layers generates visual image elements, not a fixed number of physical material sheets. You may need to combine, simplify, or reorganize the results.
Can I download each image layer separately?
The existing layer export workflow supports individual PNG layers. Other supported download options depend on the completed job and your export access.
Can I export a layered PSD?
The workflow supports PSD export subject to applicable plan and export conditions. PSD files are for layered image editing and are not cutting-path files.
How do I turn one of my layers into SVG?
After a supported Shadow Box generation finishes, select an individual layer through the SVG continuation card on the result page. The stored image continues to the Image to SVG for Laser Cutting workflow.
Will converting PNG to SVG automatically make shapes suitable for cutting?
No. Vector conversion can produce tiny paths, disconnected shapes, complex contours, or details unsuitable for a material. Inspect and refine the geometry before cutting.
How much does Laser Cut Shadow Box Layers cost?
Detailed Layers currently uses 60 credits per generation. Converting a selected layer with Image to SVG currently uses 30 credits as a separate operation. Review the required credits before starting.
Can I sell finished shadow box designs made with these layers?
You can use the service in a commercial design workflow subject to the service terms and your rights to the original artwork. Check the quality of finished files and products and meet any marketplace requirements.
Start Your Next Laser-Cut Shadow Box with an Image
Have a design you love but do not want to redraw every detail?
Separate scenery, subjects, and decorative elements into editable image layers. Refine the shapes you need and continue toward your own layered paper or wooden artwork.