NEWGPT Image 2.5 is here — make focused edits with less rework.

Try GPT Image 2.5

AI paper-cut light box layer generator

Turn Your Artwork into Layers for a Paper-Cut Light Box

Have a beautiful paper-cut light box design saved as one flat image? Separate the moon, mountains, trees, animals, and foreground details into editable image layers. Start with artwork you already love and get more control over the elements you will use to design your own glowing paper scene.

Separate foreground and backgroundExplore individual scenic layersDownload editable image layers
1

Click or drag image to upload

Layer explorer
Hover or tap a box to inspect a layer
Separated layers17 layers
Protected example
2

Settings

Leave this blank to let Detailed Layers identify the main editable elements automatically. Or name the parts you want separated.

Focus on the Layers That Create Your Scene

Guide the separation toward important visual elements, such as the moon, sky, mountains, trees, animals, and foreground silhouettes. Review each generated layer before moving on to paper-cutting design.

Moon and starsMountains and sceneryTrees and forestsWildlife and silhouettesForeground decorations
Cost per run60 credits

Upload an Image to Continue

Private File Handling

Uploaded files are associated with your account and delivered through signed URLs. You can delete completed jobs manually.

Transparent PNG Output

Detailed Layers returns each detected element as its own layer on a transparent background.

Continue Editing in Agent Workspace

Multi-Agent Suite

Open the layered result in Agent Workspace to clean up elements, create visual variations, or continue working from the same project.

Upload a JPG, PNG, or WebP illustration, photo, or existing paper-cut design.

Detailed Layers uses 60 credits per generation. The number of layers depends on your image.

Prepare Your Paper-Cut Light Box Artwork

You already have the picture in mind: maybe a deer beneath a full moon, a cabin in a forest, or a mountain landscape under the stars. Upload your artwork and let AI attempt to separate its visual elements before you refine your paper light box design.

Everything in a flattened image is combined into one picture. Explore its foreground, background, and scenic details before refining your paper light box design.

Separate foreground and backgroundExplore individual scenic layersDownload editable image layers

AI separates visual image elements. Physical paper layers, cutting paths, spacers, and lighting must be prepared separately.

Explore real AI-separated artwork

One Magical Forest. So Many Creative Possibilities.

What looks like one finished scene can contain many visual elements worth exploring on their own.

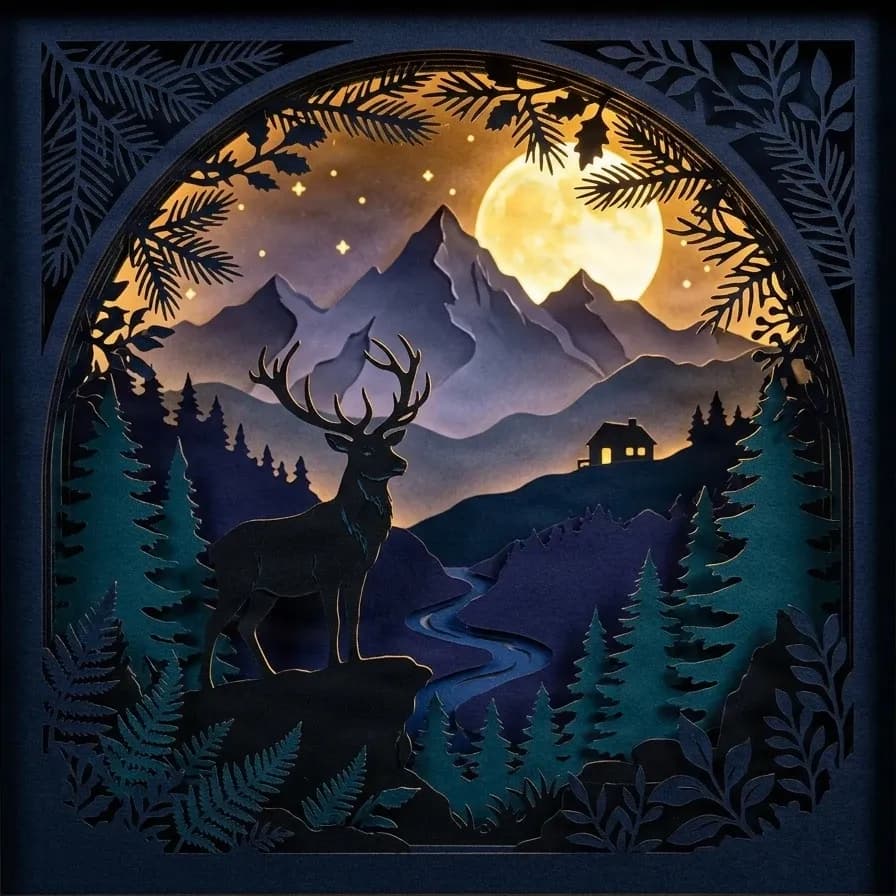
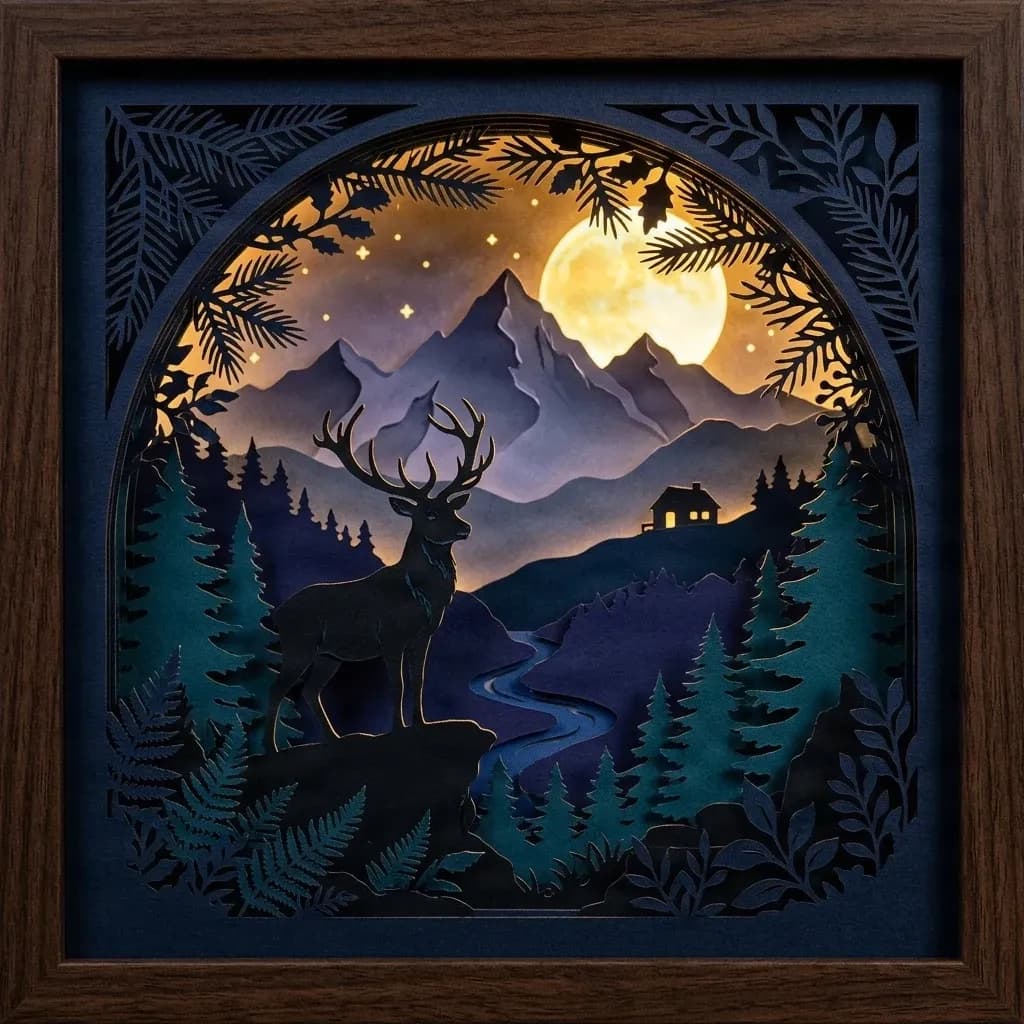
See how our woodland artwork separates into a deer, mountains, full moon, pine trees, cottage, stream, and decorative plants. Select an individual layer to inspect it, or return to the complete image to understand how everything fits together.

Framed moonlit forest

17 AI image layers
Framed moonlit forest

Explore a complete woodland artwork with its decorative wooden frame. Inspect the moon, mountains, forest, trees, cottage, and foreground deer as separated image elements.

Layers in these examples
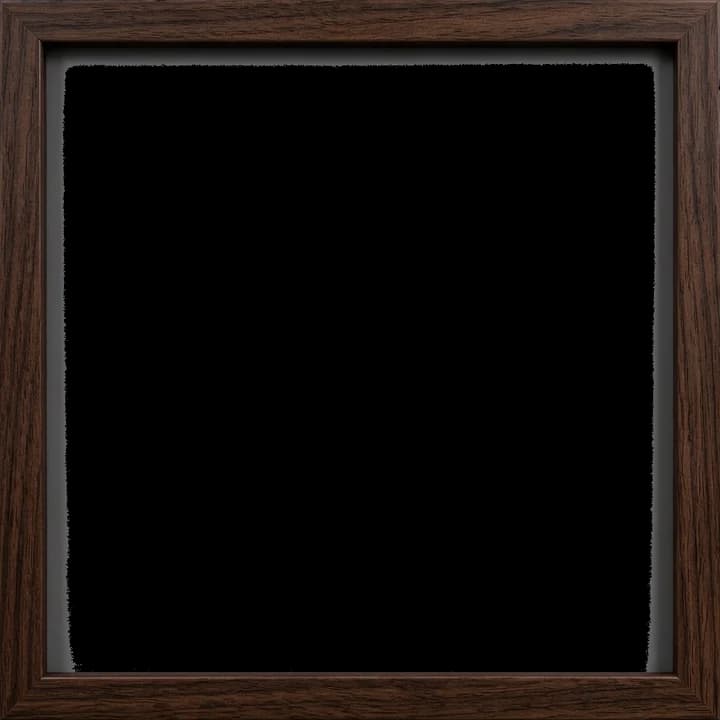
  • Wooden picture frame

    Wooden picture frame

  • Star sky background

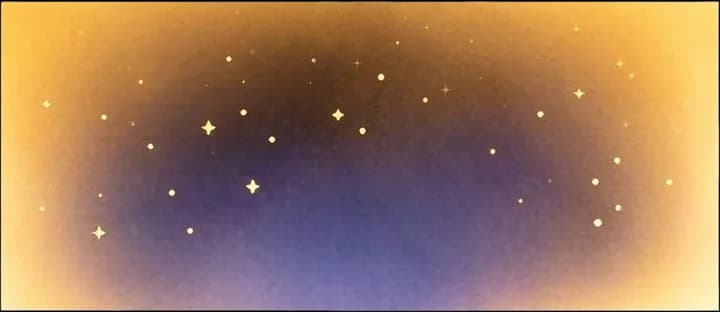
    Star sky background

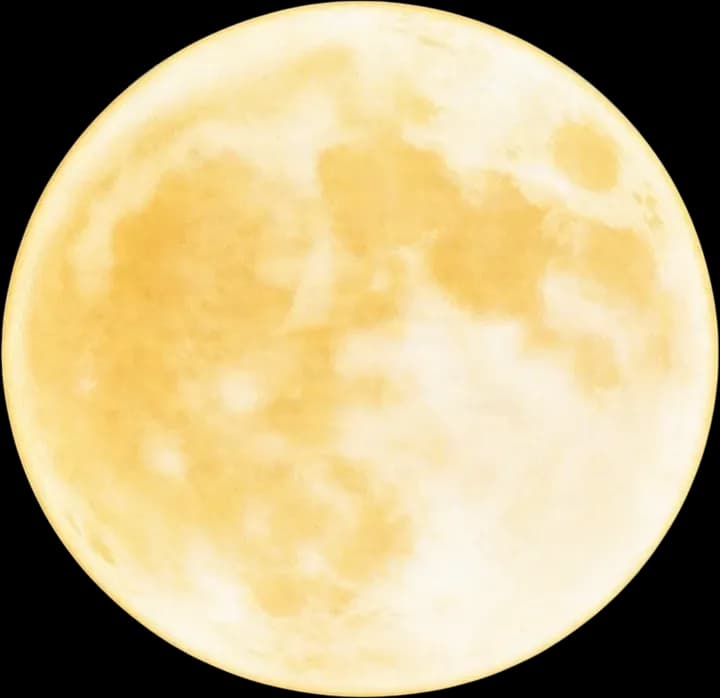
  • Full moon

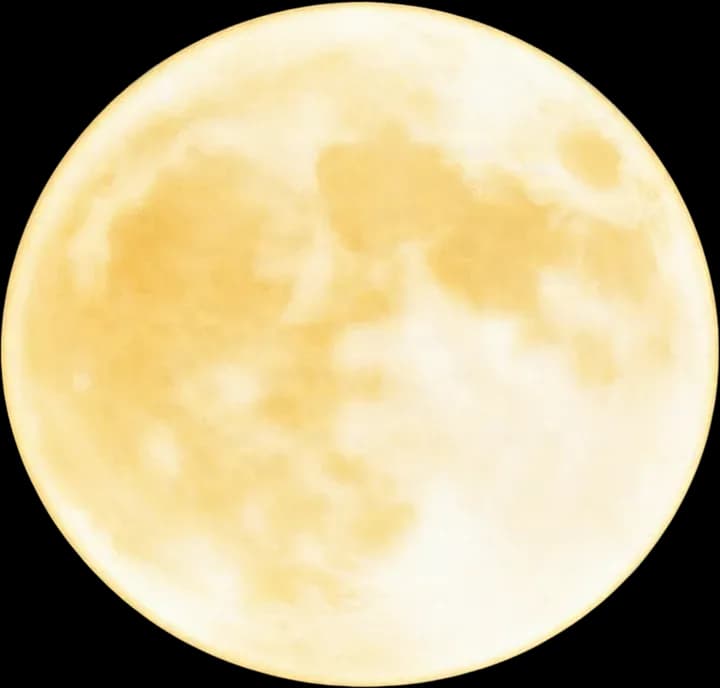
    Full moon

  • Distant mountain range

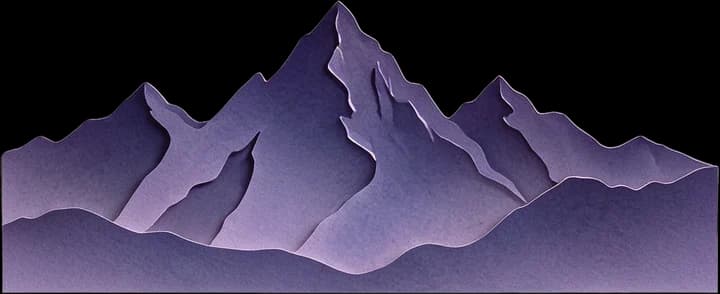
    Distant mountain range

  • Inner frame dark blue base

    Inner frame dark blue base

  • Top-left plant

    Top-left plant

  • Top-right plant

    Top-right plant

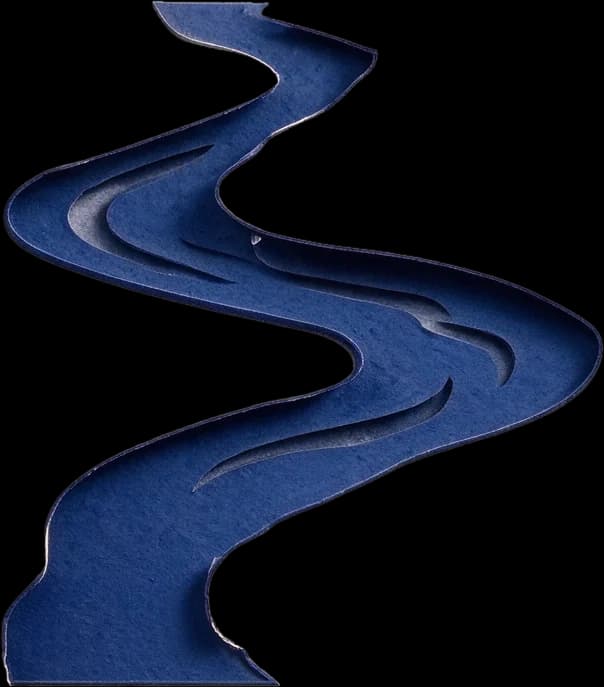
  • Stream

    Stream

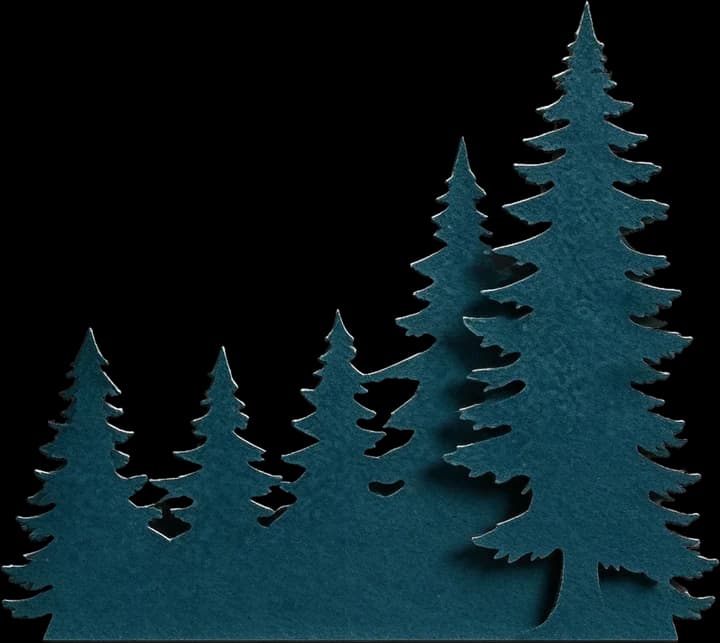
  • Left dark forest

    Left dark forest

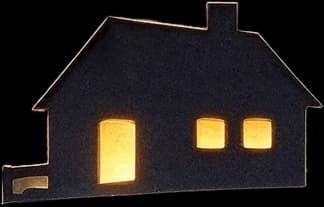
  • Hillside cabin

    Hillside cabin

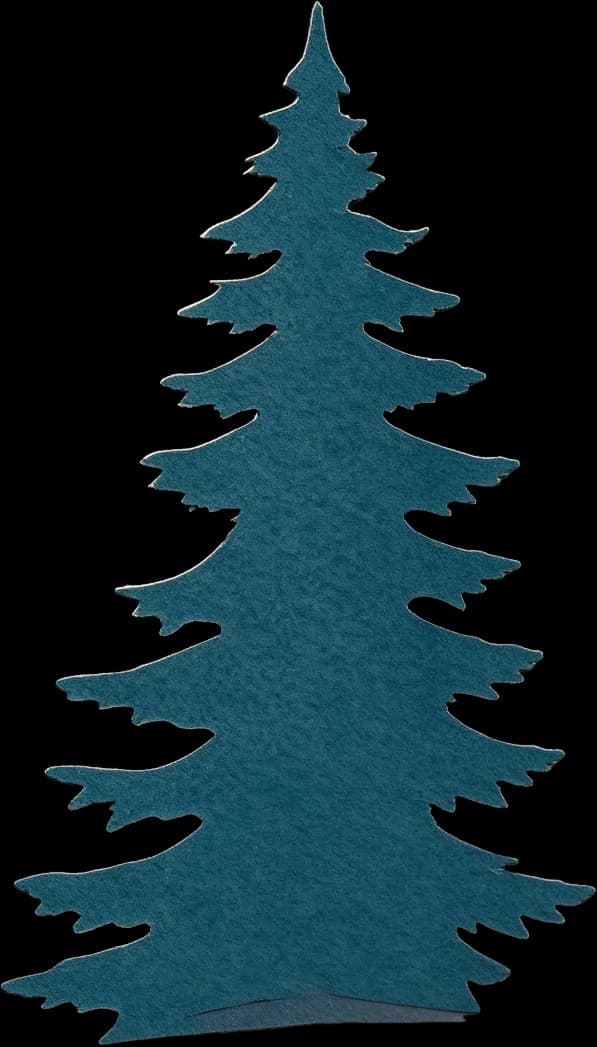
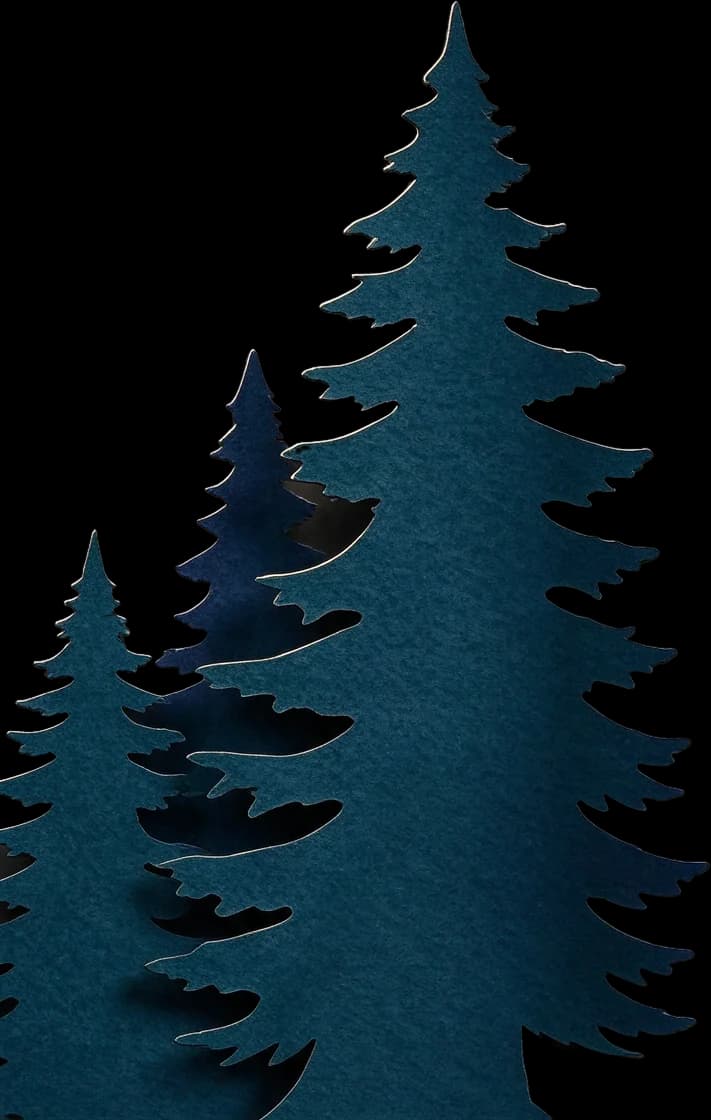
  • Left foreground conifer

    Left foreground conifer

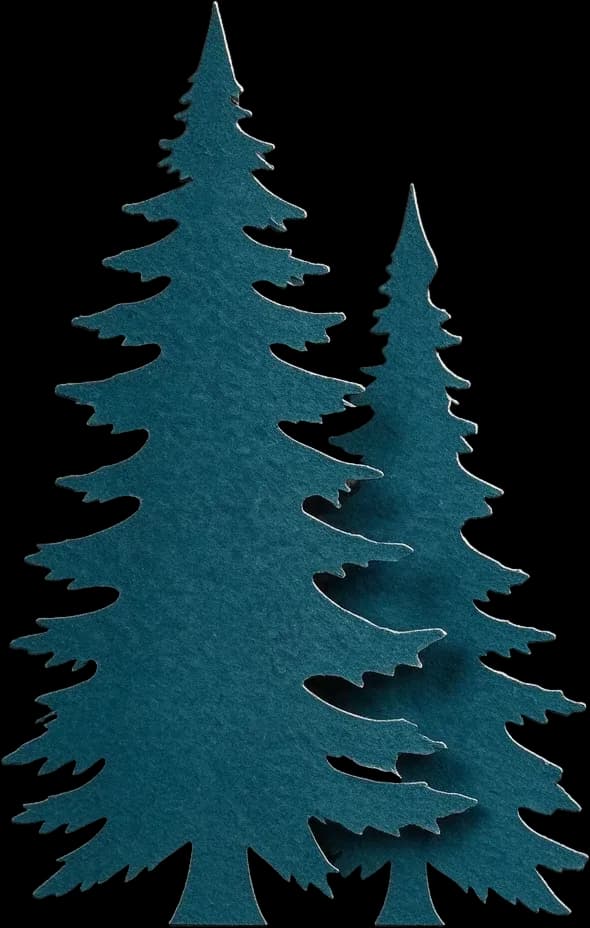
  • Right foreground conifer

    Right foreground conifer
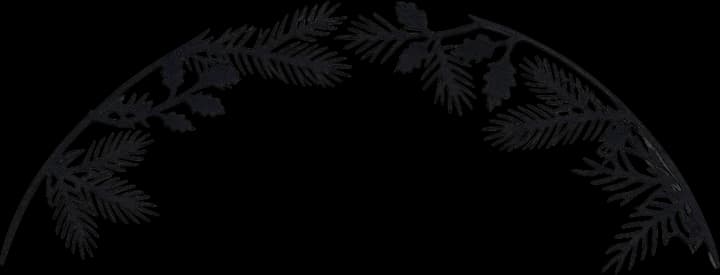
  • Top pine branch

    Top pine branch

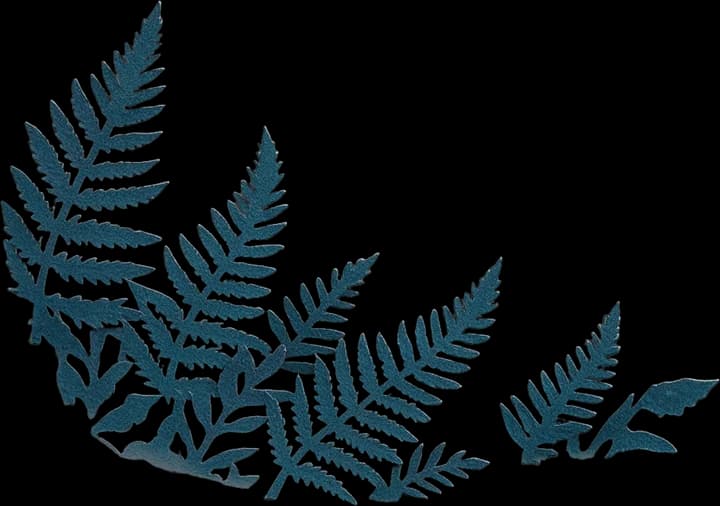
  • Bottom fern plant

    Bottom fern plant

  • Bottom-right plant decoration

    Bottom-right plant decoration

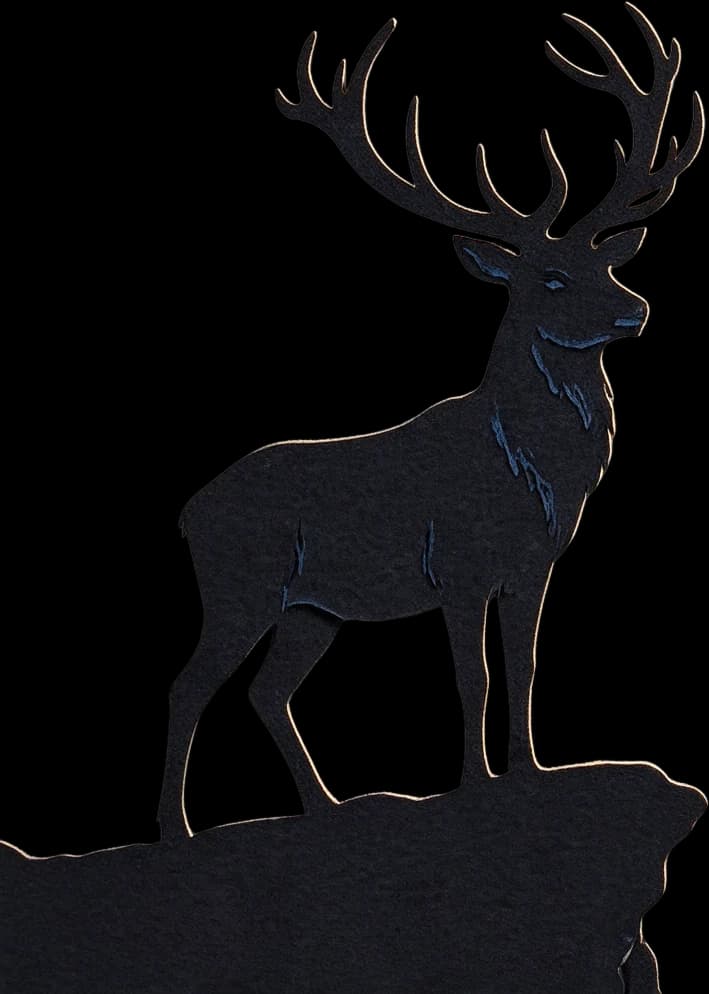
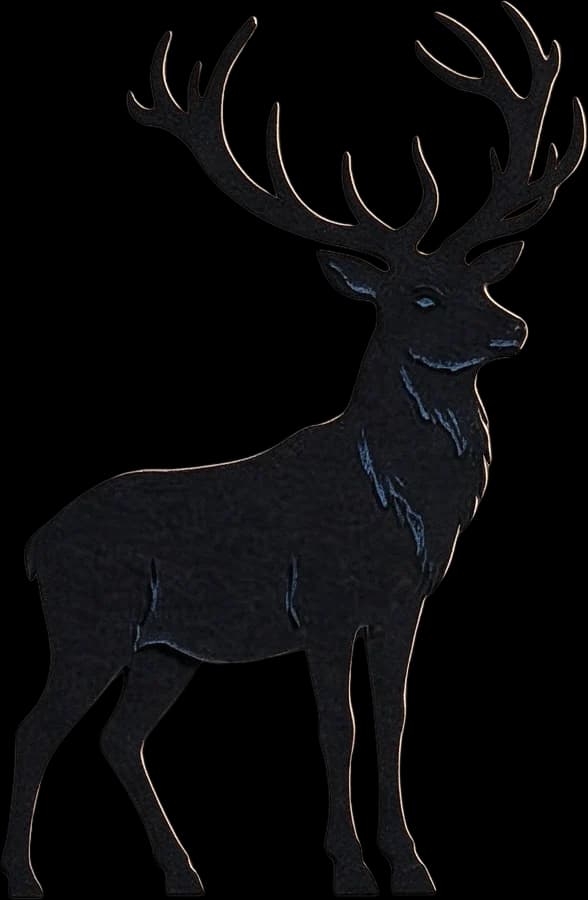
  • Foreground stag main

    Foreground stag main

Paper-cut forest scene

16 AI image layers
Paper-cut forest scene

Explore the woodland artwork without the outer wooden picture frame. See individual scenic elements that can be starting points for a layered paper-cut light box.

Layers in these examples

  • Starry sky background

    Starry sky background

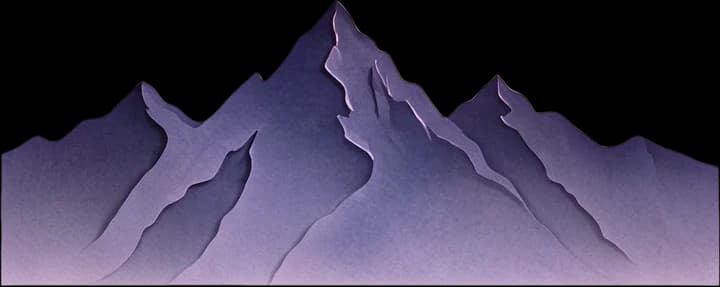
  • Purple distant mountain range

    Purple distant mountain range

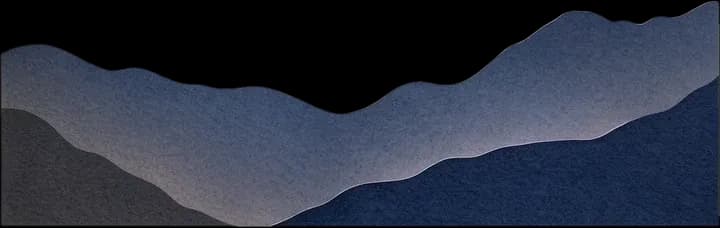
  • Dark gray midground mountain range

    Dark gray midground mountain range

  • Full moon

    Full moon

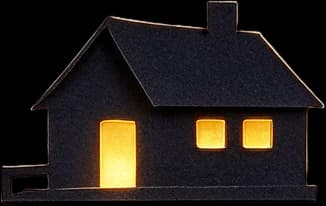
  • Hilltop cabin

    Hilltop cabin

  • Winding river

    Winding river

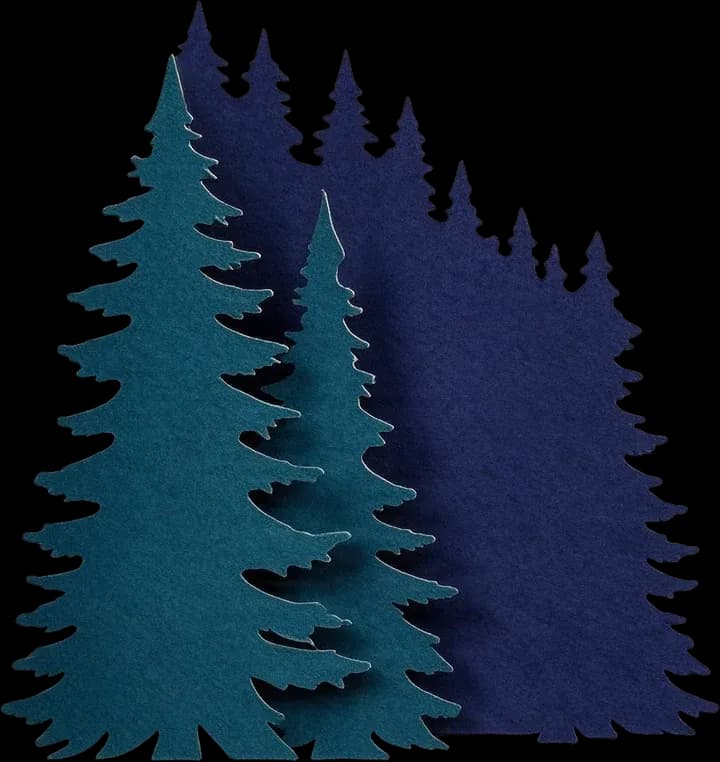
  • Left fir tree cluster

    Left fir tree cluster

  • Right fir tree cluster

    Right fir tree cluster

  • Bottom fir tree cluster

    Bottom fir tree cluster

  • Foreground stag

    Foreground stag

  • Stag's rocky platform

    Stag's rocky platform

  • Top arched pine branch

    Top arched pine branch

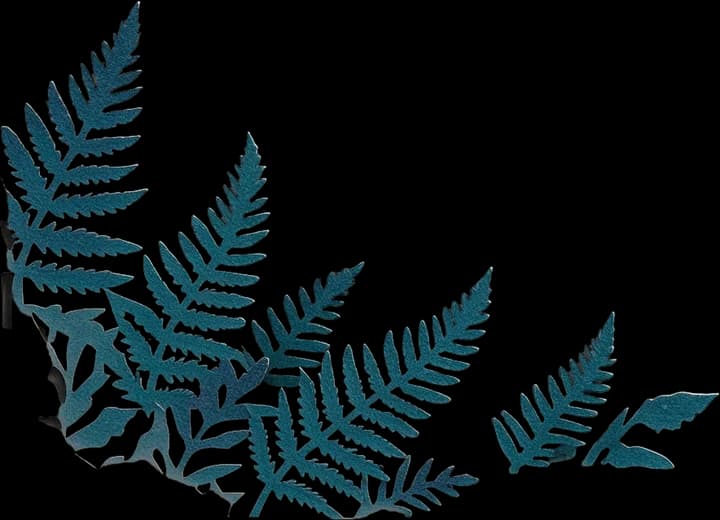
  • Bottom fern

    Bottom fern

  • Bottom broadleaf plant

    Bottom broadleaf plant

  • Outer dark decorative border

    Outer dark decorative border

Select an object or layer thumbnail to inspect its separated image. Return to the full artwork to understand how the elements fit together.

These are AI-generated visual image layers, including background layers. They are not finished physical paper-cut templates or previews of actual LED lighting. Your image may produce a different number of layers.

From a beautiful picture to more creative control

Stop Redrawing the Scene You Already Love

You found the perfect artwork: a glowing moon, distant mountains, framing pine trees, and just the right atmosphere. But it is flattened into one picture. Start with individual visual elements instead of selecting or redrawing every part manually.

Keep Your Original Artwork as a Reference

Compare separated elements with the source image while checking edges and AI-reconstructed areas.

Explore Scenic Objects Individually

Inspect the moon, trees, mountains, and foreground details as separate visual elements.

Refine Selected Details

Adjust specific elements without recreating the entire composition from scratch.

Choose Elements for Your Physical Design

Decide which shapes and scenes could contribute to the paper light box you want to make.

Reduce Manual Selection Work

Let AI attempt an initial separation of recognizable subjects and shapes so you can focus on refinement.

Continue Editing or Convert a Layer

Download supported image formats or select an individual layer for further SVG vector conversion.

Ideas for your next glowing paper project

Make a Paper Light Box That Tells a Story

Whether you love peaceful landscapes, fantasy artwork, or personalized gifts, start with the image that inspires you.

Moonlit Forest Light Boxes

Explore glowing moons, tall pine trees, woodland animals, and distant mountain silhouettes to plan an atmospheric forest scene.

Fantasy and Fairytale Scenes

Work with castles, dragons, enchanted forests, magical cottages, stars, and layered landscapes for fantasy-inspired paper art.

Mountain and Nature Light Boxes

Start with mountain peaks, rivers, forests, sunsets, and countryside illustrations. Explore the scenic elements to develop depth.

Wildlife and Animal Silhouettes

Create layered artwork concepts featuring deer, wolves, owls, birds, foxes, and other animals surrounded by natural scenery.

Personalized Keepsake Light Boxes

Use authorized photos or illustrations as a starting point for gifts inspired by a favorite place, pet, special event, or memory.

Holiday and Seasonal Light Boxes

Explore Christmas forests, winter villages, Halloween scenes, autumn landscapes, spring flowers, and other seasonal compositions.

These are creative uses for separated artwork. A finished illuminated paper light box needs additional cutting and assembly preparation.

A simpler way to start

From One Picture to Editable Paper Light Box Artwork

  1. Step 1

    Upload Your Favorite Artwork

    Choose a scenic illustration, photo, or existing paper-cut light box image. Recognizable subjects and a clear sense of depth are a useful starting point.

  2. Step 2

    Generate Separate Image Layers

    Use Detailed Layers to attempt to separate elements such as the moon, mountains, forest, buildings, and foreground subjects.

  3. Step 3

    Explore the Individual Elements

    Inspect the generated layers and check whether important details are preserved. Review AI-reconstructed areas.

  4. Step 4

    Refine and Download

    Continue editing the individual images or download supported PNG and PSD exports according to the available options.

  5. Step 5

    Prepare Your Physical Paper Design

    Choose the shapes you want, simplify them as needed, and prepare cutting paths, spacers, and lighting for your finished light box.

Start Generating Image Layers

Image separation is automatic. Physical light box construction and cutting-file validation are separate tasks.

Think about the finished light box

Plan the Moon, Mountains, and Trees as a Layered Scene

The charm of a paper-cut light box comes from how paper shapes, spaces, and light work together. Separating your image gives you more flexibility to explore these design decisions.

Background skies, moons, stars, and distant landscapes can establish the mood of a scene. Mountains, cabins, hills, and forests can create distance between the background and foreground.

A deer, branches, flowers, or a decorative border can provide the strongest silhouette near the front. Physical lighting, paper openings, spacers, and materials all influence the final appearance.

  • Background: set the scene and atmosphere
  • Middle ground: create a sense of distance
  • Foreground: give the artwork its character
  • Lighting: plan separately for your real paper structure
Separate My Light Box Artwork

For makers, artists, and personalized gift sellers

A Better Starting Point for Handmade Light Box Projects

DIY Paper Light Box Makers

Explore favorite illustrations as individual image elements before developing a layered paper art project.

Cricut and Silhouette Crafters

Use separated artwork as source material when preparing custom paper cutting designs in compatible software.

Custom Gift Creators

Develop personalized light box concepts inspired by meaningful photographs, landscapes, animals, and memories.

Etsy and Digital Design Sellers

Work with original or properly licensed artwork while developing light box designs and customer projects.

Paper-Cut Artists

Get more flexibility from a flattened composition and refine individual elements before finalizing the artwork.

Creative Studios and Illustrators

Explore detailed scenery intended for layered illustrations and physical craft concepts.

Know what you are creating

AI Layers Are the Starting Point, Not the Finished Paper Sheets

A picture may contain many visual objects, but a physical paper light box needs a deliberate layer structure.

Our sample artwork has 16 or 17 AI-separated image layers. That does not mean your final light box should use that many cardstock sheets. Some elements may need combining, while intricate shapes may need simplifying.

What image separation helps you do

  • Separate visual elements from flattened artwork
  • Inspect individual objects and scene details
  • Explore foreground and background relationships
  • Refine individual image elements
  • Download supported image layers
  • Continue selected images into SVG conversion

What your physical light box still requires

  • Choose the number of cardstock layers
  • Simplify shapes for your chosen material
  • Create suitable closed cutting paths
  • Check fragile or disconnected elements
  • Align the physical sheets to common dimensions
  • Plan spacers, backing, frame, and lighting
  • Test the final design before assembly

A PNG image layer is not the same as a physical paper-cut layer. SVG conversion alone does not guarantee a structurally sound cutting template.

Get more from your artwork

Five Things to Check Before You Start

The source image and the physical design both influence how easily you can develop a finished light box.

Choose Scenes with Clear Depth

Artwork with recognizable foreground, middle ground, and background is easier to inspect as a layered composition.

Keep the Main Subject Recognizable

An animal, cottage, tree, mountain, or other clear focal point gives your design a sense of identity.

Avoid Excessively Fine Details

Very thin branches, small text, intricate fur, and tiny decorations may need simplifying before they become cut shapes.

Review Reconstructed Details

AI can estimate areas hidden behind other elements. Inspect these areas and adjust them when their appearance matters.

Consider Light and Paper Openings

Plan suitable openings for light, stacking order, and the physical result. Do not assume image layers will automatically create the desired glow.

Frequently asked questions

Paper-Cut Light Box Generator FAQs

What is an AI paper-cut light box generator?

This page turns an uploaded image into editable visual layers that can be starting material for a paper-cut light box project. It does not automatically produce a complete physical light box or finished cutting template.

Can I turn a regular image into paper light box layers?

Yes. Upload an illustration, photo, or existing design and use AI to attempt to separate visible subjects and scenery into individual image layers. Results depend on the original image.

Can I use an existing paper-cut light box illustration?

Yes. Existing paper-cut style illustrations can be useful inputs, particularly when they have recognizable foreground, background, and scenic elements.

Can it separate a moon, trees, mountains, and animals?

The model can attempt to separate recognizable objects such as moons, trees, mountains, deer, cottages, and other scenic details. The woodland examples show this kind of image separation.

Does the AI create the glowing light effect?

No. This workflow separates image elements from your uploaded artwork. It does not install or simulate physical LED lighting or guarantee how a finished paper light box will glow.

Can I generate a paper-cut light box from text alone?

Not with this page. It starts with an uploaded image. You will need an image or illustration to use as the input for layer separation.

How many layers will the AI generate?

The number depends on your image. Current examples contain 16 and 17 visual image layers, including backgrounds, but your result may contain fewer or more.

Can I choose exactly five, six, or eight physical paper layers?

Not automatically. Detailed Layers separates visual image elements rather than guaranteeing a specific number of physical cardstock sheets. You may need to combine and simplify generated elements.

Can the AI recreate objects that were partly hidden?

Sometimes. The model may generate plausible visual content for covered areas. This is an estimated reconstruction, not a guarantee of what the hidden content originally looked like.

Can I download individual PNG layers?

The existing image layer workflow supports PNG exports. Available download actions depend on the completed job and applicable export access.

Can I export a layered PSD file?

The existing workflow supports layered PSD export, subject to applicable plan and export requirements. A PSD can be useful for further editing in compatible software.

Does this tool generate SVG files for paper cutting?

The separation workflow produces editable image layers rather than a finished set of SVG cutting sheets. You can choose an individual layer and continue into the separate Image to SVG workflow.

Can I use the design with Cricut or Silhouette?

You can use separated images as source material for preparing a design in compatible cutting software. Create and check suitable cutting paths before sending a physical project to your machine.

Can I use these layers for a laser-cut paper light box?

Yes, as design preparation material. Isolate and refine image elements before converting suitable shapes into vector paths. Physical cutting and assembly requirements still need to be checked.

Do I need to prepare the paper spacers myself?

Yes. The current tool does not calculate or produce physical spacers, frame construction files, or lighting layouts. Plan those parts according to your materials and intended design.

How much does Paper Cut Light Box Generator cost?

Detailed Layers currently uses 60 credits per generation. Image to SVG, if you choose to convert an individual layer afterward, currently uses 30 credits per image. Each operation is charged separately.

Can I sell finished light boxes or designs I make with these layers?

You can use ImageToLayers as part of a commercial design workflow, subject to the service terms and rights to your source artwork. Make sure final cutting files and products meet customer quality requirements.

What kinds of images work best for paper light box projects?

Images with clear subjects, recognizable scenic depth, and distinct foreground and background elements are good starting points. Highly detailed photographs and illustrations may need manual simplification before cutting.

Your Next Glowing Paper Scene Starts with an Image

Have a moonlit forest, fantasy scene, or beautiful illustration you want to turn into something more?

Separate the elements you love. Explore the layers, refine the scenery, and take the next step toward creating your own illuminated paper art.

Generate My Paper-Cut Layers

Start with your image. Discover its individual elements. Create something worth bringing to life.

60 credits per Detailed Layers generation. Optional Image to SVG conversion is charged separately.

    Paper Cut Light Box Generator | AI Image Layers | Image to Layers